Woodward Fab WFB2 Review: Specs, Dies and Upgrade Path
Woodward Fab WFB2 review from published specs: capacity, dies, listing conflicts on handle and weight, who it suits and the upgrade path.

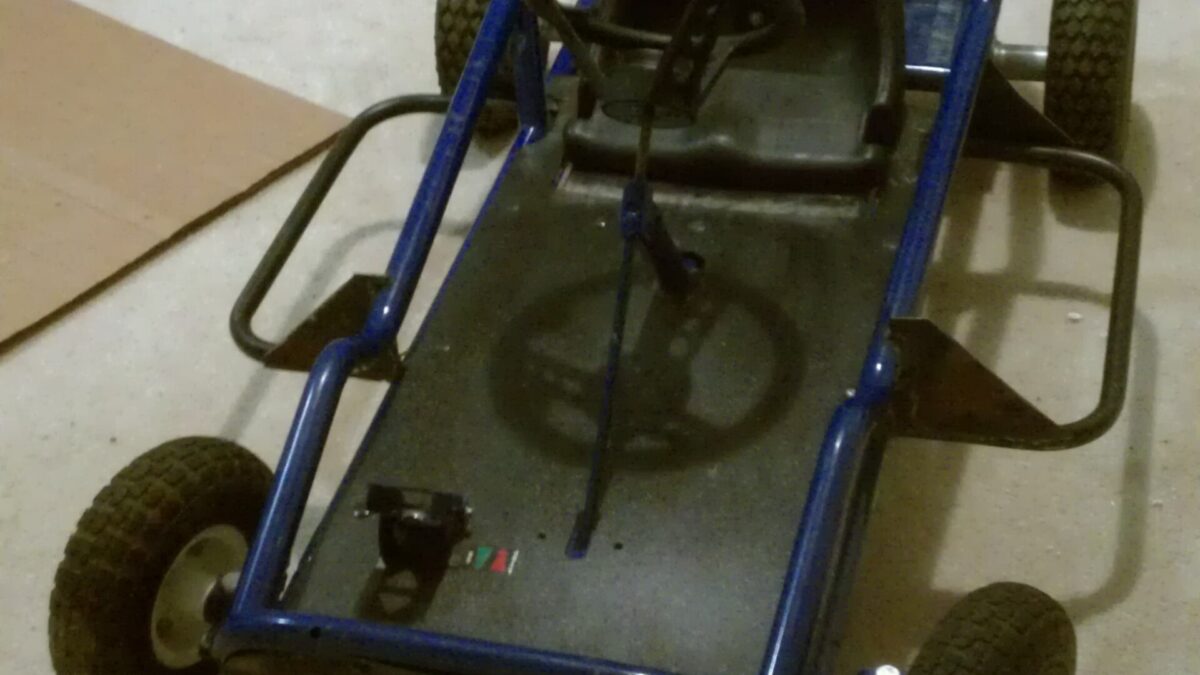
You want to bend real tube for a bumper, a set of sliders or a kart frame. You don’t want to spend big on your first bender. Sooner or later, every search lands on the same name: the Woodward Fab WFB2. It’s simple, it’s widely sold, and a lot of garage builders start on one. But is it the right first bender for you, and where do you go when you outgrow it? This Woodward Fab WFB2 review answers both questions.
Let’s be clear about what kind of review this is. It’s a research review. Nobody at Benders Hub has bent tube on a WFB2. We’ve pulled together the published specs, the retail listings for the bender and its dies, and what owners commonly report in public forums. Where listings disagree, we tell you. Two of them disagree on handle length and weight, and we won’t pretend otherwise.
You’ll learn what the WFB2 can and can’t bend, which die to buy first, who it suits, and the smartest upgrade path, from adding a stand all the way to stepping up to a hydraulic-ready machine.
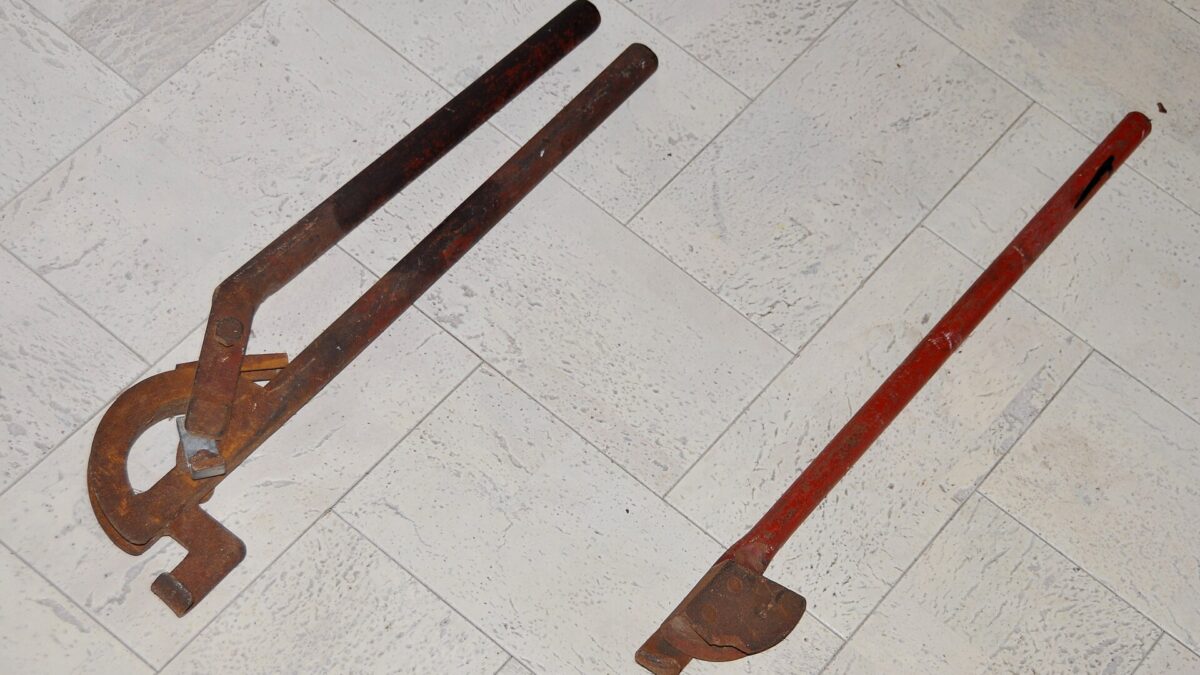
The Woodward Fab WFB2 is a simple manual rotary-draw bender and one of the cheapest ways into real tube bending.
- Capacity: round and square tube up to 2″ with the matching die. The 2″ × 6″ CLR die listing gives a .134″ max wall. See the specs.
- Bend angle: die listings show about 110°–120°. No 180° hoops in one bend. See the limits.
- Listing conflicts: handle length (29″ vs 36″) and weight (56 vs 61 lb). Here’s what to do.
- Upgrade path: stand, dies and a notcher first. Then step up to a hydraulic-ready bender like the Eastwood High Capacity.
📋 In this review
Woodward Fab WFB2 review: the short version
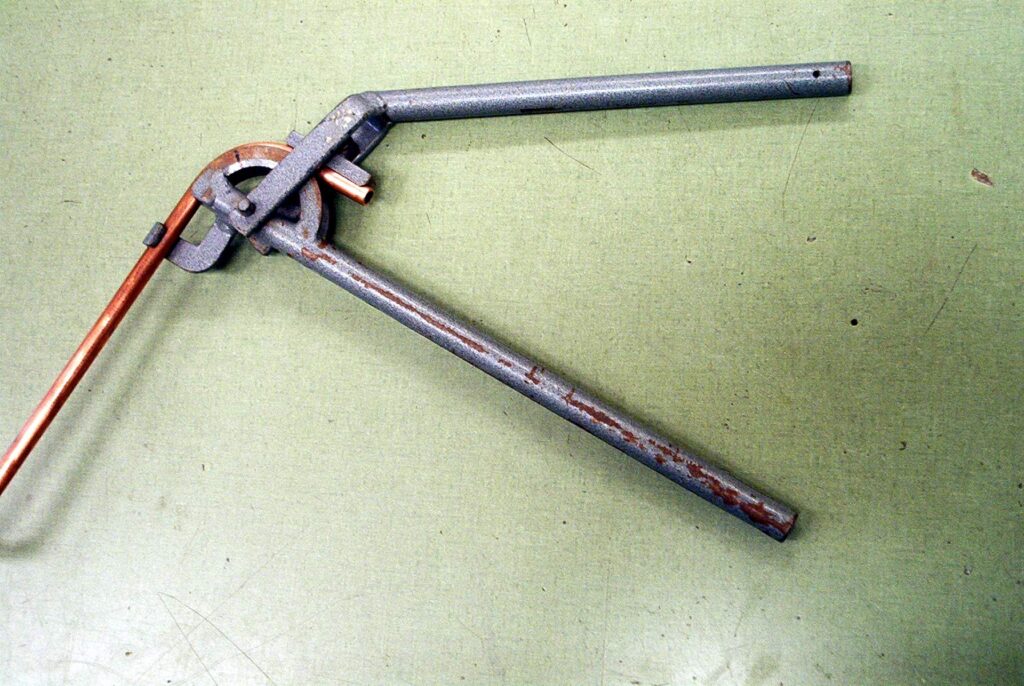
The WFB2 is a manual, lever-operated rotary-draw bender. You fit a die, clamp the tube, and pull the handle. The die turns and draws the tube around it, which gives you a smooth bend at a fixed radius. A degree ring shows how far you’ve gone, so you can repeat a bend.
It takes round and square tube up to 2″ with the matching die. The retail listing for Woodward Fab’s 2″ × 6″ CLR die gives a .134″ maximum wall. Die listings show bend angles of about 110° to 120°. Dies and the stand are sold separately.
Our verdict, based on published specs and owner reports: the WFB2 is a sensible first bender for weekend builders who bend mild steel. It’s simple to learn, easy to find, and it takes both round and square dies. It’s not the tool for full 180° hoops, regular chromoly work or long sessions in thick wall. If those are in your future, plan your upgrade path now.
Where our information comes from: specs are from the Amazon listings for the bender and its die, plus other retail listings, checked in October 2026. You can read how we evaluate equipment. Listings change, so confirm details on the product page before you order.
As an Amazon Associate I earn from qualifying purchases.
Woodward Fab WFB2 at a glance
Woodward Fab WFB2 Manual Tube & Pipe Bender
A no-frills rotary-draw frame for round and square tube up to 2″ with the right die.
The WFB2 keeps things simple. Bolt it down, fit a die, pull the handle. That simplicity is why so many people learn on one.
Who it’s for: weekend builders making bumpers, sliders, racks, kart frames and shop projects in mild steel, a few projects a year.
Why it stands out: a low-cost way into true rotary-draw bending, round and square dies, and a matching stand and dies sold on Amazon.
- Type
- Manual lever, rotary draw
- Tube size
- Round and square, up to 2″ with the matching die
- Max wall
- 2″ × 6″ CLR die listing: .134″
- Bend angle
- Die listings show about 110°–120°
- Angle readout
- Degree ring
- Handle length
- Listings disagree: 29″ vs 36″
- Weight
- Listings disagree: 56 vs 61 lb
- Sold separately
- Dies and stand
Why it stands out
- Low-cost entry to rotary-draw bending
- Round and square dies available
- Simple design that’s easy to learn
- Matching stand sold on Amazon
Know before you buy
- Manual only: thick wall takes real muscle
- About 110°–120° per bend, not 180°
- No published chromoly rating
- Listings disagree on handle and weight
Add-ons: WFB2 stand · 2″ OD × 6″ CLR die. Affiliate links. See our disclosure.
WFB2 specs and how it works
The WFB2 has fewer published numbers than bigger machines. That’s partly because so much depends on the die. Here’s what the listings say, and what each item means when you’re in the garage.
| Spec | What the listings say | What it means for you |
|---|---|---|
| Drive | Manual lever | Your arm supplies the force |
| Tube shapes | Round and square | Needs a die made for each shape and size |
| Max size | Up to 2″ with the matching die | Covers most bumper, slider and kart tube |
| Max wall | .134″ on the 2″ × 6″ CLR die listing | Thick enough for most mild steel structural tube |
| Bend angle | About 110°–120° (die listings) | Fine for bumpers; too short for 180° hoops |
| 4130 chromoly | Not stated | Ask the seller before planning chromoly work |
| Handle length | 29″ (Amazon) vs 36″ (Elite Metal Tools) | Conflict. Affects leverage and swing room |
| Weight | 56 lb vs 61 lb, depending on the listing | Conflict. Light enough to move, but still anchor it |
How a rotary-draw bender works
The tube is clamped to a round die. As you pull the handle, the die rotates and draws the tube around it. A follower block supports the outside of the bend. The result is a round, repeatable bend at the die’s centerline radius (CLR). That’s the radius measured to the center of the tube.
This is very different from a bottle-jack “pipe bender”, which pushes the middle of the pipe like a press. Those are made for thick Schedule 40 or 80 pipe. Harbor Freight’s own manual for its 12-ton bender says it isn’t meant for thin-wall pipe like conduit or exhaust (Harbor Freight manual). For structural tube, rotary draw is the right method. Our guide to pipe benders vs tube benders explains the difference in detail.
Tube and pipe
The WFB2 is sold as a tube and pipe bender, but the die decides what fits. Pipe is sold by a nominal size that doesn’t match its outside. For example, 1-1/2″ pipe actually measures 1.900″ across. Always buy the die for the real OD you’ll bend.
Handle length and weight: the listing conflicts
Here’s something most reviews skip. Retail listings for the WFB2 don’t agree on two basic numbers. We’re not going to pick one. Instead, here’s what each listing says, why it matters, and how to check it yourself.
| Item | What retail listings say | Gap | Our take |
|---|---|---|---|
| Handle length | 29″ (Amazon) and 36″ (Elite Metal Tools) | 7″ | Conflict. Ask the seller, then measure on delivery |
| Weight | 56 lb and 61 lb in different listings | 5 lb | Conflict. Small, but unresolved |
Why handle length matters
On a manual bender, the handle is your lever. A longer handle gives you more leverage, so each pull takes less effort. A 7″ difference is a real change in how hard thick wall feels. It also changes how much room you need around the bender. A longer handle sweeps a bigger circle. That matters in a tight single-car garage.
It’s possible the two listings describe different versions, different handle setups or just a typo. We don’t know, and the listings don’t say. If leverage is a big deal for you, ask the seller which handle ships with your unit. Then measure it when the box arrives.
Why weight matters
The 5 lb gap between 56 and 61 lb won’t change your life. It might reflect packaging, a different version or a rounding choice. What matters more is this: at either weight, the WFB2 is light enough to move around. That’s handy. But it also means the bender must be anchored. A rotary-draw bender twists hard against its base, and a light frame will walk or tip if it isn’t bolted down.
Before you order, ask the seller for the handle length and shipping weight of the exact unit they’ll send. After delivery, measure the handle and note it in your bend log. If your space is tight, plan your mounting spot for the longer of the two handle lengths.
Strengths: why so many builders start here
The WFB2 earns its place as a common first bender. Based on the listings and what owners commonly report, these are its real strengths, and who each one helps.
A low-cost door into rotary draw
Rotary draw is the method behind almost every bumper, slider and cage you’ve admired. The WFB2 is one of the most affordable ways to get it. Who benefits: first-time builders who want to learn properly without a big outlay.
Round and square tube
Many budget benders only do round tube. The WFB2 accepts square dies too. That opens up trailer frames, racks, gates and furniture. Square tube is less forgiving than round, so expect a few extra practice pieces. Who benefits: builders who mix off-road parts with shop and home projects.
Simple to learn and live with
There’s very little to go wrong. A frame, a die, a degree ring and a handle. That simplicity makes it a good teacher. You’ll feel how tube behaves as it bends, which makes you a better fabricator on any machine later. Who benefits: beginners and occasional users.
Easy to buy into the system
Woodward Fab sells the matching stand and dies like the 2″ × 6″ CLR die on Amazon. So you can build the whole setup from one place. Who benefits: anyone without a local fab supplier.
Portable by bender standards
At 56 or 61 lb, depending on the listing, it’s light enough to move. Some builders mount it on a removable base so it can come out when the car goes back in. Who benefits: shared garages.
The WFB2’s best feature isn’t a number. It’s that it gets you bending real tube, the right way, without betting the budget on your first machine.
Limitations to know before you buy
Every bender has trade-offs. These are the ones that matter most with the WFB2, so you can decide if they’re deal-breakers for you.
The bend angle tops out around 110°–120°
Die listings show about 110° to 120° of bend. That covers most bumper, slider and rack bends, which usually sit under 90°. But a main hoop or a U-shaped bar needs 180°. You can’t make that in one bend on a WFB2. If hoops are on your list, look at benders with 180° capability, like the Eastwood High Capacity with its 240° dies.
Manual means muscle
Thick wall and big tube take real effort by hand. The WFB2 is a lever bender, so each pull is your strength against the tube. That’s fine for 1.5″ mild steel. It gets tiring on 2″ thick wall or a long session with dozens of bends.
No published chromoly rating
We didn’t find a 4130 chromoly rating for the WFB2 in the listings. Chromoly is stronger than mild steel and springs back more. JD2 says about twice as much as mild steel of the same size and wall (JD2 manual). If chromoly is your main material, choose a bender with a published 4130 rating.
The total cost climbs
The frame is affordable. But dies and the stand are sold separately, and each tube size needs its own die. Price the full setup, not just the bender.
Thin published data
Beyond the handle and weight conflicts, there’s no full capacity chart for every die in the listings we saw. You’ll rely on each die’s listing for its wall limit. Read those carefully.
A roll cage has to pass tech inspection. The rulebook sets tube size, wall, material and bend radius. Check the current rulebook and talk to your inspector before you buy tube or dies. Benders Hub isn’t a tech inspector or engineer.
WFB2 dies: round, square and what to buy first
The die is where your money and your bend quality both live. Get this choice right and the WFB2 will serve you well. Here’s how to think about it.
Start with your most common size
Buy one die for the tube you’ll use most. Many off-road builders use 1.5″ or 1.75″ OD, and Baileigh notes the most popular off-road dies are 1.5″ and 1.75″ at about 5.5″ and 6.5″ CLR (Baileigh blog). Your plans have the final word. Woodward Fab’s 2″ × 6″ CLR die is listed with a .134″ maximum wall, which makes it a solid pick for heavy bumpers and frames.
Check the CLR
CLR is fixed by the die. A tighter radius looks sportier but is harder on the tube. A common shop rule puts the practical minimum for non-mandrel bending around 3 × OD (Pro-Tools). Baileigh suggests starting at 4 × OD (Baileigh). Use this quick worksheet before you choose:
| Tube OD | 3 × OD (practical minimum) | 4 × OD (Baileigh starting point) | D of bend on a 6″ CLR die (example) |
|---|---|---|---|
| 1.25″ | 3.75″ | 5.0″ | 4.8D, gentle |
| 1.5″ | 4.5″ | 6.0″ | 4.0D, comfortable |
| 1.75″ | 5.25″ | 7.0″ | 3.4D, common for cage-style tube |
| 2″ | 6.0″ | 8.0″ | 3.0D, right at the rule of thumb |
The D of bend is simply CLR ÷ OD. Lower numbers are tighter. Our centerline radius guide explains it in depth, and the bend calculator does the math for you.
Square dies
Square tube needs its own die. It’s less forgiving than round and can bulge or buckle at the corners if the wall is thin. Check the die listing for its wall range and practice on scrap.
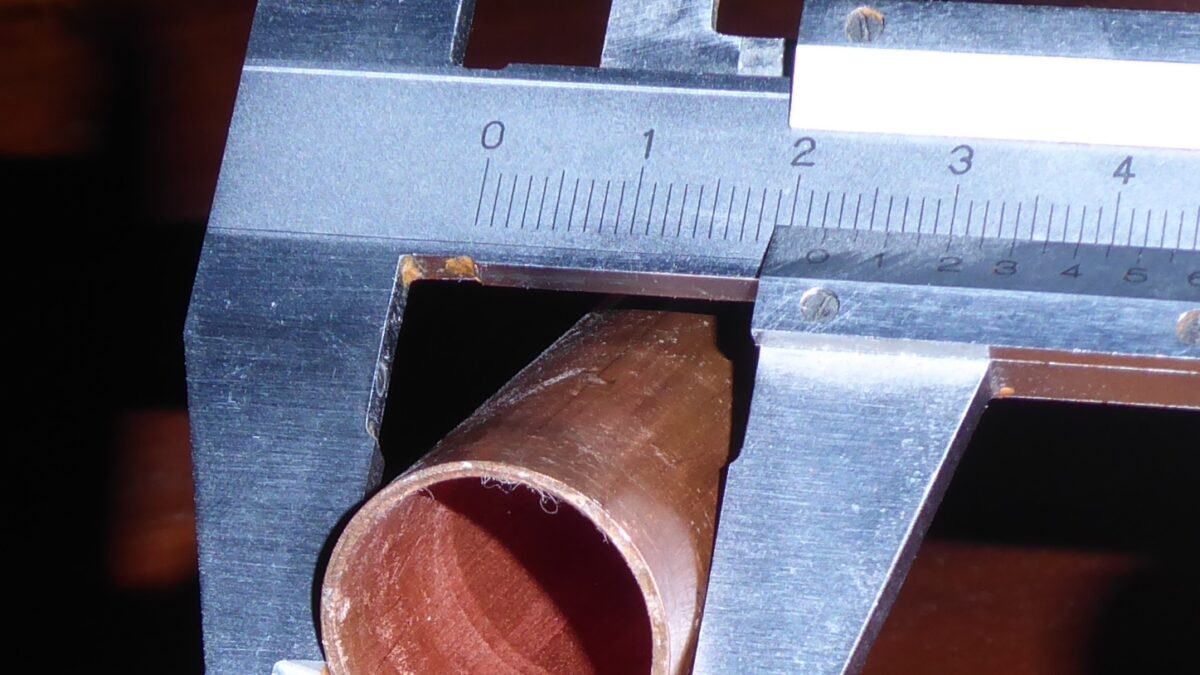
Use calipers on the actual tube you’ll buy. “1-1/2 inch” pipe is 1.900″ OD, so a 1.5″ tube die won’t fit it. Buy dies for the real outside diameter.
Who the WFB2 suits (and who should skip it)
The right bender is the one that fits your most common job. Here’s how the WFB2 lines up.
A good fit if you…
- Bend mild steel up to 2″ for bumpers, sliders, racks and kart frames.
- Build a few projects a year and want to learn without a big outlay.
- Want both round and square tube from one frame.
- Have limited space and want a bender you can move.
Probably skip it if you…
- Need 180° hoops or U-bends in one go.
- Plan to bend 4130 chromoly regularly.
- Will run long sessions in 2″ thick wall and want hydraulic help.
- Are building a full cage and want one machine for every bend.
The stories below are composites. The same situations come up again and again in garage-fab forums and build threads.
A builder wants a front bumper and rock sliders for a trail rig. They buy a WFB2, a stand and one die in their main tube size. The first two practice pieces come out short, so they measure the springback and write it down. The bumper bends land within a degree after that.
Lesson: one die and a bend log take you a long way on a simple bender.
Someone plans a roll bar with a 180° main hoop. Halfway through, they realise the die tops out around 120°. The hoop can’t be made in one bend on this frame. They end up borrowing time on a friend’s 180° bender.
Lesson: check the max bend angle against your tightest part before you buy.
The WFB2 upgrade path: stand, dies, notcher and beyond
A smart upgrade path means you spend in stages, only when a project demands it. Here’s how we’d grow a WFB2 setup, step by step.
| Stage | What to add | Why | When |
|---|---|---|---|
| 1 | Stand, anchored to concrete | Safety and accuracy | Before your first real bend |
| 2 | One die in your main size | Covers most of your parts | Day one |
| 3 | Notcher, hole saws, angle finder | Tight joints and accurate angles | Your first project with joints |
| 4 | Second die (new size or square) | New project types | When a project needs it |
| 5 | Powered or 180° bender | Hoops, chromoly, long sessions | When the WFB2 becomes the limit |
Stages 1–2: stand and first die
The WFB2 stand gives the bender a solid base. Bolt it to a sound concrete floor. Then add one die for your main tube size. That’s a complete, working setup.
Stage 3: a notcher
A bender gives you the shape. A notcher gives you the fit. Every joint needs a “fishmouth” cut so one tube saddles onto another. See our tube notching guide for the details.
Eastwood Tube & Pipe Notcher (0°–60°)
A hole-saw notcher for round tube up to 2″, adjustable from 0° to 60°.
This notcher clamps your tube and guides a standard hole saw through it at the angle you set. You can run it from a hand drill or a drill press.
Who it’s for: any WFB2 owner whose project has joints. Match the hole saw to the OD of the tube you’re joining to.
- Round tube
- Up to 2″
- Angle range
- 0°–60°
- Drive
- Hand drill or drill press
- Hole saws
- Not included
Same-brand option: Woodward Fab 2″ hole-saw notcher. Affiliate links. See our disclosure.
Stage 5: going powered or going bigger
Woodward Fab also lists an air-over-hydraulic version of this bender, the WFB2-AHP. We couldn’t confirm whether a kit exists to convert a manual WFB2, so ask Woodward Fab before you count on it. If you need 180° bends or chromoly ratings, a different machine is usually the cleaner step. See the alternatives below, and our guide to manual vs hydraulic tube benders.
WFB2 vs alternatives: where to go next
Here’s how the WFB2 compares with the benders people most often weigh against it, or step up to. Specs come from each maker or the retail listing. Where sources disagree, we say so.
| Bender | Drive | Mild steel | 4130 | Max bend | Upgrade path |
|---|---|---|---|---|---|
| Woodward Fab WFB2 | Manual lever | Up to 2″; 2″ die listed to .134″ | Not stated | About 110°–120° | WFB2-AHP version listed |
| Eastwood High Capacity | Manual, hydraulic-ready | 2″ × .120″ | .090″ wall | 180° (240° dies) | Air or electric kit |
| Baileigh RDB-050 | Manual, 3-speed ratchet | 2.5″ × .120″ | 2″ × .120″ | 190°/200° (both listed) | Manual only |
| JD2 Model 32 | Manual, hydraulic option | Over 2″ × .120″ needs hydraulics | See JD2 charts | 180° die sets sold | Hydraulic kit |
| Pro-Tools 105HD | Manual ratchet | To .134″ wall | 2″ × .134″ (extension handle) | 180° | Hydraulic package |
The natural next step: Eastwood High Capacity
If the WFB2’s angle or effort limits bother you, the Eastwood is the closest step up. It bends to 180° with 240° dies, and Eastwood sells both an air-hydraulic kit and an electric-hydraulic kit. It’s rated to 2″ × .120″ mild steel, with 4130 limited to .090″ wall. Dies, handle and stand are sold separately, so check the listing.
Eastwood High Capacity Tube Bender (#21115)
Bend by hand today. Add air- or electric-hydraulic power later.
This is where many WFB2 owners look once they need hoops or want hydraulic help.
Who it’s for: builders moving into roll bars, cages or lots of bumpers.
- Mild steel
- Up to 2″ × .120″ wall
- 4130
- Limited to .090″ wall
- Bend angle
- Up to 180° with 240° dies
- Air kit
- About 90 psi working pressure
Affiliate link. See our disclosure.
For big tube and chromoly
The Baileigh RDB-050 is rated to 2.5″ × .120″ mild steel and 2″ × .120″ 4130 by hand. It’s a much bigger investment. Read our Baileigh RDB-050 review for the full picture.
Sold direct
The JD2 Model 32 (JD2) and Pro-Tools 105HD (Pro-Tools) aren’t on Amazon. Both offer 180° dies and a hydraulic route. Want the wider view? See our best tube bender for a home garage roundup.
Common WFB2 mistakes (and how to fix them)
Most WFB2 regrets come from the same short list. None of them are the bender’s fault. They come from buying before checking the numbers. Here they are, with a fix for each.
❌ Planning a 180° hoop on a 120° die. The bend simply can’t be finished.
✅ Fix: list your tightest bend before buying. If it’s over about 110°–120°, choose a 180° bender.
❌ Trusting one listing’s handle length. Listings say 29″ and 36″.
✅ Fix: ask the seller, then measure on delivery. Plan your space for the longer figure.
❌ Bending on an unanchored stand. A light frame walks or tips under load.
✅ Fix: bolt the stand to sound concrete before your first real bend.
❌ Buying a die for “1-1/2 inch” pipe when you have tube. Nominal pipe sizes don’t match the OD.
✅ Fix: measure the real OD with calipers and buy the matching die.
❌ Going past the die’s wall limit. Thick wall overloads the frame and your arms.
✅ Fix: check each die listing’s max wall, such as .134″ on the 2″ × 6″ CLR die.
❌ Skipping test bends. Every material and batch springs back differently.
✅ Fix: bend scrap first, measure the springback, and log it.
Pro tips for getting the most from a WFB2
A simple bender rewards good habits. These cost almost nothing and save a lot of tube.
- 💡 Measure your springback. Bend scrap to 90° on the degree ring, release, then check with an angle finder. Rogue Fabrication shows a mild-steel bend that read 86.5° after release, a 3.5° difference (Rogue Fab). Yours will vary.
- Keep a bend log. Note tube, wall, material, die and springback for every job.
- Draw a reference line. A straight line along the tube shows any rotation and helps you set the angle between bends.
- Leave clamp room. Plan bends so there’s always straight tube for the clamp, or leave extra and trim it.
- Number your bends. Sketch the part and bend in order, so the frame never blocks a later bend.
- Mock up first. Try tricky parts with cheap tube or even wire before cutting good stock.
- Plan for the handle swing. Mount the bender where the handle and the tube can both swing freely.
Many experienced builders design most parts around one tube size. On a WFB2, that means one die, one springback number to learn, and parts that look like they belong together.
A simple bender plus a good bend log beats a fancy bender used by guesswork.
Frequently asked questions
Is the Woodward Fab WFB2 a good first bender?
For mild steel bumpers, sliders, racks and kart frames, yes. It’s simple, takes round and square dies, and is one of the cheapest ways into rotary-draw bending. This is a research review based on listings, not a hands-on test.
Can the WFB2 bend 180°?
Not in one bend. Die listings show about 110°–120°. For 180° hoops, look at a bender like the Eastwood High Capacity with 240° dies.
How long is the WFB2 handle?
Listings disagree. Amazon lists 29″ and Elite Metal Tools lists 36″. Ask the seller about your unit and measure it on delivery.
Can the WFB2 bend chromoly?
We didn’t find a published 4130 rating. Chromoly springs back about twice as much as mild steel, per JD2. If chromoly is your main material, choose a bender with a published 4130 rating.
What die should I buy first for a WFB2?
The one for your most common tube size. Woodward Fab’s 2″ × 6″ CLR die is listed to .134″ wall. Measure your tube’s real OD before ordering.
Can I add hydraulics to a WFB2?
Woodward Fab lists an air-over-hydraulic WFB2-AHP version. We couldn’t confirm a conversion kit for the manual model, so ask Woodward Fab.
Your WFB2 pre-purchase checklist
Run through this before you order. If you can tick every box, the WFB2 is a good match.
- I’ve listed my projects with tube OD, wall and material for each
- My tightest bend is under about 110°–120°
- My tube is mild steel, or I’ve confirmed chromoly with the seller
- The die listing covers my OD and wall, with some headroom
- I’ve asked the seller about handle length (29″ vs 36″)
- I have room for the handle and tube to swing
- I’ve priced the stand and my first die along with the bender
- I have a concrete floor spot for anchoring
- I’ve budgeted for a notcher, hole saws and an angle finder
- I’ve bought extra tube for test bends and a springback log
That’s the WFB2: a simple, honest starter bender with a couple of listing quirks worth checking. Use it for what it does well, log your bends, and plan your upgrade path before you need it. Do that, and it’ll pay for itself many times over.
Is the WFB2 the right bender for you?
Answer nine quick questions and get a recommendation with the reasons behind it. Or work out your cut lengths with the bend calculator.
Keep reading
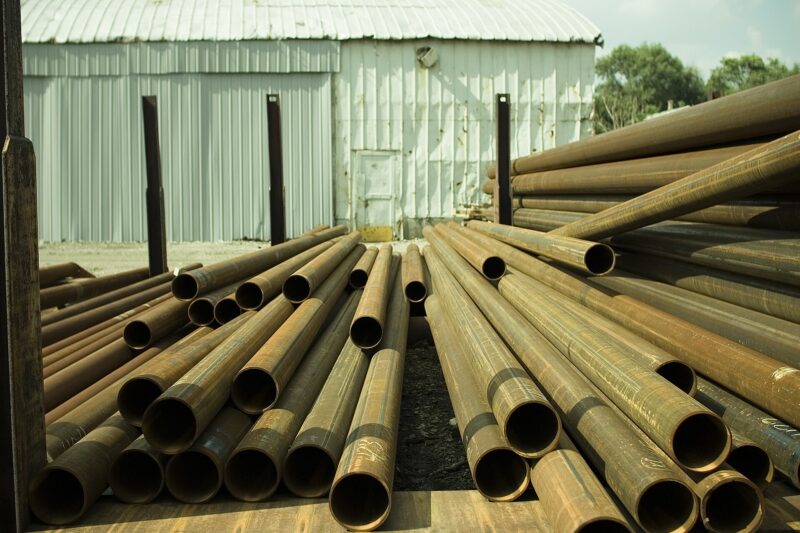
Tube Bender Capacity Chart: Published Limits for 9 Benders
A tube bender capacity chart built only from maker-published specs: OD, wall and 4130 limits for 9 benders, one source per row,…
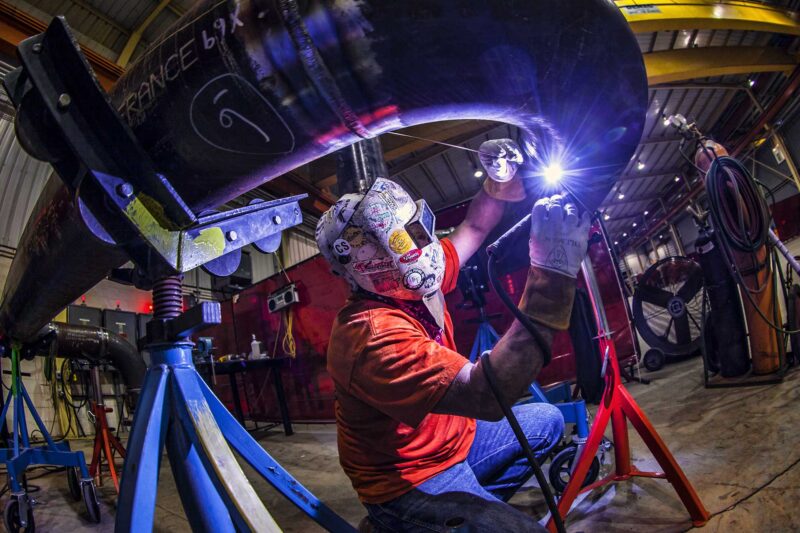
Best Hydraulic Tube Bender (2026): Rotary Draw vs Bottle-Jack
The best hydraulic tube bender is a rotary-draw machine, not a bottle-jack ram. Research-based picks, power needs and upgrade kits, with sources.
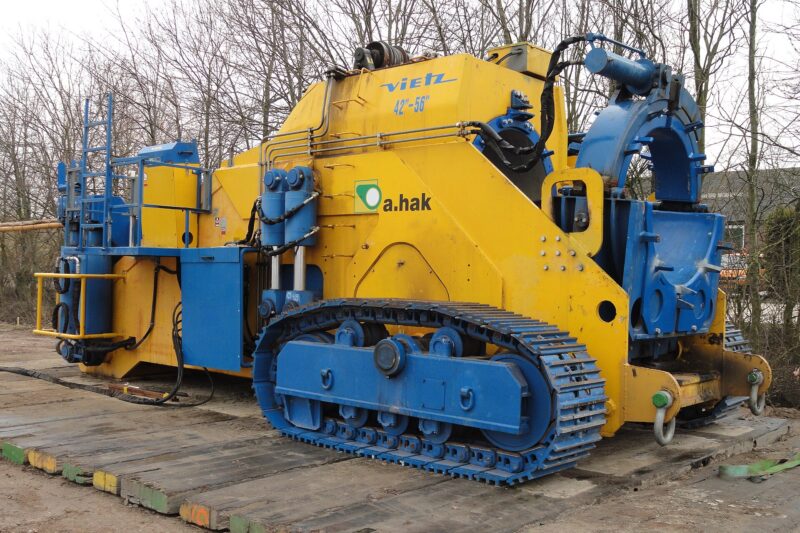
Harbor Freight 12 Ton Pipe Bender: What It’s For (and What It Isn’t)
An honest guide to the Harbor Freight 12 ton pipe bender: what it bends well, why it kinks tube, and better rotary-draw…