Centerline Radius Tube Bending: CLR Explained With Real Math
Centerline radius tube bending made simple: what CLR is, CLR vs inside radius, 4 ways to measure it, and how to choose the right die CLR.

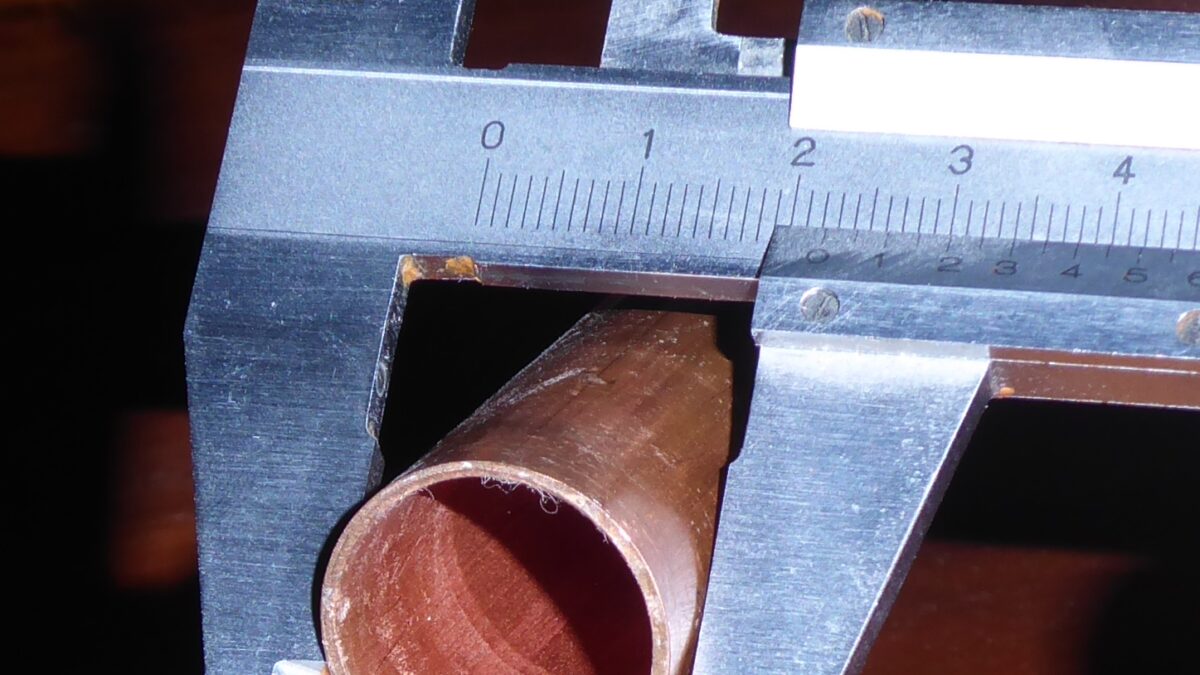
You go to order a die, and the listing says “1.75 × 6 CLR.” A friend tells you to “go 3D.” A rulebook says “three times the tube diameter.” An old drawing just says “6-inch radius.” Are those all the same number? Not quite. Welcome to centerline radius tube bending. CLR is the one number that sets the size, shape and difficulty of every bend you make.
CLR sounds technical, but it isn’t. It’s the radius of the bend, measured to the middle of the tube. The trouble starts when you mix it up with the inside or outside radius. Parts come out the wrong size. Cut lengths drift. Dies get ordered wrong. And on a roll cage, you could end up under a rulebook minimum without knowing it.
This guide clears it all up, the way a friend in the next garage bay would. You’ll learn what CLR is and how it differs from inside and outside radius. You’ll see how to measure it on a die or a bent part, and how to choose the right die CLR for your project. We’ll work real numbers with the math shown, so you can check every step yourself.
Centerline radius (CLR) is the distance from the center of a bend to the centerline of the tube. Rotary-draw dies are sold by tube OD × CLR.
- Inside radius = CLR − OD ÷ 2. Outside radius = CLR + OD ÷ 2. A 1.75″ tube on a 6″ CLR die has a 5.125″ inside radius and a 6.875″ outside radius.
- How tight? Pro-Tools puts the practical minimum without a mandrel at about 3 × OD. Baileigh suggests starting at 4 × OD. Cage rulebooks may set their own minimum.
- Length: arc length = CLR × angle in radians. A 90° bend on a 6″ CLR uses 9.42″ of tube.
- Measuring: on a U-bend, the center-to-center distance between the legs is 2 × CLR. Use digital calipers to get the true OD first.
📋 In this guide
Centerline radius tube bending: the plain-English definition
Picture any bend as a slice of a circle. Every circle has a center point. Now picture a line running down the exact middle of the tube, halfway between the walls. That’s the centerline. The centerline radius is the distance from the circle’s center point to that line.
That’s it. The Fabricator’s glossary defines it the same way. It also notes that CLR is often written as a multiple of the tube size. Its example: a “5 × D” bend on 2″ tube has a 10″ CLR. We’ll come back to that “D” idea soon.
The die decides the CLR
On a rotary-draw bender, the die sets the CLR. The tube wraps around the die’s groove, so the bend can only follow that one radius. That’s why dies are sold by two numbers: the tube’s outside diameter (OD) and the CLR. A “1.75 × 6″ die bends 1.75″ OD tube at a 6” centerline radius.
You can’t change the CLR by pulling harder, slower or in smaller steps. Want a bigger or tighter radius? You need a different die. Hand benders for brake line and conduit benders work the same way. Their forming wheel or shoe has a fixed radius built in.
“Bend radius” is a slippery phrase
In tube shops, “bend radius” usually means CLR. But not always. Some drawings, sellers and older references use “bend radius” for the inside curve instead. Stainless Headers’ cut-length calculator sums up the tube-world habit well: bent tubing is normally measured at the centerline, not the inside or outside edge.
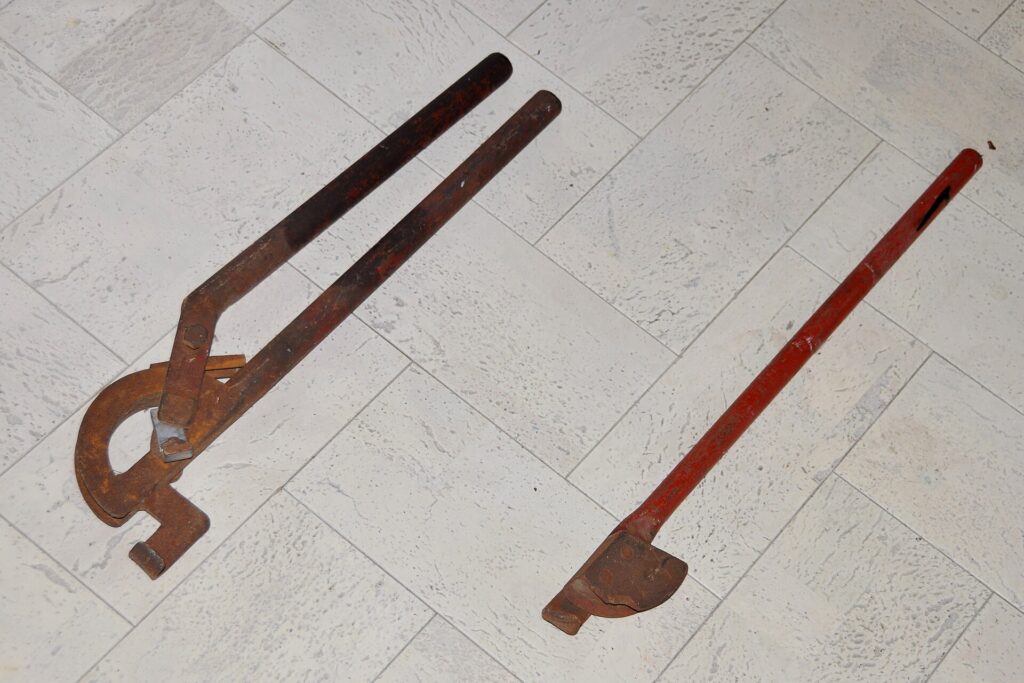
If a drawing, plan or seller gives you a radius without saying CLR or centerline, ask before you order a die. On 1.75″ tube, mixing up inside radius and CLR puts you off by 0.875″. That’s half the tube’s diameter.
CLR vs inside radius vs outside radius
A tube has thickness, so every bend really has three radii. The inside radius is the tight curve on the inside of the bend. The outside radius is the big sweeping curve on the outside. The CLR sits exactly halfway between them.
One quick note on words. Here, “inside radius” means the radius of the tube’s outer surface on the inside of the bend. It’s what you’d touch with a radius gauge. It is not the tube’s bore. Because these numbers are measured on the outside surface, wall thickness doesn’t change them. Only the OD does.
The three formulas
- Inside radius = CLR − (OD ÷ 2)
- Outside radius = CLR + (OD ÷ 2)
- CLR = inside radius + (OD ÷ 2), or outside radius − (OD ÷ 2)
Worked example
Take 1.75″ OD tube on a 6″ CLR die. Half the OD is 1.75 ÷ 2 = 0.875″. The inside radius is 6 − 0.875 = 5.125″. The outside radius is 6 + 0.875 = 6.875″. Swap in 1.5″ tube on a 5.5″ CLR die and you get 4.75″ inside and 6.25″ outside.
| Measurement | Measured to | Formula | 1.75″ OD on 6″ CLR | 1.5″ OD on 5.5″ CLR |
|---|---|---|---|---|
| Inside radius | Tube surface on the inside of the bend | CLR − OD ÷ 2 | 5.125″ | 4.750″ |
| Centerline radius (CLR) | Middle of the tube | Set by the die | 6.000″ | 5.500″ |
| Outside radius | Tube surface on the outside of the bend | CLR + OD ÷ 2 | 6.875″ | 6.250″ |
| U-bend leg spacing | Center of one leg to center of the other | 2 × CLR | 12.000″ | 11.000″ |
See how the tube size changes everything? The same inside radius on a different tube gives a different CLR. That’s why a radius with no tube size is only half the story. Whenever you write down a bend, write the OD next to it.
Most rotary-draw dies are listed by CLR. Pre-bent elbows and some drawings may not say which radius they mean. If the listing doesn’t say “CLR” or “centerline,” confirm it with the seller before you buy.
Why the centerline is the number that matters
When tube bends, it doesn’t just curve. The outside wall gets stretched and thins out. The inside wall gets squeezed and thickens. The Fabricator describes the same thing in its tube-bending basics. Somewhere near the middle is a line that’s neither stretched nor squeezed much. For everyday shop math, that line is treated as the tube’s centerline.
That’s why tube lengths are figured at the centerline. Measure on the inside and your number is too short. Measure on the outside and it’s too long.
The numbers, side by side
Let’s bend 1.75″ tube 90° on a 6″ CLR die. First convert the angle to radians: 90° = 1.5708 radians. Arc length is radius × angle in radians.
- Inside arc: 5.125 × 1.5708 = 8.05″
- Centerline arc: 6 × 1.5708 = 9.42″
- Outside arc: 6.875 × 1.5708 = 10.80″
The outside skin is about 2.75″ longer than the inside skin on that one bend. Only the centerline number tells you how much straight tube the bend really uses. That’s the 9.42″ figure.
The JD2 shortcut
JD2’s Model 32 manual writes bend length as CLR × degrees × .0175. That’s the same formula with π ÷ 180 rounded up. The exact value is about 0.017453. On our example, JD2’s shortcut gives 6 × 90 × .0175 = 9.45″. The exact answer is 9.42″. The tiny difference only matters when you add up many bends.
You may also run into sheet-metal “bend allowance” formulas that use a K-factor and the material thickness. Those come from sheet-metal work. For tube on a rotary-draw die, makers and tube calculators use CLR × angle. Our full tube bend length formula guide walks through it with more examples.
Measure bends at the centerline. The inside of the bend is too short, the outside is too long, and the middle is just right.
CLR as a multiple of OD: the “D” number
Fabricators often talk about CLR as a multiple of the tube OD. That ratio is called D of bend. Pro-Tools defines it simply as CLR ÷ OD in its wall factor and D of bend article.
So a 1.75″ tube on a 6″ CLR die is 6 ÷ 1.75 = 3.43D. A “1D” exhaust bend has a CLR equal to its OD. Vibrant, for example, lists a 3″ OD 304 stainless 90° mandrel bend with a 3″ centerline radius. That’s 1D. When someone says “1.5D,” they mean 1.5 × OD, not a 1.5″ radius.
Lower D means a tighter, harder bend
The lower the D number, the tighter the bend and the harder it is on the tube. Pro-Tools puts the practical minimum CLR for bending without a mandrel at about 3 × OD. Baileigh’s basic bending concepts suggests 4 × OD as a starting estimate. Those two aren’t in conflict. One is a floor and the other is a comfortable place to start.
| Situation | Typical D (CLR ÷ OD) | On 1.75″ OD tube | Source |
|---|---|---|---|
| Practical non-mandrel minimum | About 3D | About 5.25″ CLR | Pro-Tools |
| Starting estimate | 4D | 7″ CLR | Baileigh |
| Popular off-road dies | 1.5″ at about 5.5″ CLR, 1.75″ at about 6.5″ CLR | 6.5″ ÷ 1.75 = 3.7D | Baileigh |
| SCCA Time Trials cage bends | At least 3 × tube diameter, at the centerline | 5.25″ CLR or larger | SCCA Time Trials |
| 6061-T6 aluminum | About 3.5–4D; 3D is marginal | About 6.1″–7″ CLR | Rogue Fab |
| Mandrel-bent exhaust | 1D to 1.5D is common | Needs a mandrel bender | Vibrant listings |
At the extreme end, BLM Group calls bends with a CLR-to-diameter ratio under 1 “extreme” curvatures that take serious know-how. That’s production machine territory, not garage work.
D of bend is only half the difficulty story. Wall thickness matters just as much. Our guide to wall factor and D of bend shows how the two work together.
How to measure CLR: 4 reliable methods
Sometimes you need to find the CLR yourself. Maybe the die has no markings. Maybe you’re copying a part someone else bent. Here are four methods, from easiest to fiddliest. All of them start with the true OD, so measure it with calipers first. Don’t trust the label.
1. Read the die
Most dies are stamped or listed as OD × CLR. Check the die face, the box, the maker’s die chart or the listing. This is the most reliable number you’ll get. If the maker’s chart and a reseller’s listing disagree, trust the maker and ask.
2. Measure a 180° U-bend
This is the easiest way to measure a bent part. Lay the U-bend flat. Measure from the left edge of one leg to the left edge of the other leg. Same-side edges cancel out the tube size, so this distance is the center-to-center spacing. Divide by 2 to get the CLR.
Or measure the inside gap between the legs, add one OD, then divide by 2. Example: a 10.25″ gap on 1.75″ tube gives (10.25 + 1.75) ÷ 2 = 6″ CLR.
3. Measure a 90° bend with a framing square
Set a framing square against the outside of both legs. Measure the gap from the inside corner of the square to the tube, along the 45° line. Multiply that gap by 2.414 to get the outside radius. Then subtract half the OD.
Example: a 2.85″ gap on 1.75″ tube. 2.85 × 2.414 = 6.88″ outside radius. 6.88 − 0.875 = about 6″ CLR. Be careful, though. Any reading error gets multiplied by 2.4, so measure twice.
4. Measure the die groove
On a die you can measure straight across, find the diameter at the bottom of the groove. That equals 2 × (CLR − OD ÷ 2). So CLR = (groove diameter + OD) ÷ 2. A 10.25″ groove diameter for 1.75″ tube gives (10.25 + 1.75) ÷ 2 = 6″ CLR. This only works on dies wide enough to measure across.
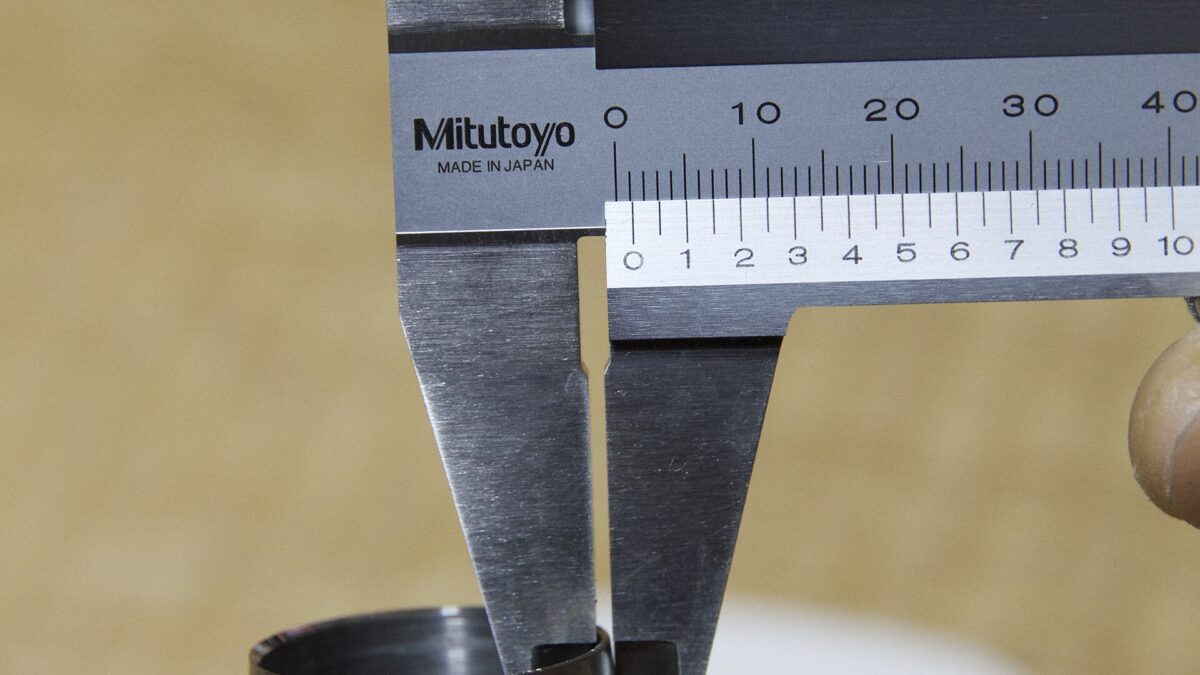
As an Amazon Associate I earn from qualifying purchases.
The tool that makes all of this easier: digital calipers
NEIKO 01407A Electronic Digital Caliper (0–6″)
A budget digital caliper for checking tube OD, wall and die grooves.
Every CLR formula uses the OD, and labels aren’t always right. A digital caliper reads the true OD in seconds. It also checks wall thickness at a cut end, which you’ll need for wall factor.
Who it’s for: anyone ordering dies, copying a bent part or checking that “1.5 inch” stock is really tube and not pipe.
Why we picked it: it’s a widely sold, low-cost caliper with inch, fraction and millimeter modes. Picks are based on published listing details, not hands-on testing. See how we evaluate equipment.
- Range
- 0–6″ (0–150 mm)
- Readout
- Inch, fraction and mm
- Body
- Stainless steel, per the main listing
- Zero
- Can be set at any point
- Check
- Some listings bundle multiple units or show a different model, so confirm 01407A
Why we like it
- Fast, easy OD and wall checks
- Fraction mode suits inch tube sizes
- Small enough to live in the bender drawer
Know before you buy
- A budget tool, not a lab instrument
- Can’t reach the wall in the middle of a tube
- Battery-powered, so keep a spare
Affiliate link. See our disclosure.
How to choose a die CLR for your project
For most garage builders, the CLR choice comes down to one die purchase. Dies cost real money, so it pays to think it through once. Work through these questions in order.
1. Do any rules apply?
For roll cages and roll bars, the rulebook comes first. SCCA Time Trials, for example, says cage bends measured at the tube centerline must have a radius of at least three times the tube diameter. Other bodies have their own rules, and they change. Benders Hub is not a tech inspector or an engineer. Read the current rulebook for your class and talk to your inspector before you buy tube or dies. Our roll cage bend radius guide has more.
2. What material are you bending?
Mild steel is the most forgiving. Aluminum is pickier. Rogue Fab says 6061-T6 is more likely to crack on tight radii and recommends about 3.5–4D, calling 3D marginal. If you’ll bend 6061, lean toward a bigger CLR. More in our 6061 aluminum tube guide.
3. What look and space do you need?
A tighter CLR looks sportier and tucks into small spaces. A bigger CLR is gentler on the tube and easier to bend. Off-road builders often land in the middle. Baileigh says the most popular off-road dies are 1.5″ and 1.75″ at about 5.5″ and 6.5″ CLR.
4. Can you buy the die, in your exact OD?
Check that your bender’s maker sells the CLR you want in your tube size. And make sure it’s a tube die, not a pipe die. Pipe is sold by nominal size. A 1-1/2″ pipe measures 1.900″ OD, so a 1.5″ tube die won’t fit it.
Quick recap before you order:
- Rules checked (cages, roll bars, anything sanctioned)
- CLR suits the material, with room to spare
- Die is sold for your bender, in your true OD
- The bend fits the space on your part
For cages and roll bars, never pick a die just because it looks good. Confirm the minimum bend radius, tube size, wall and material in the current rulebook, and with your tech inspector, before you buy. Read our workshop safety notes too.
How CLR changes your layout and cut length
CLR doesn’t just change how a bend looks. It changes where the bend starts and how much tube it uses. That matters every time you cut a stick to length.
Tangent length grows with CLR
Imagine the two straight legs of a bend extended until they meet in a sharp corner. The distance from where the bend starts to that imaginary corner is the tangent length. It equals CLR × tan(angle ÷ 2). For a 90° bend, tan(45°) = 1, so the tangent length equals the CLR. A 6″ CLR die starts a 90° bend 6″ before the corner. A 7″ die starts it 7″ before.
A quick comparison
Say you need one 90° bend with legs of 24″ and 18″. Both are measured along the centerline to that imaginary corner. The cut length is the two legs, minus two tangent lengths, plus the arc.
- 6″ CLR die: 24 + 18 − (2 × 6) + (6 × 1.5708) = 42 − 12 + 9.42 = 39.42″
- 7″ CLR die: 24 + 18 − (2 × 7) + (7 × 1.5708) = 42 − 14 + 11.00 = 39.00″
Same part, different die, and the cut length changes by about 0.43″. Cut by the wrong number and your legs come out short or long.
Bigger CLRs also eat more straight tube for clamping. Plan for that on parts with bends close together. Our free bend calculator handles tangent, arc and cut length. The geometry visualizer lets you see how a change in CLR moves the bend.
Your bend won’t match the die perfectly
The Fabricator notes that harder tube and a smaller CLR mean more springback and more “radial growth.” In other words, the finished bend can open up a little after you release it. That’s why test bends matter. Our springback guide covers how to measure and correct it.
Real-life lessons about CLR
These are composite stories. The same situations come up again and again in garage-fab forums and build threads. Each one costs someone tube, time or a die order.
A builder copies a bumper plan that says “6-inch radius” and orders a 1.75 × 6 CLR die. The parts look right but don’t line up with the brackets. The plan’s author had measured the inside of the bend. The real CLR was 6 + 0.875 = 6.875″, much closer to a 7″ die.
Lesson: ask which radius a plan means, and convert to CLR before you buy a die.
Someone bends a 6061-T6 handrail on a tight die that bends mild steel just fine. The outside of each bend shows cracks. The die was well under the roughly 3.5–4D that Rogue Fab recommends for 6061-T6.
Lesson: match the CLR to the material, not just the bender.
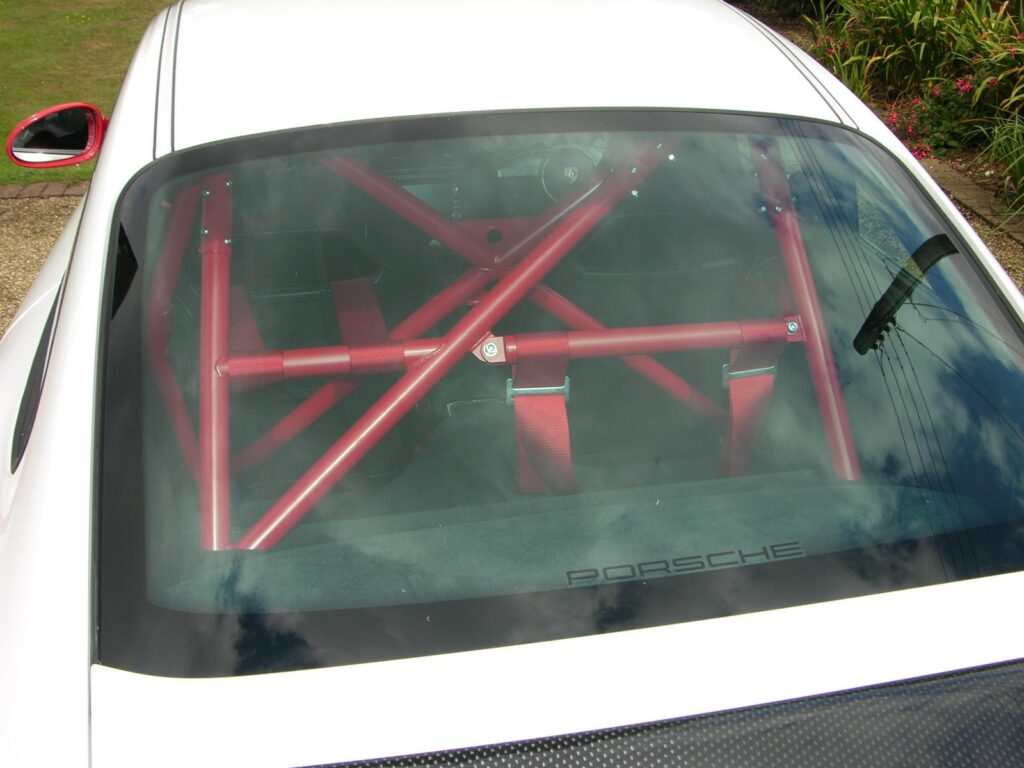
A first-time cage builder wants tight, sporty bends and buys a die well under 3 × OD. Before welding anything, they read their series rulebook. It calls for a centerline radius of at least three times the tube diameter. The die goes back on the shelf.
Lesson: read the rulebook before you order dies for a cage.
Common CLR mistakes (and how to fix them)
Most CLR headaches come from a short list of mix-ups. Here they are, with the fix for each.
❌ Treating any “radius” as CLR. Plans and listings don’t always say which radius they mean.
✅ Fix: ask. Convert inside radius to CLR by adding half the OD.
❌ Measuring the inside curve and calling it CLR. You’ll be off by half the tube’s diameter.
✅ Fix: use the U-bend, framing-square or groove method, and always add or subtract OD ÷ 2.
❌ Using sheet-metal bend allowance formulas for tube. K-factor formulas were built for sheet.
✅ Fix: for tube, use arc length = CLR × angle in radians, then check with a test bend.
❌ Picking the tightest die because it looks cool. Without a mandrel, Pro-Tools puts the practical floor at about 3 × OD.
✅ Fix: stay at or above 3D for non-mandrel work. Start nearer 4D if you’re unsure.
❌ Mixing up tube and pipe sizes. 1-1/2″ pipe is 1.900″ OD, so the D and the die are both wrong.
✅ Fix: measure the real OD with calipers and buy dies for that size.
❌ Assuming the part matches the die exactly. Springback can open the bend slightly.
✅ Fix: make a test bend in the same tube, measure it and log the result.
Pro tips for working with CLR
These habits make CLR second nature. None of them cost much, and they save tube.
- 💡 Write OD and CLR together, every time. “1.75 × 6” tells the whole story. “6-inch bend” doesn’t.
- 💡 Label your dies. Paint marker or stamps on the die face: OD, CLR and max angle. Future you will be grateful.
- 💡 Keep a U-bend sample from each die. It’s a quick reference for leg spacing, and it lets you check the real CLR any time.
- 💡 Pick a house die. Many builders design most parts around one OD and one CLR. One springback number to learn, and parts that match.
- 💡 Use the centerline in CAD too. Draw tube parts as centerlines with the die CLR at each corner. Your cut lengths then come straight from the drawing.
- 💡 Check D before buying a die. Divide CLR by OD. If it’s under 3 for non-mandrel steel, think twice.
- 💡 Know when you need a mandrel. Tight exhaust bends near 1D–1.5D need mandrel support. Read more in mandrel vs rotary-draw bending.
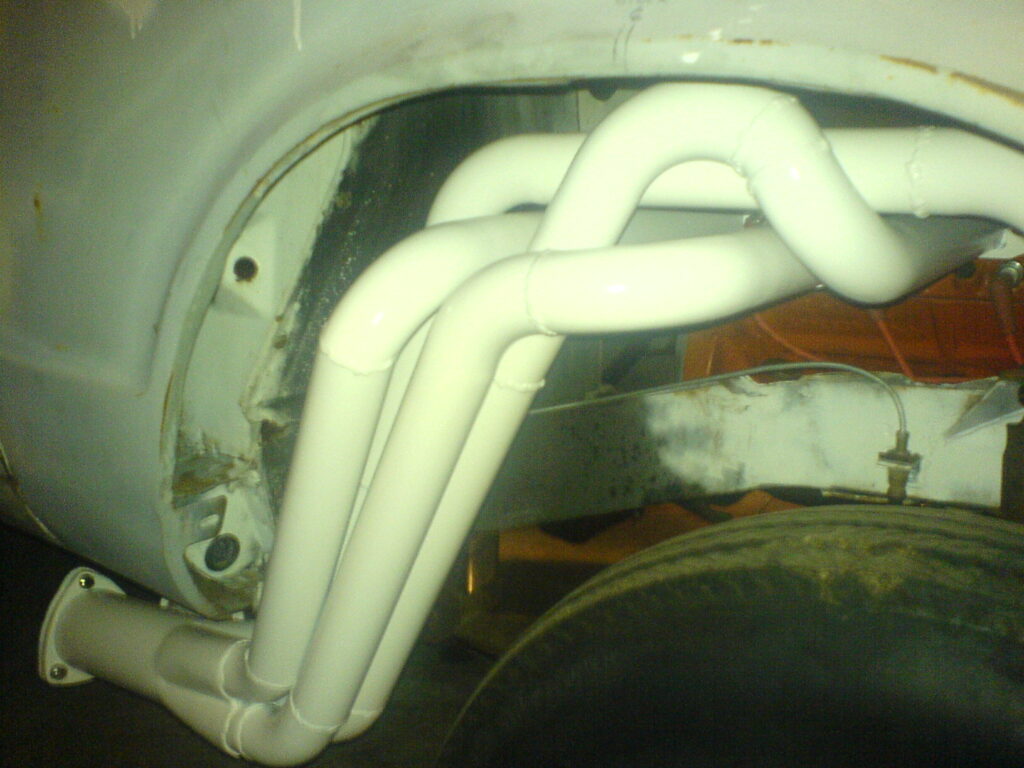
Experienced fabricators sketch every part as a centerline with radiused corners. Legs, tangents and arcs all live on that one line. Once you think that way, CLR stops being a mystery and becomes a simple layout tool.
Frequently asked questions
What does CLR mean in tube bending?
CLR stands for centerline radius. It’s the distance from the center of the bend to the centerline of the tube. Rotary-draw dies are sold by tube OD and CLR, such as 1.75 × 6.
How do I convert inside radius to centerline radius?
Add half the tube’s outside diameter. A 5.125″ inside radius on 1.75″ tube is 5.125 + 0.875 = 6″ CLR. To go from outside radius, subtract half the OD.
What is the minimum centerline radius for tube bending?
Without a mandrel, Pro-Tools puts the practical minimum at about 3 × OD, and Baileigh suggests starting at 4 × OD. Mandrel benders can go much tighter. Rulebooks and materials such as 6061-T6 may require more.
Is a 1.5D bend the same as a 1.5″ radius?
No. “D” means the tube’s OD. A 1.5D bend has a CLR of 1.5 × OD. On 3″ exhaust tube that’s a 4.5″ CLR, not 1.5″.
Does wall thickness change the CLR?
No. The die sets the CLR. But wall thickness changes how tight you can bend without flattening or wrinkling. That’s what wall factor measures.
Your CLR checklist
Run through this list before you order a die or cut tube for a bent part.
- I’ve measured the true tube OD with calipers
- I know whether my plan’s radius is CLR, inside or outside radius
- I’ve converted any inside or outside radius to CLR
- I’ve worked out D of bend (CLR ÷ OD) for my die
- My D is at or above about 3 for non-mandrel steel
- I’ve checked material limits, such as 6061-T6 at about 3.5–4D
- For cages and roll bars, I’ve checked the current rulebook minimum
- The die is sold for my bender in my exact OD, not a pipe size
- I’ve figured cut length with tangents and arcs at the centerline
- I’ve planned a test bend to check springback and the real radius
CLR is just the radius to the middle of the tube. Get that one number right, write it next to the OD, and the rest of your layout falls into place. Your bends will match your plans, and your plans will match your parts. ✅
Ready to put your CLR to work?
Plug in your OD, wall and die CLR to get D of bend, wall factor, arc length, tangent length and cut length. Or see how a bigger or smaller radius changes the shape.
Keep reading
Pipe Bender vs Tube Bender: Which One Do You Actually Need?
Pipe bender vs tube bender: how NPS pipe and OD tube differ, why a ram pipe bender kinks tubing, and which bender…
Tube Bender Comparison Chart: 7 Benders by Published Specs
Our tube bender comparison lines up JD2, Rogue Fab, Baileigh, Pro-Tools, Woodward Fab, Eastwood and Harbor Freight, with a source for every…

Best Tube Bender (2026): Top Picks for Every Job
The best tube bender depends on the job. Research-based picks for home garages, roll cages, chromoly, exhaust and production, with sourced specs.