Hydraulic Cylinder for Tube Bender: Match Tonnage and Stroke
Choosing a hydraulic cylinder for tube bender work? Match tonnage and stroke to your maker's spec, compare 10 vs 15 ton, and stay safe.

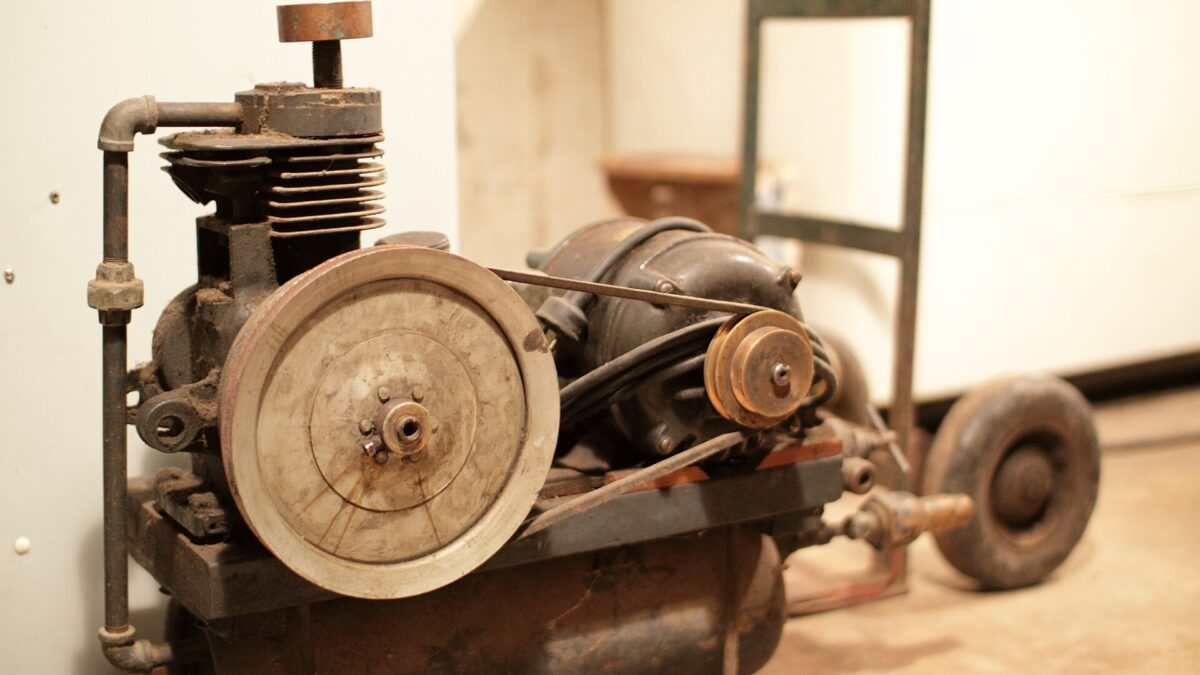
You’ve decided to add hydraulics to your bender. Now you’re shopping for a hydraulic cylinder for a tube bender, and the choices look endless: 10 ton, 15 ton, short stroke, long stroke, cheap bottle-jack-style rams. Which one is right? And how do you avoid buying a cylinder that bends your frame instead of your tube?
Here’s the friendly but firm answer. The right hydraulic cylinder for tube bender work is the one your bender’s maker specifies. Not the biggest one. Not the one in the bargain bin. The maker has matched the cylinder’s force, stroke and mounts to the bender’s frame and its published capacity. Going your own way can overload parts that were never designed for it.
This guide explains what tonnage and stroke really mean, which cylinders the major makers specify, and how to install and run one safely. We stick to maker-published numbers, and where we couldn’t confirm a number, we tell you where to check it yourself. Hydraulics store a lot of energy, so we’ll spend real time on safety too.
Use the cylinder your bender’s maker specifies. Bigger isn’t better.
- JD2 Model 32: JD2 recommends a 10-ton cylinder. Check the stroke on JD2’s hydraulic kit page.
- Eastwood High Capacity: use Eastwood’s own air- or electric-hydraulic conversion kit.
- Stroke matters as much as tons. It decides how far the bender moves per push and whether the cylinder fits the frame.
- Safety: never exceed rated pressure, never feel for leaks with your hand, and relieve pressure before you disconnect anything.
📋 In this guide
- What the cylinder does
- 10 ton vs 15 ton: what tonnage means
- Cylinder stroke and why it matters
- Maker-specified cylinders by bender
- Hand pump, air or electric
- Hoses, couplers and gauges
- Installing a cylinder kit, step by step
- Hydraulic safety around a bender
- Real-life lessons
- Common mistakes and fixes
- Pro tips
- FAQ
- Your cylinder checklist
What a hydraulic cylinder does on a tube bender
On a manual rotary-draw bender, you pull a long handle. The handle turns the die, and the die draws the tube around itself. A hydraulic cylinder simply replaces your arm. It pushes on the bender’s arm with steady force, so you can bend thicker wall and bigger tube without wrecking your back.
The parts of a hydraulic setup
- Cylinder (ram): a tube with a piston and rod inside. Oil pushes the piston, and the rod pushes the bender.
- Pump: pushes oil into the cylinder. It can be a hand pump, an air-over-hydraulic pump or an electric pump.
- Hose and couplers: carry oil from pump to cylinder.
- Gauge (optional but smart): shows oil pressure, so you can see how hard each bend is working.
Where the force comes from
A cylinder’s push equals oil pressure times the piston’s area. Here’s the idea with simple made-up numbers, just to show the math: a piston area of 2 square inches at 1,000 psi pushes 2,000 lb. Double the pressure and you double the push. A bigger piston pushes harder at the same pressure. The cylinder’s tonnage rating is the push it’s built to deliver at its maximum rated pressure.
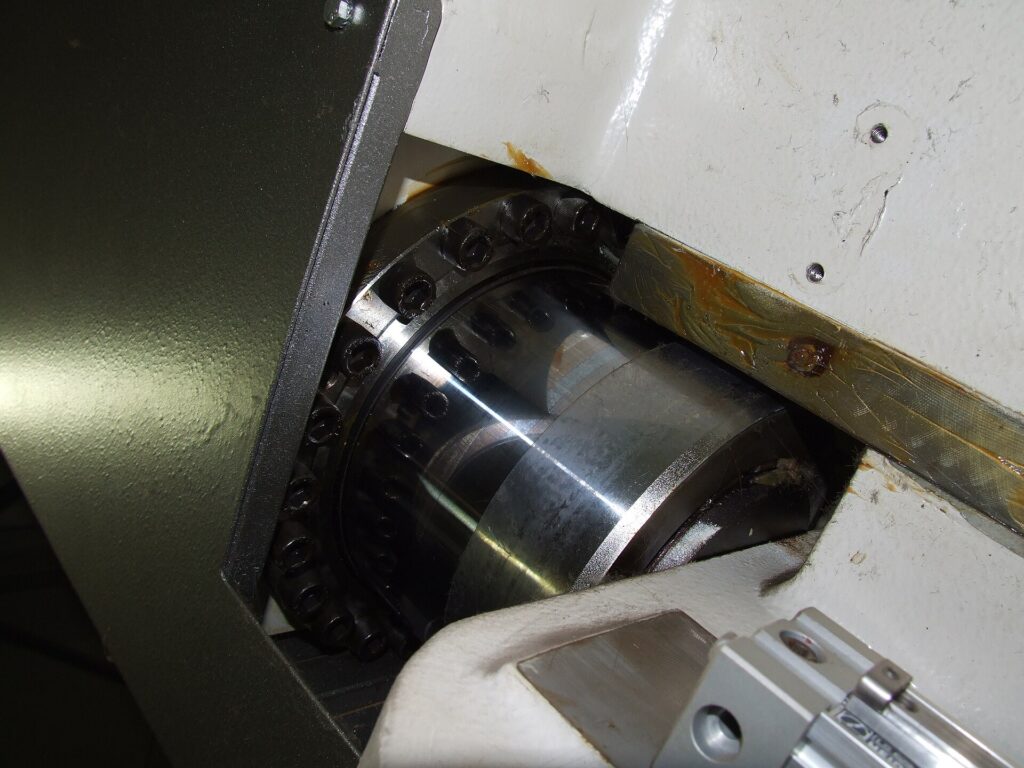
Rotary-draw cylinder vs ram bender
Don’t mix these up. On a rotary-draw bender, the cylinder turns the die. On a ram-style “pipe bender”, the cylinder pushes a die straight into the middle of the pipe. Harbor Freight’s 12-ton bender is the ram kind, built for Schedule 40 and 80 pipe, and its manual says it isn’t meant for thin-wall pipe (Harbor Freight). Our Harbor Freight 12-ton guide explains the difference.
10 ton vs 15 ton: what cylinder tonnage really means
Tonnage is the first number on every cylinder. It’s also the most misunderstood. If the rating is in US tons of 2,000 lb, a 10-ton cylinder is rated for about 20,000 lb of push, and a 15-ton for about 30,000 lb. Some makers rate in metric tonnes or kilonewtons instead, so read the spec sheet.
More tons isn’t automatically better
It’s tempting to think a 15-ton cylinder makes any bender stronger. It doesn’t. The bender’s frame, pins, die and mounts are designed for a certain load. Push harder than that and something has to give. That might be a bent arm, an elongated pin hole or a cracked weld. The tube is the only thing you want to bend.
A bigger cylinder doesn’t make a bigger bender. It just finds the weakest part of the frame faster.
How makers pair tonnage with machines
Look at what makers actually specify. JD2 recommends a 10-ton cylinder for its Model 32 (JD2). Pro-Tools builds its 105HD hydraulic package around a 10-ton cylinder. Its bigger 105 “Brute” hydraulic bender, rated to 2-1/2″ OD and NPS 2 pipe, uses 15 tons (Pro-Tools). The pattern is clear. The cylinder grows with the machine, not the other way round.
| Rating | Rated push (US tons) | Where makers use it | Swap it in yourself? |
|---|---|---|---|
| 10 ton | About 20,000 lb | JD2 Model 32 (recommended); Pro-Tools 105HD hydraulic package | Only if it’s the maker’s spec for your bender |
| 12 ton | About 24,000 lb | Harbor Freight ram pipe bender (built in) | Not a rotary-draw part |
| 15 ton | About 30,000 lb | Pro-Tools 105 “Brute” hydraulic bender | Not on a bender specified for 10 tons |
Capacity still comes from the bender’s chart, not the cylinder’s rating. With hydraulics, JD2 rates the Model 32 to 2″ × .250″ DOM. Without them, it says anything over 2″ × .120″ round needs the hydraulic add-on. See our capacity chart guide for how to read those limits.
Cylinder stroke: why length matters as much as tons
Stroke is how far the cylinder rod travels from fully retracted to fully extended. On a tube bender, stroke decides how far the bender’s arm moves in one push. That decides how many degrees of bend you get before you stop and reset.
Degrees per stroke
Many hydraulic rotary-draw benders can’t make a full 180° bend in one push. You extend the cylinder, retract it, re-pin or reset, and push again. Rogue Fabrication’s M605 is a good example. One ram stroke gives about 94° of bend, and the machine continues past 180° with a reset (Rogue Fab). A different stroke on the same frame would change that number, and could stop short or overtravel.
Fit matters too
A cylinder also has a retracted length and mounting points at each end. Those have to line up with the bender’s mounts. Too long, and it won’t fit between the pins. Too short, and it can’t reach full travel. That’s why a random cylinder with the “right” tonnage often won’t bolt on at all.
Where to find the right stroke
Go to the maker. JD2, for example, lists the cylinder it recommends with its Model 32 hydraulic kit. Check the stroke there before buying a cylinder from anyone else. We couldn’t confirm JD2’s current stroke figure for this article, so we won’t quote one. Ask JD2 directly if the kit page isn’t clear.
Before you buy any cylinder, write down the tonnage, the stroke and the retracted length the maker specifies. If a listing doesn’t show all three, it isn’t a match yet.
Maker-specified hydraulic cylinder for tube bender models
Here’s what the main makers specify, as far as we could confirm from their published pages and listings. When a cell says “check”, it means we couldn’t confirm the number. Contact the maker rather than guessing.
| Bender | Maker’s hydraulic option | Cylinder spec | What to check | Where to buy |
|---|---|---|---|---|
| JD2 Model 32 | Hydraulic adapter kit | 10-ton cylinder recommended | Stroke, and whether the cylinder is included | Direct from JD2 |
| Pro-Tools 105HD | Hydraulic package | 10-ton cylinder | Pump type and what’s included | Direct from Pro-Tools |
| Pro-Tools 105 Brute | Hydraulic machine | 15 tons | Pump and power options | Direct from Pro-Tools |
| Eastwood High Capacity | Air- or electric-hydraulic kit | Supplied as Eastwood’s kit | What’s in the box | Amazon |
| Rogue Fab M605 / M625 | Manual hydraulic, air or electric hydraulic | Rogue Fab’s ram; about 94° per stroke | Which power unit suits your shop | Direct from Rogue Fab |
As an Amazon Associate I earn from qualifying purchases.
Eastwood hydraulic conversion kits for the High Capacity bender
Eastwood Air-Hydraulic or Electric-Hydraulic Conversion Kit
Eastwood’s own way to add hydraulic power to its High Capacity tube bender.
If you own, or plan to buy, Eastwood’s High Capacity bender, these kits are the maker-specified route to hydraulics. Eastwood offers an air-over-hydraulic version and an electric version.
Who it’s for: High Capacity owners who bend thick wall, long cage jobs or chromoly, and want to stop pulling the handle.
How to choose: pick air if your compressor can hold the working pressure through a bend. Pick electric if your shop air is weak. Our electric vs air pump guide walks through it.
- Fits
- Eastwood High Capacity tube bender
- Air kit
- 90 psi working pressure (per listing)
- Electric kit
- 0.75 HP, 110 V (per listing)
- Bender capacity
- 2″ × .120″ mild steel; 4130 to .090″ wall
- Check
- Contents of each kit on the listing
Why we like it
- Matched to the bender by the maker
- Air or electric to suit your shop
- Lets you start manual and upgrade later
Know before you buy
- Only fits the Eastwood High Capacity
- Air kit needs a strong compressor
- Doesn’t raise the bender’s published capacity
Other options: electric-hydraulic kit · Eastwood High Capacity bender. Affiliate links. See our disclosure.
Sold direct: JD2 and Pro-Tools
JD2 and Pro-Tools sell their hydraulic options direct, not on Amazon. For the JD2 Model 32, start at JD2’s Model 32 page and its hydraulic adapter kit. JD2’s own listings have not always agreed on whether the cylinder is included, so confirm that before you order. For the Pro-Tools 105HD, see the 105HD hydraulic package. Comparing the two? Read Pro-Tools 105HD vs JD2 Model 32.
Hand pump, air or electric: driving the cylinder
The cylinder does the pushing, but something has to push the oil. You have three choices, and all of them can drive the same cylinder.
Hand pump
A hand pump is the simplest setup. You work a lever and watch the bend creep around the die. It’s quiet, needs no power and gives you fine control near the target angle. The trade-off is time and effort. Long cage jobs mean a lot of pumping.
Air-over-hydraulic pump
An air-over-hydraulic pump uses your shop compressor. It’s faster and easier than a hand pump, as long as your compressor can keep up. Eastwood’s air kit, for example, lists 90 psi working pressure.
Electric-hydraulic pump
An electric-hydraulic pump uses a motor. It doesn’t need a compressor, but it does need a suitable circuit. Eastwood’s electric kit lists a 0.75 HP motor on 110 V. Rogue Fab offers 1.5 HP and 2.0 HP electric units for its M605.
Match the pump to the cylinder
Whatever you choose, the pump’s maximum pressure, the hose rating and the cylinder rating must all agree. The safest way to get that right is the maker’s matched kit. If you mix brands, check every rating and ask the bender’s maker first.
Still deciding whether to go hydraulic at all? Our guide to manual vs hydraulic tube benders helps you weigh it up.
Hoses, couplers and gauges
The cylinder gets the attention, but the hose and fittings are where most hydraulic trouble starts. Treat them as safety parts, because they are.
Hoses
Use hose rated for at least the system’s maximum pressure. Keep it short enough to stay tidy, but long enough that it never stretches as the bender moves. Route it away from the tube’s swing, the die and any pinch points. A hose that gets crushed or kinked is a hose that will fail.
Couplers
Quick couplers let you disconnect the pump for storage. They must match each other and the system’s pressure rating. Keep the dust caps on when they’re apart. Grit in a coupler ends up in your cylinder.
Gauges
A pressure gauge between the pump and cylinder is one of the best upgrades you can make. It shows how hard each bend is working. If a bend suddenly needs much more pressure than the same bend did last week, stop and look. Something has changed: the tube, the die setup or the bender itself.
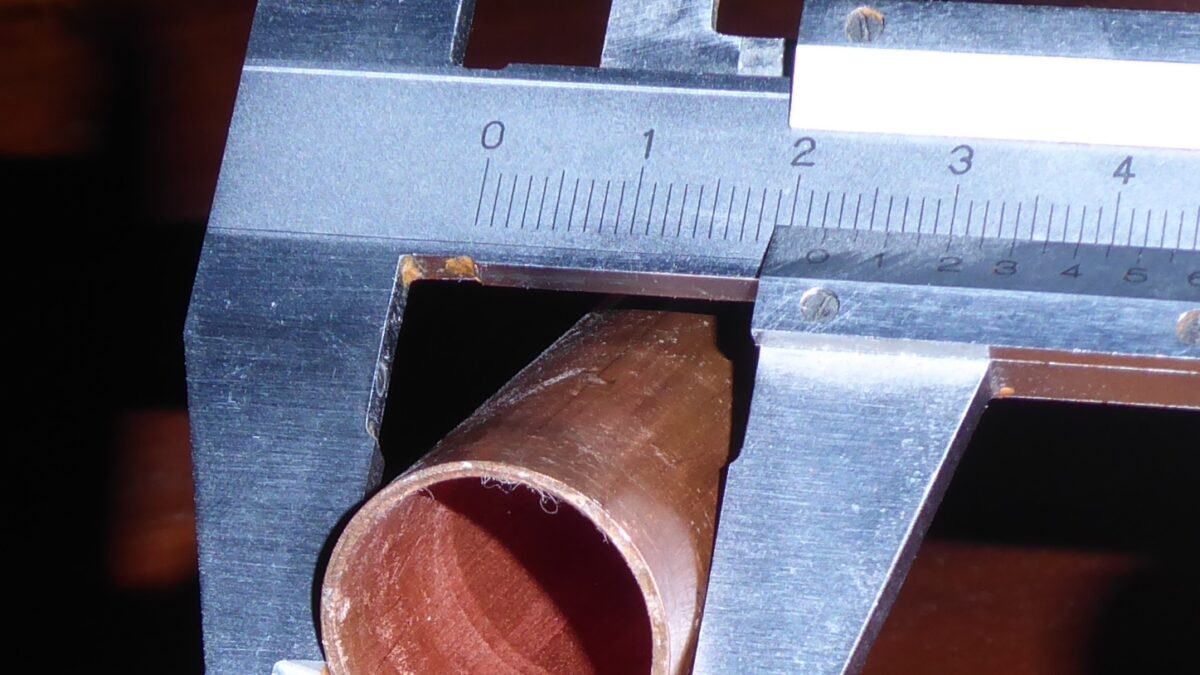
Oil
Use the oil type the pump maker specifies. Keep it at the right level, and keep it clean. Check for leaks at every fitting before each session.
Add a pressure column to your bend log, next to tube size, wall, material, die and springback. Over time it shows you what “normal” looks like for each job.
Installing a cylinder kit, step by step
Every kit is different, so the maker’s instructions always win. This general routine helps you prepare, and reminds you of the checks people skip.
- Read the manual first. Read the bender’s and the kit’s instructions end to end before you open a bag of bolts.
- Check the parts list. Confirm you have the cylinder, mounts, pins, hose, couplers and pump the kit calls for. Note anything sold separately.
- Match the numbers. Compare the cylinder’s tonnage, stroke and retracted length with the maker’s spec.
- Anchor the bender. A powered bender twists hard against its stand. Make sure it’s bolted down as the maker describes.
- Mount the cylinder. Fit it to the mounts with the correct pins and retainers. Never use a bolt in place of a pin unless the maker says it’s fine.
- Route the hose. Keep it clear of the die, the tube’s swing and your feet.
- Fill and bleed. Fill oil to the maker’s level and bleed air from the system as the instructions describe.
- Dry-run with no tube. Cycle the cylinder slowly through its stroke. Watch for binding, contact with the frame and leaks.
- Bend a scrap piece. Use cheap mild steel first. Go slowly, watch the gauge and stop if anything looks wrong.
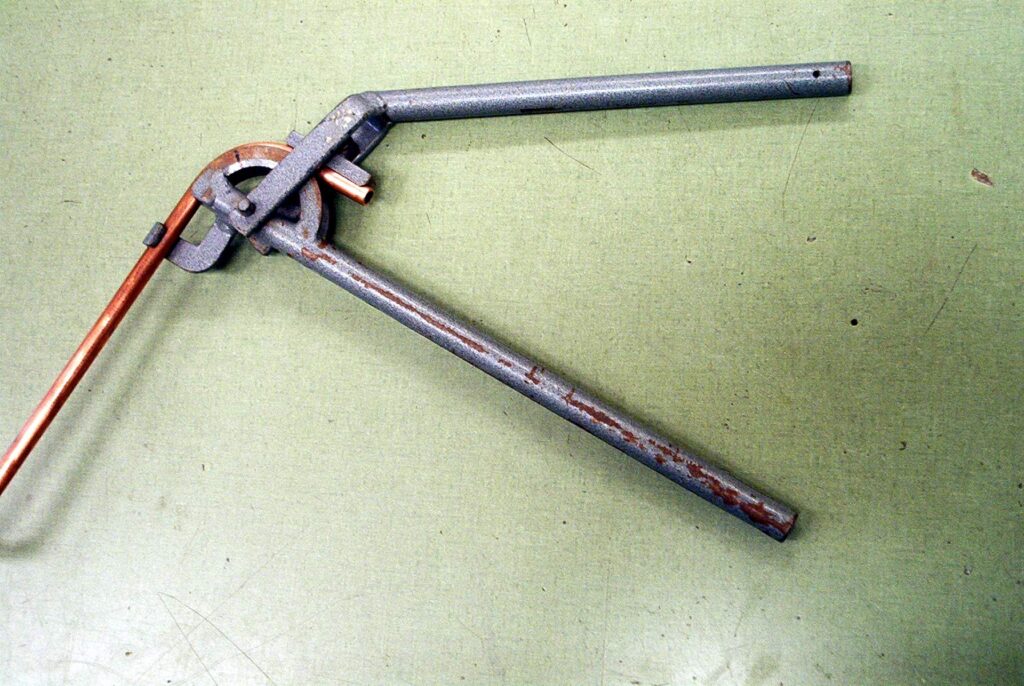
When the scrap bend looks good, measure its springback and log it. A powered bender behaves a little differently from hand pulling, so don’t assume your old numbers still hold.
Hydraulic safety around a tube bender
Hydraulics make bending easy, and that’s exactly why they need respect. A cylinder can push harder than you’ll ever feel through a handle, and it won’t stop because something looks wrong. You have to stop it.
A pinhole leak under pressure can inject oil through your skin. That’s a medical emergency even if it looks like a small cut. Find leaks with a piece of cardboard, and get medical help right away if oil ever gets under your skin.
Rules for every session
- ⚠️ Never exceed rated pressure. The lowest-rated part sets the limit for the whole system: pump, hose, coupler, cylinder or bender.
- ⚠️ Relieve pressure before you disconnect anything. Open the release valve and let the cylinder retract first.
- ⚠️ Inspect hoses before use. Replace any hose that’s cracked, bulging, kinked or leaking at the fitting.
- ⚠️ Stand clear of the tube’s swing and the cylinder’s line of travel. If a pin or tube lets go, the energy goes somewhere.
- ⚠️ Avoid side loads. A cylinder is made to push in a straight line. Mount it only as the maker shows.
- ⚠️ Keep helpers and kids out of the bending area.
Wear the basics
Safety glasses, gloves and closed shoes, every time. Keep the floor around the bender clean and dry, because oil on concrete is slippery. Read our workshop safety notes before your first powered bend.
Real-life lessons from garage builders
These are composite stories. The same situations come up again and again in garage-fab forums and build threads. Each one is easier to learn from here than in your own shop.
A builder decides the recommended cylinder is “too small” and fits a higher-tonnage one from a press. It needs makeshift spacers to fit. On a thick-wall bend, a mounting pin hole starts to stretch. They swap back to the maker’s spec and replace the damaged part.
Lesson: the maker’s tonnage matches the frame. More push just finds the weakest link.
Someone buys a cylinder with the right tonnage but a shorter stroke. It bolts on, but each push gives fewer degrees than expected. Every bend needs extra resets, and the marks drift out of line between them.
Lesson: match the stroke and retracted length, not just the tons.
A builder notices a fine mist near a fitting and reaches to wipe it with a gloved hand while the pump is running. A friend stops them. They release pressure, find the leak with cardboard and replace the fitting.
Lesson: relieve pressure first, and never use your hand to find a leak.
Common mistakes (and how to fix them)
Most cylinder problems trace back to one of these. Each one has a simple fix.
❌ Buying by tonnage alone. A cylinder with the right tons but the wrong stroke or length won’t fit or won’t travel far enough.
✅ Fix: match tonnage, stroke and retracted length to the maker’s spec.
❌ Going bigger “to be safe”. Extra tonnage can overload the frame, pins and mounts.
✅ Fix: use the tonnage your bender’s maker specifies, such as JD2’s 10-ton recommendation for the Model 32.
❌ Using a ram pipe bender’s cylinder on a rotary-draw bender. It’s built for a different machine and a different load path.
✅ Fix: buy the rotary-draw maker’s hydraulic kit.
❌ Mismatched pressure ratings. A pump that can out-push the hose or cylinder rating is an accident waiting to happen.
✅ Fix: make sure every part is rated for the system’s maximum pressure.
❌ Expecting hydraulics to raise capacity. The cylinder doesn’t change what the bender is rated to bend.
✅ Fix: follow the maker’s capacity chart for the hydraulic setup.
❌ Disconnecting under pressure. Couplers can spray oil or whip.
✅ Fix: open the release valve, let the cylinder retract, then disconnect.
Pro tips for a smooth hydraulic setup
These habits keep a hydraulic bender consistent and safe for years. Most of them take a minute or less.
- 💡 Ask the maker first. One email with your bender’s model and serial number usually gets you the exact cylinder spec.
- 💡 Keep the spec sheet with the bender. Tape it inside a cabinet door so you can find it when a part wears out.
- 💡 Fit a gauge. It turns “this feels hard” into a number you can compare.
- 💡 Feather the last few degrees. Slow the pump near your target to avoid overshooting.
- 💡 Re-mark between strokes. When you reset mid-bend, check your reference line hasn’t rotated in the die.
- 💡 Store it clean. Retract the cylinder, cap the couplers and wipe off grit before you cover the bender.
- 💡 Inspect the mounts. Look at pin holes and welds near the cylinder mounts now and then. Stretching or cracks mean stop and call the maker.
Experienced builders don’t think of the cylinder as a separate tool. It’s part of the machine, chosen by the maker for that frame. Replace it like for like, and the bender stays as strong as it was designed to be.
Shopping for a complete powered machine instead of a kit? Our best hydraulic tube bender guide compares them. Not sure your parts will work together? Check our compatibility tool.
Frequently asked questions
What size hydraulic cylinder do I need for a tube bender?
The size your bender’s maker specifies. JD2, for example, recommends a 10-ton cylinder for the Model 32. Match the tonnage, stroke and retracted length to the maker’s spec.
Is a 15-ton cylinder better than a 10-ton for bending tube?
Not on a bender designed for 10 tons. Extra force can overload the frame and mounts. Makers do use 15 tons on bigger machines, such as Pro-Tools’ 105 Brute, because those frames are built for it.
Why does cylinder stroke matter on a bender?
Stroke decides how many degrees the bender moves per push and whether the cylinder fits between the mounts. Rogue Fab’s M605, for example, gives about 94° per stroke before you reset.
Can I use a hand pump with a bender cylinder?
Yes, if the pump, hose and cylinder ratings all match and the maker approves it. A hand pump is slower but quiet, simple and gives fine control.
Does adding a hydraulic cylinder increase my bender’s capacity?
Only up to what the maker rates for the hydraulic setup. JD2 rates the Model 32 to 2″ × .250″ DOM with hydraulics. Never go past the published chart.
Your cylinder checklist
Tick every box before you order a cylinder or make your first powered bend.
- I have the maker’s cylinder spec: tonnage, stroke and retracted length
- I’ve confirmed whether the cylinder is included in the hydraulic kit
- The pump, hose, couplers and cylinder are all rated for the system pressure
- I’ve checked the bender’s capacity chart for the hydraulic setup
- The bender is anchored as the maker describes
- The hose is routed clear of the die, the tube’s swing and my feet
- I’ve filled and bled the system per the instructions
- I’ve dry-run the cylinder with no tube and checked for contact and leaks
- I know how to relieve pressure before disconnecting
- I have cardboard for leak checks, and glasses and gloves on
That’s the whole story. Let the maker pick the cylinder, match the stroke, respect the pressure and keep your hands away from leaks. Do that, and hydraulics will make bending easier for years. ✅
Still choosing a bender to power up?
Answer a few quick questions and get a recommendation with reasons. Or compare bender types side by side.
Keep reading

Electric vs Air Over Hydraulic Tube Bender Pump: Which Fits?
Electric vs air over hydraulic tube bender pump? See what each needs from your shop, with a power table from maker specs…
Wall Thinning in Tube Bending: Stretch, Geometry and Checks
Wall thinning in tube bending explained: why the outside wall stretches, a simple geometry estimate, how to check real thinning, and how…
CNC Tube Bender for Small Shop Work: When NC or CNC Pays Off
Shopping for a CNC tube bender for small shop work? Learn when NC or CNC pays off, plus software, training, power and…