Exhaust Bend Radius 1D vs 1.5D vs 2D: Geometry and Fitment
Exhaust bend radius 1D vs 1.5D vs 2D explained: CLR = D × OD worked out for common pipe sizes, the space each bend needs, and how to pick for fitment.

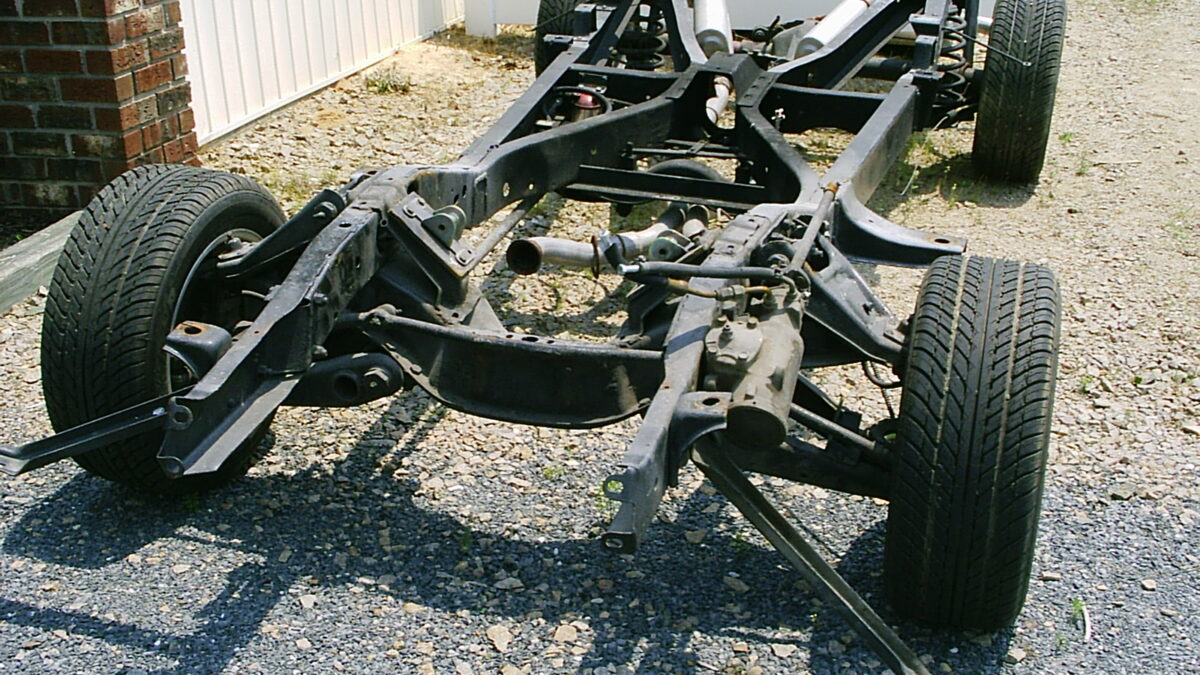
You’re shopping for mandrel bends and every listing has a code on it: 1D, 1.5D, 2D. They look like part numbers. They’re actually the most useful number on the page. Pick the wrong one and the pipe won’t clear the crossmember, or the two pieces won’t line up. This guide on exhaust bend radius 1D vs 1.5D vs 2D shows you what those codes mean, how big each bend really is, and which one fits where.
We’ll keep it practical. You’ll see the simple formula behind every bend, CLR = D × OD, worked out for common exhaust sizes. You’ll see how much room a 90° bend and a U-bend take at each radius, using nothing but geometry. And you’ll see real listings, so you know what’s actually out there.
One promise up front: we won’t quote flow numbers. You’ll find plenty of claims online that one radius “flows X% better.” We couldn’t find sourced figures comparing 1D, 1.5D and 2D exhaust bends, so we’ll stick to what can be measured: size, space and fit.
The “D” is a multiple of the tube’s outside diameter. Centerline radius (CLR) = D × OD. On 2.5″ tube, 1D = 2.5″ CLR, 1.5D = 3.75″ and 2D = 5″.
- 1D: the tightest common exhaust bend. Use it where space is really short, like around a turbo or a header collector. See our 1D elbow pick.
- 1.5D: the everyday middle choice. Tight enough for most routing, gentler on the tube. See our 1.5D elbow pick.
- 2D: a gentler, longer bend. Good where you have room, but it needs more space to turn.
📋 In this guide
- What 1D, 1.5D and 2D mean
- Worked examples: CLR for common sizes
- How much room each radius needs
- Real bends on the market
- Exhaust bend radius 1D vs 1.5D vs 2D: the trade-offs
- Fitment: picking a radius for each spot
- Mixing radii in one system
- Real-life lessons
- Common mistakes and fixes
- Pro tips
- FAQ
- Your radius checklist
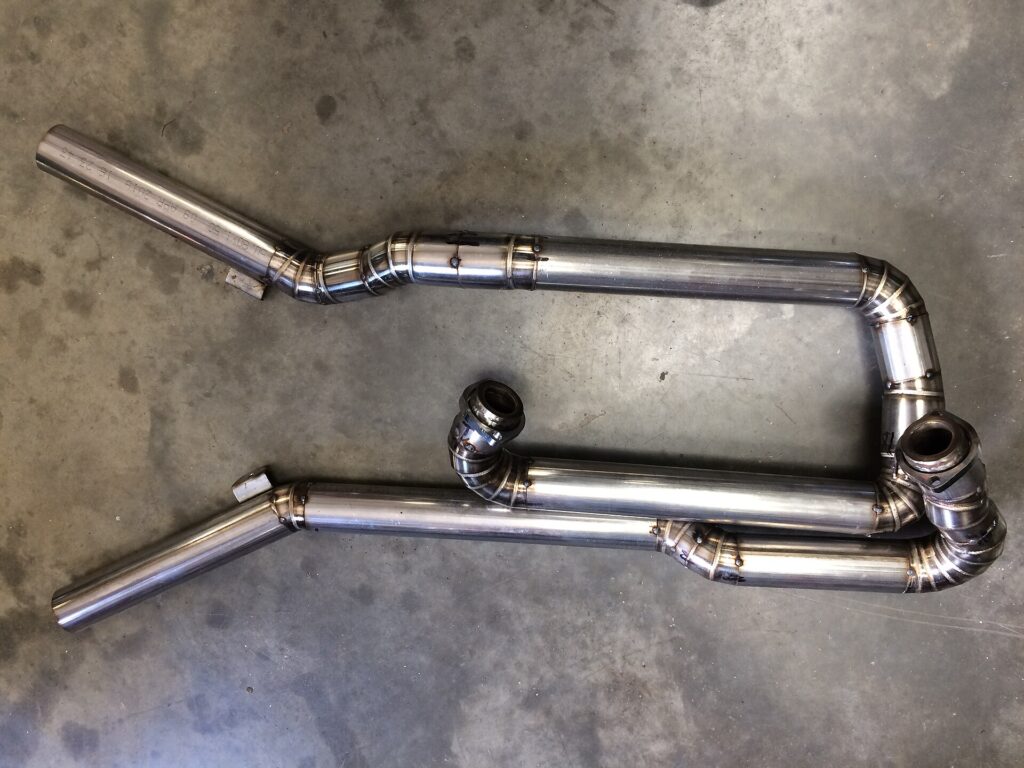
What 1D, 1.5D and 2D actually mean
Start with the centerline radius, or CLR. Imagine a line running down the middle of the tube. In a bend, that line follows a circle. The CLR is the radius of that circle. The Fabricator’s glossary defines it as the distance from the center of curvature to the centerline of the tube (The Fabricator).
Now the “D”. It’s short for D of bend, which is the CLR divided by the tube’s outside diameter (Pro-Tools). Flip that around and you get the formula you’ll use all the time:
CLR = D × OD
So a 1.5D bend on 2.5″ tube has a CLR of 1.5 × 2.5 = 3.75″. The Fabricator gives the same kind of example for structural tube: a 5 × D bend on 2″ tube has a 10″ CLR. The D number scales with the tube. A 1.5D bend on small tube is a small bend. A 1.5D bend on big tube is a big one. But the shape is the same, just scaled up.
Why use D instead of inches?
Because it tells you how hard the bend is on the tube, whatever the size. Lower D means a tighter bend for that tube. Tooling makers chart bends this way, against wall factor (OD divided by wall). Our wall factor and D of bend guide explains those charts.
Inside and outside radius
The CLR is measured to the middle of the tube. The inside of the bend, called the throat, has a smaller radius. The outside, called the heel, has a larger one:
- Inside radius = CLR − OD ÷ 2
- Outside radius = CLR + OD ÷ 2
Keep these two in mind. They decide how close the pipe can hug a corner, and how much the tube wall has to stretch. For the bigger picture on radius, see our centerline radius explainer.
Worked examples: CLR for common exhaust sizes
Here’s the formula run for the tube sizes you’ll see most often in exhaust work. Every number is just D × OD, so you can check any of them with a calculator.
| Tube OD | 1D CLR | 1.5D CLR | 2D CLR |
|---|---|---|---|
| 1.75″ | 1.75″ | 2.625″ | 3.5″ |
| 2″ | 2″ | 3″ | 4″ |
| 2.25″ | 2.25″ | 3.375″ | 4.5″ |
| 2.5″ | 2.5″ | 3.75″ | 5″ |
| 3″ | 3″ | 4.5″ | 6″ |
| 3.5″ | 3.5″ | 5.25″ | 7″ |
Step by step: a 2.5″ pipe
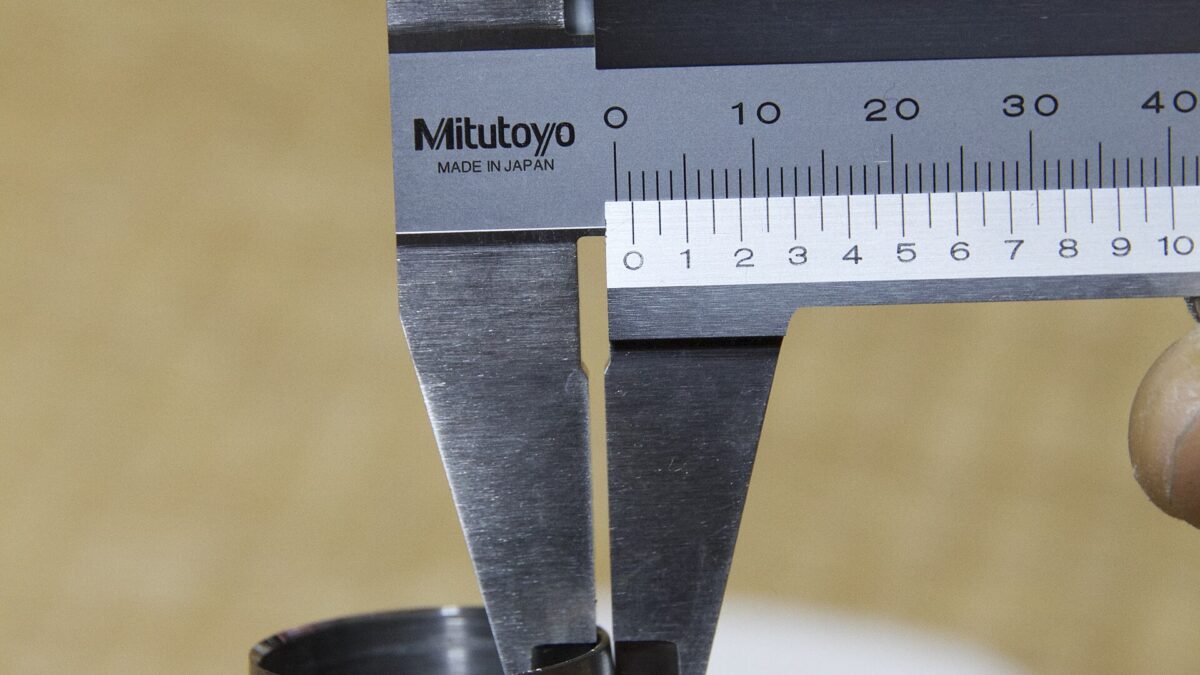
- Measure the OD. Use calipers on the actual tube. Say it reads 2.5″.
- Pick the D. We’ll run all three: 1, 1.5 and 2.
- Multiply. 1 × 2.5 = 2.5″. 1.5 × 2.5 = 3.75″. 2 × 2.5 = 5″.
- Find the inside radius. Subtract half the OD (1.25″). You get 1.25″, 2.5″ and 3.75″.
- Find the outside radius. Add 1.25″. You get 3.75″, 5″ and 6.25″.
Look at the 1D row for a second. The inside radius is only 1.25″, half the tube’s own diameter. The throat of that bend turns a very sharp corner. That’s why 1D bends need serious tooling.
How far each wall travels
Here’s a neat bit of geometry. The heel and the throat travel different distances around the same bend. Divide the outside radius by the inside radius and you see how lopsided it gets:
- 1D: 3.75 ÷ 1.25 = 3. The heel travels three times as far as the throat.
- 1.5D: 5 ÷ 2.5 = 2. Twice as far.
- 2D: 6.25 ÷ 3.75 ≈ 1.67.
Compared with the centerline, the heel’s path is 1.5 times longer at 1D, about 1.33 times at 1.5D and 1.25 times at 2D. That’s why tighter bends stretch the outside wall harder and squeeze the inside more. The ratios are the same for any tube size, because D scales with the OD.
Type your OD, wall and CLR into our bend calculator. It gives you D of bend, wall factor, arc length and tangent length in one go.
How much room each radius needs
The CLR is a number. What you really care about is whether the pipe fits under the car. Here’s how to turn the radius into real space, with 2.5″ tube as the example.
A 90° bend: the tangent
Draw the two straight pipes as lines and extend them until they cross. That crossing is the corner point. The bend doesn’t start at the corner. It starts earlier, at the tangent point. The distance between them is the tangent length, and it equals CLR × tan(angle ÷ 2). For a 90° bend, tan(45°) is 1, so the tangent length equals the CLR.
On 2.5″ pipe, the pipe starts turning 2.5″ before the corner at 1D, 3.75″ at 1.5D and 5″ at 2D. It finishes the same distance past it. A bigger radius needs more straight-line room on both sides of the corner.
A 180° U-bend: width and gap
For a U-bend, the numbers are even simpler. The two legs sit 2 × CLR apart, centerline to centerline. Add one OD for the overall outside width. Subtract one OD for the gap between the legs.
| 2.5″ tube | 1D | 1.5D | 2D |
|---|---|---|---|
| CLR | 2.5″ | 3.75″ | 5″ |
| 90° tangent length | 2.5″ | 3.75″ | 5″ |
| 45° tangent length | 1.036″ | 1.553″ | 2.071″ |
| 90° arc length (centerline) | 3.927″ | 5.890″ | 7.854″ |
| U-bend leg spacing (center to center) | 5″ | 7.5″ | 10″ |
| U-bend overall width | 7.5″ | 10″ | 12.5″ |
| Gap between U-bend legs | 2.5″ | 5″ | 7.5″ |
On 3″ tube, the U-bend widths grow to 9″, 12″ and 15″. That’s a big difference under a car. A 2D U-bend in 3″ pipe is a full 6″ wider than a 1D one.
The arc length is the length of tube inside the bend: CLR × angle in radians. A 2D bend uses twice the tube of a 1D bend for the same angle. That matters when you work out cut lengths. Our exhaust tube cut length guide walks through it step by step.
What real 1D, 1.5D and 2D bends look like
Here’s a sample of pre-bent exhaust parts with a stated radius, taken from retailer listings seen in October 2026. The D column is our own maths: stated radius ÷ OD. Listings change, so always check the live page.
As an Amazon Associate I earn from qualifying purchases.
| Part (as listed) | OD | Stated radius | D (calculated) | Where listed |
|---|---|---|---|---|
| Stainless Bros 90° tight-radius elbow, 304, 16GA | 2.5″ | 2.5″ CLR | 1.0D | Amazon |
| Vibrant 13032 90° T304 bend, 4″ and 12″ legs | 1.5″ | 1.5″ CLR | 1.0D | Amazon |
| JEGS 555-319045 aluminized J-bend, 6″ and 15″ legs | 2.5″ | 3.5″ | 1.4D | JEGS |
| Stainless Bros 90° loose-radius elbow, 304, 16GA | 2.5″ | 3.75″ CLR | 1.5D | Amazon |
| 1.75″ stainless 90°, 1.5D, 6.5″ legs | 1.75″ | 2.625″ CLR | 1.5D | Amazon |
| JEGS 555-319145 aluminized U-bend, 12″ legs | 2.5″ | 4-1/4″ CL radius | 1.7D | JEGS |
| Hooker 12270HKR mild steel U-bend, 12″ legs | 2.5″ | 5″ radius | 2.0D | Parts retailers |
| Vibrant 13030 90° T304 bend | 1.25″ | 2.75″ CLR | 2.2D | Amazon |
Two things stand out. First, 1D and 1.5D are easy to find, especially in stainless elbows. Vibrant, for one, sells 1D tight-radius 304 bends (Vibrant). True 2D parts were less common in what we found. Second, not every listing says “centerline”. Some just say “radius”. If the word centerline isn’t there, ask the seller before you plan around it.
Our 1D pick: 2.5″ tight-radius stainless elbow
Stainless 2.5″ 90° Mandrel Bend Elbow, 1D / 2.5″ CLR Tight Radius, 16GA
A no-leg 304 stainless 90° for the tightest spots in a 2.5″ system.
This elbow turns 2.5″ pipe through 90° on a 2.5″ CLR, the tightest common exhaust radius. With no straight legs, it’s all bend. That makes it compact, but you’ll weld straights right onto the ends of the arc.
Who it’s for: turbo, header and downpipe builders who need the pipe to turn in the smallest possible space.
Why we picked it: the listing states OD, CLR, wall and material clearly. We chose it from published specs, not hands-on use. See our methodology.
- OD
- 2.5″
- CLR
- 2.5″ (1D)
- Wall
- 16GA / .065″
- Material
- 304 stainless
- Legs
- None
Affiliate link. See our disclosure.
Our 1.5D pick: 2.5″ loose-radius stainless elbow
2.5″ Stainless 90° Mandrel Bend Elbow, 1.5D / 3.75″ CLR Loose Radius, 16GA, 2″ Legs
The middle-ground radius most routing can use, with short legs for welding.
A 1.5D bend is the radius many builders use for the bulk of a system. It’s still compact, but the throat is twice as roomy as a 1D bend’s: 2.5″ inside radius versus 1.25″.
Who it’s for: anyone building a 2.5″ stainless cat-back or turbo-back who wants one radius for most bends.
- OD
- 2.5″
- CLR
- 3.75″ (1.5D)
- Wall
- 16GA / .065″
- Material
- 304 stainless
- Legs
- 2″
Affiliate link. See our disclosure.
Exhaust bend radius 1D vs 1.5D vs 2D: the trade-offs
No radius is “best”. Each one trades space against how hard the bend is on the tube. Here’s how they compare.
1D: smallest footprint, hardest bend
A 1D bend turns in the least space. That’s its whole appeal. The cost is in the making. The heel has to stretch over a path 1.5 times the centerline length, and the throat turns on a radius of just half the OD. Bending machine maker BLM Group describes bend ratios below 1 as “extreme” (BLM Group), so 1D sits right at that edge. With good tooling it works. Rogue Fab reports a 2.75″ 1D mandrel exhaust bend with 0.9% deformation, which is a vendor figure for its own machine (Rogue Fab).
1.5D: the middle ground
A 1.5D bend still packs tight, but the heel stretch drops to about 1.33 times the centerline. The throat radius equals one full OD. In the listings we looked at, 1.5D shows up in a wide range of sizes and shapes: 90° elbows, J-bends and U-bends.
2D: gentle, but it needs room
A 2D bend is the gentlest of the three on the tube. The heel path is 1.25 times the centerline. But it takes the most space: 5″ of tangent on a 2.5″ 90° and a 12.5″ wide U-bend.
All three are mandrel territory
Even 2D is tight for thin-wall tube. The Fabricator’s mandrel-chart example uses 2″ × .065″ tube on a 4″ CLR. That’s 2D, with a wall factor of about 30.8. The chart points to a two-ball mandrel with a wiper die (The Fabricator). Compare that with Pro-Tools’ practical non-mandrel minimum of about 3 × OD. Our mandrel vs crush bending guide explains why.
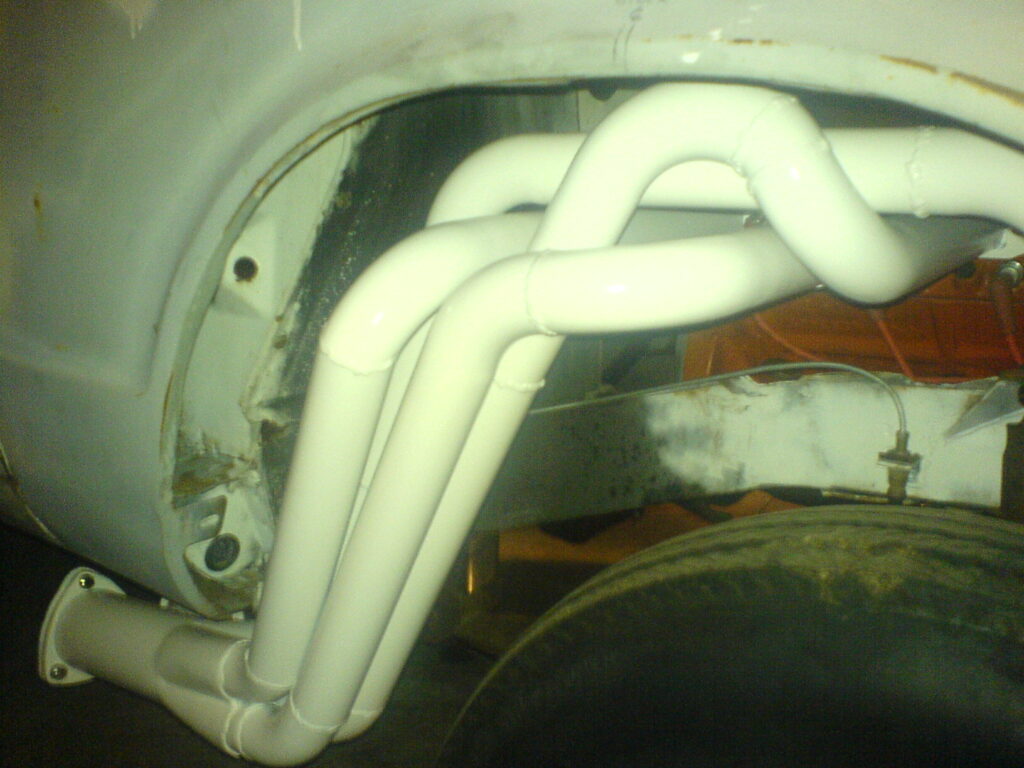
| On 2.5″ tube | 1D | 1.5D | 2D |
|---|---|---|---|
| CLR | 2.5″ | 3.75″ | 5″ |
| Inside (throat) radius | 1.25″ | 2.5″ | 3.75″ |
| Heel path vs centerline | 1.5× | About 1.33× | 1.25× |
| Space to turn 90° | Least | Medium | Most |
| Strain on the tube | Highest | Medium | Lowest |
| Best for | Turbo, header and tight bays | Most of a system | Open runs with room to spare |
A tighter radius buys you space. A looser radius is easier on the tube. The right choice is the loosest bend that still fits.
Fitment: picking a radius for each spot under the car
Most exhausts don’t use one radius everywhere. Each spot has its own limit. Here’s a simple way to choose, bend by bend.
- Sketch the route. Draw the pipe from flange to tip. Mark every place it changes direction.
- Find each corner point. Imagine the straight runs as lines. Where two lines cross is the corner.
- Measure the room. At each corner, measure how far the pipe can run before and after it. That straight room has to be at least the tangent length.
- Start loose. Check whether a 2D bend fits. If its tangent or width is too big, try 1.5D, then 1D.
- Check the throat. If the pipe hugs a crossmember or a bracket at the inside of the bend, the inside radius has to clear it.
- Check weld access. A bend that fits but leaves no room for a torch is a bend you’ll regret.
The small-jog trap
Here’s one that catches people out. Say the pipe needs to step sideways a little to line up with a muffler inlet. You plan two 45° bends back to back. With nothing between them, the smallest sideways step two 45° bends can make is 2 × CLR × (1 − cos 45°). On 2.5″ pipe that’s about 1.46″ at 1D, 2.20″ at 1.5D and 2.93″ at 2D.
So a looser radius can’t make a small jog with 45s. If you need a smaller step, use smaller angles. Two 22.5° bends at 1.5D can step as little as about 0.57″. Our geometry visualizer lets you try these shapes before you cut.
Draw three arcs on cardboard with a compass: the CLR, the inside radius and the outside radius. Cut it out and hold it up under the car. You’ll see in seconds whether a 1.5D bend clears, or whether you need 1D.
Who this is for: anyone building from parts rather than copying a factory pipe. Why it matters: every elbow you buy in the wrong radius is wasted money and a week of waiting.
Mixing radii in one system
Can you use a 1D elbow in one spot and a 2D U-bend in another? Yes. Builders do it all the time. A few rules keep it painless.
The OD must match
What has to match at a weld joint is the tube’s outside diameter and wall. The radius doesn’t matter at the joint, because you’re joining two round, square-cut ends. A 2.5″ 1D elbow welds to a 2.5″ 2D bend just fine. A 2.5″ piece won’t butt-weld cleanly to 2.25″ without a reducer.
Redo the maths for each radius
Every radius has its own tangent and arc length. If you swap a 1.5D elbow for a 1D one, the bend starts 1.25″ closer to the corner on 2.5″ pipe. Each straight between bends changes too. Recalculate every piece after a swap. Don’t just reuse the old cut list.
Keep the look consistent
On a visible exhaust, mixing radii can look a bit random. Many builders use one radius for most of the system, then switch to a tighter one only where space forces it. You get easier maths and a neater result.
Mind the materials
Tight 1D elbows are common in 304 stainless. Some longer U-bends in our table were aluminized or mild steel. If you mix materials, plan your welding process for both. Our guide to aluminized vs stainless exhaust tubing covers the differences.
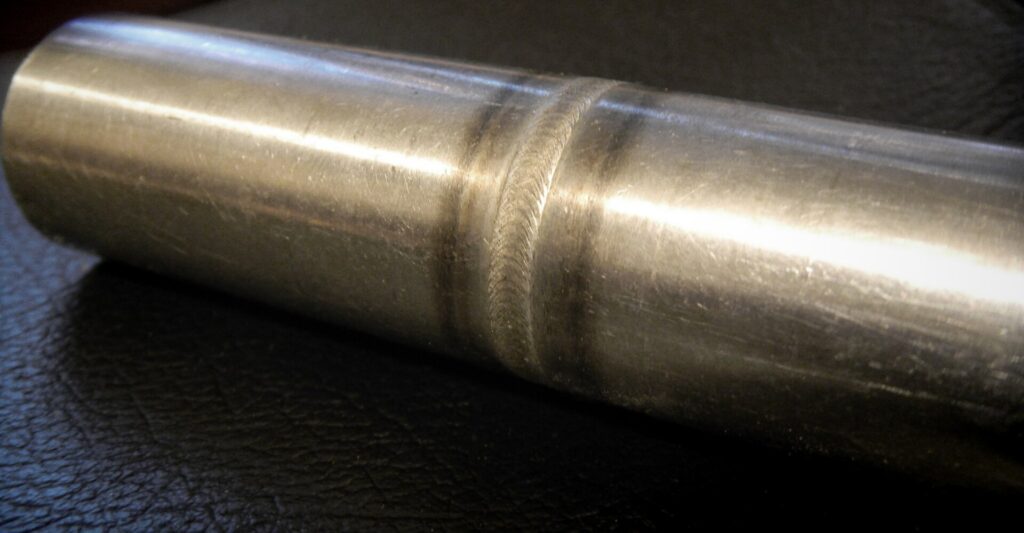
Real-life lessons from exhaust builds
These are composite stories. The same situations come up again and again in garage-fab forums and build threads. Each one shows how the radius choice plays out in a real car.
A builder decides gentle is always better and orders 2D bends for a whole 3″ system. Under the car, the bend at the transmission crossmember needs 6″ of tangent on each side of the corner. There’s only about half that. The bend hits the floor before the pipe is pointed the right way. A 1D elbow in that one spot solves it.
Lesson: pick the loosest radius that fits each spot, not the loosest one you can buy.
Someone needs to shift a 2.5″ pipe about 2″ sideways to meet a muffler. They tack two 1.5D 45° pieces together, end to end. The step comes out bigger than 2″ every time. The fix is two smaller-angle pieces, which make a gentler, shorter jog.
Lesson: back-to-back bends have a minimum offset. Check it before you cut.
A builder plans a run around a listing that just says “radius”. When the part arrives, the legs sit in a different place than the plan. The seller’s number wasn’t the centerline radius at all.
Lesson: confirm the number is a centerline radius before you plan around it.
Notice the common thread. Each problem was easy to catch on paper, and expensive to catch with parts in hand. Ten minutes with a sketch and the formulas above would have saved each of these builders a reorder.
Common mistakes (and how to fix them)
Most radius mix-ups come from a handful of small slips. Here they are, with the fix for each.
❌ Reading “1.5D” as 1.5 inches. D is a multiple of the OD, not a size in inches.
✅ Fix: always multiply. 1.5D on 2.5″ tube is a 3.75″ CLR.
❌ Using the inside diameter. D of bend uses the outside diameter.
✅ Fix: measure the OD with calipers and use that number.
❌ Forgetting the tangent. The bend starts before the corner, not at it.
✅ Fix: allow CLR × tan(angle ÷ 2) of straight room on each side of every corner.
❌ Using 1D everywhere “to be safe”. Tight bends are harder on the tube and leave less room for jogs and welds.
✅ Fix: save 1D for the spots that truly need it. Use 1.5D or 2D elsewhere.
❌ Assuming “radius” means centerline. Not every listing says how the radius was measured.
✅ Fix: look for “CLR” or “centerline”. If it’s missing, ask the seller.
❌ Expecting a garage tube bender to make 1.5D exhaust bends. Without a mandrel, the practical minimum is about 3 × OD.
✅ Fix: buy pre-bent mandrel elbows for tight exhaust bends. See our exhaust pipe bender guide for the options.
Pro tips for choosing exhaust bend radius
These habits make radius choices quicker and cut down on reorders. None of them need special tools.
- 💡 Write the CLR on every part. A paint marker note like “2.5 / 1.5D / 3.75” saves mix-ups when the parts pile up.
- 💡 Pick a house radius. Use one radius for most of the system and switch only where space forces it.
- 💡 Check the legs, not just the bend. Leg length decides how much straight you get for clamps, sensors and welding.
- 💡 Make templates for tight spots. Cardboard arcs at the CLR, inside and outside radius show you fit before you buy.
- 💡 Buy one spare of your main elbow. One miscut is all it takes to stall a weekend build.
- 💡 Confirm OD on everything. Flanges, mufflers and bends must all match, or you’ll need reducers.
Experienced builders think in tangent lengths, not just radii. Before ordering, they mark each corner on the car and measure the straight room on both sides. If the room is shorter than the tangent, that bend gets a tighter radius. Simple, and it works every time.
Frequently asked questions
What does 1.5D mean on an exhaust bend?
It means the centerline radius is 1.5 times the tube’s outside diameter. On 2.5″ tube, that’s a 3.75″ CLR. On 3″ tube, it’s 4.5″.
Is a 2D exhaust bend better than a 1D bend?
It’s gentler on the tube and has a roomier throat. But it needs more space to turn. We found no sourced numbers comparing flow between 1D, 1.5D and 2D bends, so pick the loosest radius that fits.
What is the CLR of a 3″ 1D bend?
3″. For 1D, the CLR equals the OD. A 3″ 1.5D bend is 4.5″, and a 3″ 2D bend is 6″.
Can I bend 1D or 1.5D exhaust tube at home?
Not with a typical garage tube bender. Without a mandrel, the practical minimum CLR is about 3 × OD. Tight exhaust bends are usually bought pre-bent, then cut and welded.
How do I find the CLR of a U-bend I already have?
Measure the overall outside width across both legs. Subtract one OD, then divide by 2. A 2.5″ U-bend that measures 10″ across has a 3.75″ CLR.
Your exhaust bend radius checklist
Before you order bends, run through this list. If you can tick every box, your parts should fit first time.
- I’ve measured the true OD of my pipe, flanges and muffler connections
- I’ve worked out the CLR for each radius with CLR = D × OD
- I’ve sketched the route and marked every corner point
- I’ve measured the straight room on both sides of each corner
- Each bend’s tangent length fits in that room
- The inside radius clears anything at the throat of each bend
- I’ve checked the minimum jog for any back-to-back bends
- Every listing I’m ordering from states a centerline radius
- Leg lengths leave room for clamps, sensors and welding
- I’ve recalculated cut lengths after any radius change
That’s the whole idea. D is just a multiplier, CLR = D × OD gives you the real size, and the tangent tells you the room it needs. Choose the loosest bend that fits each spot, and your exhaust will go together cleanly. 🔧
Plan your bends before you buy
Check D of bend, arc length and tangent length for any tube size. Or see each bend’s shape in the visualizer.
Keep reading
Tube Bending Wrinkles, Kinks and Flattening: Causes and Fixes
Fix tube bending wrinkles, kinks and flattening with symptom-to-cause-to-fix tables, clamp and pressure-die checks, and how to read die maker charts.
Mandrel Bending vs Crush Bending Exhaust: What Really Changes
Mandrel bending vs crush bending exhaust, explained simply: what each does to the pipe, when crush bends are fine, and when mandrel…
Wall Factor and D of Bend: How to Read Any Mandrel Chart
Wall factor and D of bend explained: two simple ratios that predict wrinkles and flattening, how to read a mandrel chart, and…