Roll Cage Bend Radius Rule: Is Your Die Legal? (3× Check)
The roll cage bend radius rule in SCCA Time Trials and FIA books is 3× tube diameter at the centerline. Here's how to check your die, step by step.


You’ve found a die you like. It’s the right size for your tube, and the price is fair. But is it legal for your cage? That’s what the roll cage bend radius rule is about. Some rulebooks set a minimum radius for every bend in the cage. If your die is too tight, your cage can fail tech no matter how good the welds are.
The good news: checking a die takes about a minute. You need two numbers, the tube’s outside diameter and the die’s centerline radius (CLR). Then you do one simple division. This guide shows you what the main rulebooks say, how to run the check, and why many builders choose a bigger radius than the minimum.
First, an honest note. Benders Hub is not a tech inspector or an engineer. Rules change, and wording differs between rulebooks. Use this guide to understand the rule and check your numbers. Then confirm with your current rulebook and your inspector before you bend.
SCCA Time Trials and FIA Article 253 both require cage bends with a centerline radius of at least 3 × the tube diameter. Other rulebooks may differ, so check yours.
- The check: divide die CLR by tube OD. The result (D of bend) must be 3.0 or more under a 3× rule. See the 5-step check.
- Example: 1.75″ tube on a 6″ CLR die is 3.43D, which passes. On a 4.5″ die it’s 2.57D, which fails. See worked examples.
- Good habit: leave margin above the minimum where your design allows. A 1.75″ × 6″ CLR die is a common choice.
📋 In this guide
- What the roll cage bend radius rule says
- Which rulebooks set a bend radius
- CLR and D of bend in plain English
- Is my die legal? A 5-step check
- Worked examples with common cage dies
- Why builders go bigger than the minimum
- How to check a die you already own
- Real-life lessons
- Common bend radius mistakes
- Pro tips
- FAQ
- Your bend radius checklist
What the roll cage bend radius rule says
In plain words, the rule says this: no bend in the cage may be tighter than a set multiple of the tube’s diameter. The radius is measured to the centerline of the tube, not the inside or outside edge.
Two rulebooks we checked use the same multiple, three times the tube diameter:
- SCCA Time Trials: its published safety rules say the radius of all bends in the roll cage, measured at the centerline of the tubing, must not be less than three times the tube diameter.
- FIA Appendix J, Article 253: the 2020 edition says cage tubing must be bent by a cold working process, with a centreline bend radius of at least three times the tube diameter. The 2013 and 2019 editions say the same.
So for a 1.75″ tube under either rule, the tightest legal CLR is 1.75 × 3 = 5.25″. For 1.5″ tube it’s 4.5″. For 2″ tube it’s 6″.
The FIA adds two more bend-quality rules in the same article. If a tube goes oval during bending, the ratio of its smallest to largest diameter must be 0.9 or more. And bends must be smooth, without ripples or cracks. Those rules tell you something useful. The radius rule is really about protecting the tube’s shape and strength through the bend.
Benders Hub is not a tech inspector or an engineer. The examples here come from SCCA Time Trials and FIA Article 253. Your class may use a different rulebook with different wording. Read the current edition and confirm with your inspector before you buy a die.
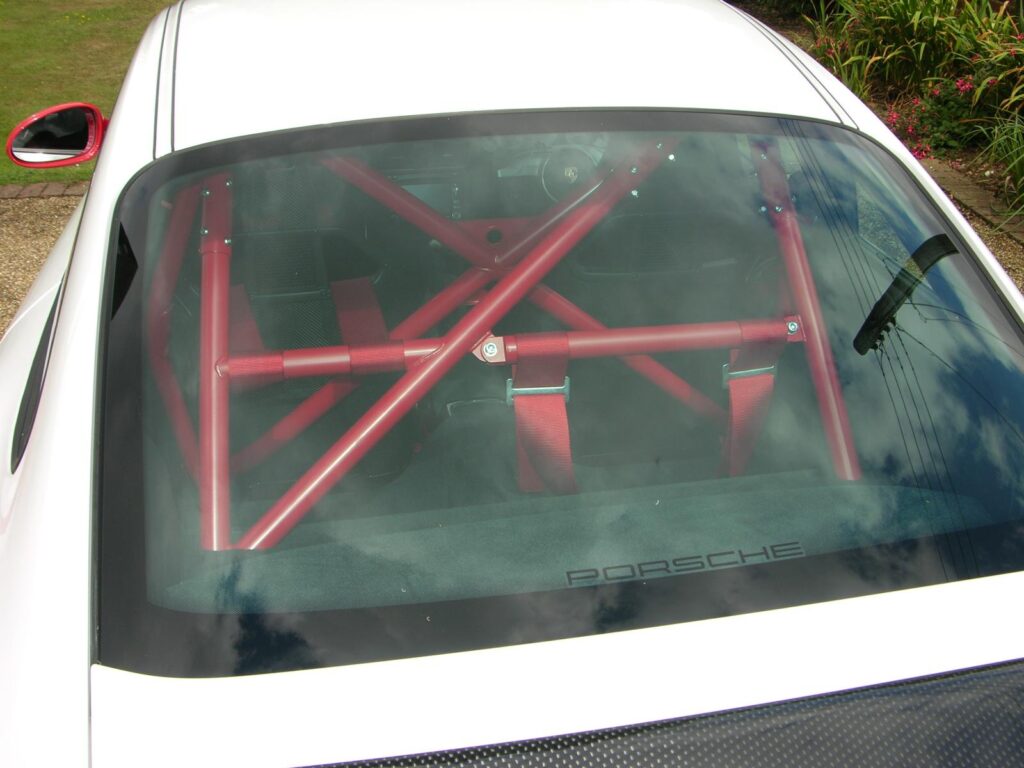
Which rulebooks set a bend radius (and how to check yours)
Not every rulebook states a bend radius the same way, and some cage rules sit in documents you have to buy. Here’s what we could confirm on official sites, and where to look for the rest.
| Body | Where cage rules live | Bend radius rule we could confirm |
|---|---|---|
| SCCA Time Trials | Online safety rules | ✅ At least 3 × tube diameter, measured at the centerline |
| FIA | Appendix J, Article 253 (FIA regulations page) | ✅ At least 3 × tube diameter at the centreline (2013, 2019 and 2020 editions) |
| SCCA Club Racing | General Competition Rules (GCR) | Check the current GCR cage section |
| NASA | CCR Rule 15.6 (NASA rules page) | Check the current CCR |
| NHRA | Annual NHRA Rulebook plus amendments | Check the current rulebook and your chassis spec |
| SFI Foundation | Chassis specs (25.x, 2.x series) | Check the spec for your chassis type |
Where we say “check,” that doesn’t mean there’s no rule. It means we couldn’t open the current official text, so we won’t quote a number. Forum posts often quote old editions, or a different class. Don’t build to them.
What to look for in your rulebook
- The multiple. Is it 3×, or something else?
- The reference diameter. Does it say “diameter” or “outside diameter”? For tube, using the OD is the safe reading, because it gives the larger minimum.
- Where it’s measured. Most cage rules measure at the centerline. That matches how dies are labeled.
- Bend quality rules. Look for limits on ovality, wrinkles, ripples or cracks.
- The edition and date. Write them down. Rules change, and your inspector will use the current one.
For a body-by-body guide to tube sizes and walls, see our roll cage tubing size and wall thickness guide.
CLR and D of bend in plain English
Two terms do all the work in this rule. Once they click, the check is easy.
Centerline radius (CLR)
Picture a bent tube. Now picture a line running through the middle of the tube, all the way around the bend. That’s the centerline. The CLR is the radius of that curve. JD2 describes it as the distance from the center of the die to the centerline of the tubing. Each die has one fixed CLR, so the die decides your radius, not the bender.
Why the centerline? Because the inside of the bend squeezes and the outside stretches. The centerline sits in between and stays the same length. That makes it the fair place to measure. Our centerline radius guide goes deeper.
D of bend
D of bend is the CLR divided by the tube’s OD. It tells you how tight the bend is compared with the tube’s size. A 6″ CLR on 1.75″ tube is 6 ÷ 1.75 = 3.43D. A bigger D means a gentler bend. A smaller D means a tighter, harder bend.
Here’s the neat part. A “3 × tube diameter” rule is the same as saying D of bend must be 3.0 or more. So you only need one number to check any die. Pro-Tools also uses 3 × OD as the practical minimum for bending without a mandrel. Baileigh suggests 4 × OD as a starting estimate.
| Term | What it means | Formula | Example (1.75″ tube, 6″ die) |
|---|---|---|---|
| CLR | Radius to the tube’s centerline | Set by the die | 6″ |
| D of bend | How tight the bend is for the tube size | CLR ÷ OD | 3.43D |
| Minimum CLR | Tightest radius a 3× rule allows | 3 × OD | 5.25″ |
| Wall factor | How thin the wall is for the tube size | OD ÷ wall | 1.75 ÷ .120 = 14.6 |
Wall factor isn’t part of the radius rule. But it matters for bend quality. Thinner wall (higher wall factor) is more likely to wrinkle or go oval at a tight radius. Our guide to wall factor and D of bend explains both in detail.
Is my die legal? A 5-step check
Here’s the routine we’d use before buying any die for cage work. It takes a minute and a calculator.
- Find your rule. Open the current rulebook for your class. Note the multiple (for example, 3×), the reference diameter, and the edition.
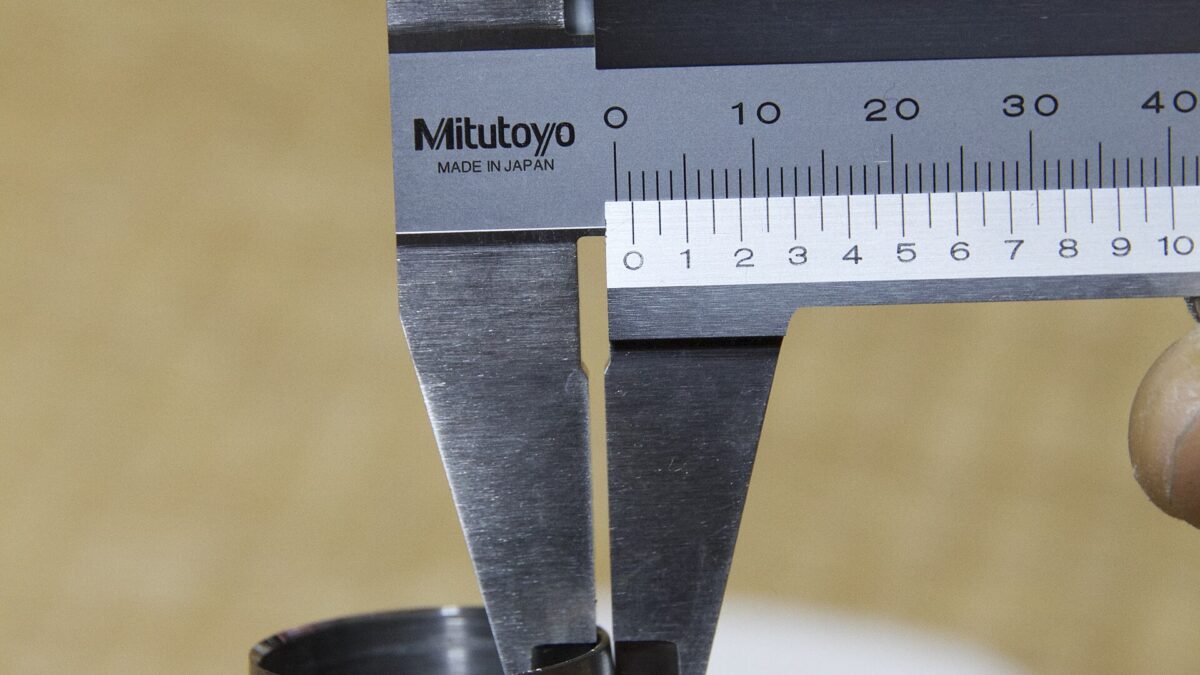
- Confirm your tube OD. Use the OD your rulebook requires, and measure your actual tube with calipers. Don’t confuse tube with pipe. Pipe is sold by nominal size, so 1-1/2″ pipe actually measures 1.900″ OD.
- Find the die’s CLR. Check the listing, the maker’s chart, or the stamp on the die itself. JD2 marks its dies with the tube OD and the CLR.
- Divide CLR by OD. That’s your D of bend. Under a 3× rule, it must be 3.0 or more.
- Check your margin and write it down. Note the result, the rule and the edition in your build log. Then confirm with your inspector.
Prefer to skip the math? Our bend calculator shows D of bend as soon as you enter OD and CLR. It also gives arc and tangent lengths, which you’ll need for layout.
A quick rule-of-thumb table
Use this to see the minimum CLR for common cage sizes under a 3× rule. It’s simple multiplication, but it saves mistakes when you’re shopping.
| Tube OD | Minimum CLR at 3× | CLR at 3.5× | CLR at 4× |
|---|---|---|---|
| 1.25″ | 3.75″ | 4.375″ | 5.0″ |
| 1.5″ | 4.5″ | 5.25″ | 6.0″ |
| 1.625″ | 4.875″ | 5.69″ | 6.5″ |
| 1.75″ | 5.25″ | 6.125″ | 7.0″ |
| 2.0″ | 6.0″ | 7.0″ | 8.0″ |
Enter your tube OD and die CLR in the bend calculator. If D of bend shows 3.0 or more, the die clears a 3× rule. Then confirm the wording in your own rulebook.
Worked examples with common cage dies
Let’s run real die sizes through the check. These sizes come from maker listings and blogs. Baileigh, for example, says the most popular off-road dies are 1.5″ and 1.75″ at about 5.5″ and 6.5″ CLR. JD2 lists its 1-1/2″ die set in 4.5″, 5.5″ and 7.5″ CLR.
Example 1: 1.75″ tube on a 6″ CLR die
6 ÷ 1.75 = 3.43D. The 3× minimum is 5.25″, so you have 0.75″ of margin. ✅ This passes a 3× rule. Rogue Fabrication’s cage guide recommends a 6″ die for 1.75″ cage tube unless the design forces a tighter bend.
Example 2: 1.75″ tube on a 4.5″ CLR die
4.5 ÷ 1.75 = 2.57D. That’s below 3.0. ❌ This fails a 3× rule. Rogue Fab also notes this tighter die produces more ovality and wall thinning on 1.75″ tube.
Example 3: 1.5″ tube on a 4.5″ CLR die
4.5 ÷ 1.5 = 3.0D. That meets “at least three times” exactly, with zero margin. ⚠️ Read your rule’s wording carefully, and ask your inspector. The same die that’s legal on 1.5″ tube is illegal on 1.75″ tube.
Example 4: 1.5″ tube on a 5.5″ CLR die
5.5 ÷ 1.5 = 3.67D. The minimum is 4.5″, so you have a full inch of margin. This is a comfortable choice under a 3× rule.
Example 5: 2″ tube on a 6″ CLR die
6 ÷ 2 = 3.0D. Like Example 3, it’s right on the line. It meets a 3× rule as written, but it leaves nothing to spare.
Example 6: metric FIA tube
FIA rules work in millimetres. In the 2016 to 2021 editions of Article 253, main and lateral rollbars are 45 × 2.5 mm or 50 × 2.0 mm tube. Under the 3× rule, 45 mm tube needs at least a 135 mm CLR, and 50 mm tube needs at least 150 mm. Watch the die size, too. 45 mm is about 1.772″, not 1.75″, so an inch die may not fit metric tube properly. Check the current edition for your group, since the FIA lists a 2026 version.
Why builders go bigger than the minimum
The rule sets a floor, not a target. Many experienced builders choose a CLR well above 3× when the design allows. Here’s why.
Better tube shape
Tighter bends squash the tube more. The outside wall stretches and thins, and the inside wall bunches up. Rogue Fabrication’s cage guide recommends using the largest CLR die that fits your design. It notes that a 4.5″ CLR on 1.75″ tube produces more ovality and more wall thinning than a 6″ CLR. If your rulebook limits ovality, as FIA Article 253 does, extra radius gives you more room. Our ovality guide shows how to measure it.
Easier bending
A bigger D of bend is easier on the tube and the bender. It’s also more forgiving if your wall is on the thin side.
The trade-offs
Bigger isn’t free. A larger CLR uses more tube in each bend, pushes the bend further from the corner, and can eat into head and door clearance. For a 90° bend, the tangent length equals the CLR. So a 6″ die needs 6″ from the bend’s start to the corner point, while a 4.5″ die needs 4.5″. The arc is longer, too. A 90° bend on a 6″ CLR uses about 9.42″ of tube, and on a 4.5″ CLR about 7.07″.
| Die on 1.75″ tube | D of bend | 3× rule | Arc length at 90° | Tangent at 90° |
|---|---|---|---|---|
| 4.5″ CLR | 2.57D | ❌ Fails | 7.07″ | 4.5″ |
| 6″ CLR | 3.43D | ✅ Passes | 9.42″ | 6.0″ |
| 6.5″ CLR | 3.71D | ✅ Passes | 10.21″ | 6.5″ |
The bend radius rule is a floor, not a target. Meet it, then give yourself as much margin as the car’s tight spots allow.
Plan the trade-offs on screen first. Our geometry visualizer shows how CLR changes where a bend lands.
How to check a die you already own
Bought a used bender with a box of dies? Or found an unmarked die in the shop? Here’s how to find its CLR before it goes near cage tube.
1. Look for the stamp
Some makers stamp their dies. JD2, for example, marks each die with the tube OD and the CLR. Clean the die and look on the face or the edge. Then check the number against the maker’s catalog.
2. Check the maker’s chart
If you know the brand and part number, the maker’s die chart will list the CLR. Rogue Fab, JD2, Pro-Tools, Baileigh and Eastwood all publish die listings.
3. Measure a test bend
No stamp and no chart? Bend a 180° U in scrap tube of the right OD. Measure the outside width of the U, across the widest point. Then use this:
- CLR = (outside width − OD) ÷ 2
- Example: a 1.75″ tube U measures 13.75″ across the outside. (13.75 − 1.75) ÷ 2 = 6″ CLR.
- Easier to measure the inside? Use the inside width of the same U: CLR = (inside width + OD) ÷ 2.
One caution: tube can relax slightly after bending, so a bent sample may read a little larger than the die. Use the stamp or the chart when you can. If your test bend says you’re near 3.0D, treat the die as too tight.
Once you know a die’s CLR, write the OD, CLR and D of bend on it with a paint marker. Add it to your build log too. Future you will thank you.
Real-life lessons
These are composite stories. The same situations come up again and again in garage-fab forums and build threads.
A builder picks up a used bender with a 1.75″ die. There’s no stamp. They make a 180° test bend in scrap and measure 10.75″ across the outside. (10.75 − 1.75) ÷ 2 = 4.5″ CLR. That’s 2.57D, below their 3× rule. The die stays on the shelf for bumpers.
Lesson: never assume a used die is cage-legal. Measure it.
Someone builds a roll bar in 1.5″ tube on a 4.5″ CLR die. That’s exactly 3.0D, and their inspector accepts it under the rule’s wording. Next year they upsize to 1.75″ tube for a new class and reuse the same die. Now it’s 2.57D.
Lesson: D of bend depends on the tube. Re-check every die when the tube size changes.
A builder bends 2″ tube on a 6″ CLR die, exactly 3.0D. The numbers pass, but the thin-wall tube comes out visibly oval. They switch to a bigger-radius die and thicker wall where the rules allow.
Lesson: the minimum radius doesn’t guarantee a good bend. Check shape as well as size.
Common bend radius mistakes (and how to fix them)
These are the slip-ups that most often lead to a die that can’t be used on a cage. Each one has a simple fix.
❌ Measuring to the inside of the bend. The inside radius is smaller than the CLR by half the OD, so you’ll read the wrong number.
✅ Fix: work from the CLR, measured to the tube’s centerline. That’s how rules and dies are written.
❌ Using the die’s “size” as its radius. A die sold as “1.75 inch” describes the tube, not the radius.
✅ Fix: look for two numbers on the listing or stamp: OD and CLR.
❌ Assuming every rulebook says 3×. Wording and multiples can differ.
✅ Fix: read the current edition of your own rulebook and note its exact words.
❌ Reusing a die after changing tube size. The same CLR gives a lower D on bigger tube.
✅ Fix: divide CLR by the new OD every time your tube changes.
❌ Mixing pipe and tube sizes. Pipe’s nominal size isn’t its OD.
✅ Fix: measure OD with calipers and use that number in the check.
❌ Trusting forum numbers. Posts often quote old editions or other classes.
✅ Fix: go to the official rulebook. Confirm with your inspector.
Pro tips for bend radius on cages
These habits keep you on the right side of the rule, and they make your cage look better too.
- 💡 Choose your die after your rulebook, before your bender. The die sets the radius. Make sure the bender you buy offers it in your OD.
- 💡 Use one CLR for the whole cage. One springback number, one set of layout math, and bends that match.
- 💡 Leave margin where you can. If the design fits, a 3.4D to 3.7D die gives you room against the rule and against ovality.
- 💡 Check bend shape, not just radius. Measure the largest and smallest OD across a test bend with calipers. FIA rules, for example, want the ratio at 0.9 or more.
- 💡 Keep a die card. For each die, record OD, CLR, D of bend, wrap angle and the rule it meets.
- 💡 Ask early. Show your inspector your tube, die and rule before you start. It’s the cheapest advice you’ll ever get.
Ready to choose a bender that takes the right dies? See our best tube bender for roll cage guide. When you’re ready to build, our roll cage build guide takes it from there.
As an Amazon Associate I earn from qualifying purchases.
A common cage die: 1.75″ × 6″ CLR
Eastwood 1.75″ × 6″ CLR 240° Die
A 3.43D die for 1.75″ tube, with a 240° wrap for bends up to 180°.
This die puts 1.75″ tube at 3.43D. That clears a “three times the tube diameter” rule with 0.75″ of CLR to spare. The 240° wrap lets you bend past 90°, up to 180° on Eastwood’s High Capacity bender.
Who it’s for: Eastwood High Capacity owners building in 1.75″ tube, after confirming that size is allowed for their car.
- Tube OD
- 1.75″
- CLR
- 6″
- D of bend
- 3.43D
- 3× minimum
- 5.25″ CLR
- Die wrap
- 240°
- Fits
- Eastwood High Capacity (confirm on the listing)
Bender: Eastwood High Capacity tube bender. Affiliate links. See our disclosure.
Measure OD and ovality: a digital caliper
NEIKO 01407A Electronic Digital Caliper, 0–6″
For checking tube OD before you buy dies, and for measuring ovality on test bends.
The radius check starts with the true OD. A digital caliper also lets you measure the largest and smallest diameter across a test bend, so you can check ovality. This one reads in inches, fractions and millimetres, which helps with metric FIA tube.
Who it’s for: anyone checking tube, dies and test bends. Check the pack quantity on the listing before ordering.
- Range
- 0–6″ (0–150 mm)
- Resolution
- 0.0005″ / 0.01 mm
- Modes
- Inch, fraction, mm
- Body
- Stainless steel
Affiliate link. See our disclosure.
Frequently asked questions
What is the roll cage bend radius rule?
It’s a rulebook limit on how tight cage bends can be. SCCA Time Trials and FIA Article 253 both require a centerline radius of at least three times the tube diameter. Other rulebooks may word it differently, so check yours.
What is the minimum bend radius for 1.75″ roll cage tube?
Under a 3× rule, it’s 1.75 × 3 = 5.25″ CLR. A 6″ CLR die gives 3.43D, which passes with some margin. A 4.5″ CLR die gives 2.57D, which fails.
Is bend radius measured to the inside or the centerline?
The rules we checked measure at the centerline of the tube. That’s also how dies are labeled. The inside radius is smaller by half the tube’s OD.
How do I know my die’s CLR?
Check the stamp on the die or the maker’s chart. If neither exists, bend a 180° U in scrap and measure the outside width. CLR equals that width minus the OD, divided by two.
Is a 3.0D bend exactly at the minimum legal?
Under “at least three times” wording, 3.0D meets the rule as written. But it leaves no margin. Read your rule’s exact words and ask your inspector. Benders Hub is not a tech inspector or an engineer.
Your bend radius checklist
Before you buy a die or bend a single cage tube, tick off each item. It takes a few minutes and can save a failed tech inspection.
- I’ve read the current rulebook for my class and noted the edition
- I know the rule’s multiple and whether it uses diameter or OD
- I’ve measured my tube’s actual OD with calipers
- I know my die’s CLR from its stamp or the maker’s chart
- I’ve divided CLR by OD, and the D of bend meets my rule
- I’ve left margin above the minimum where my design allows
- I’ve re-checked every die after any change in tube size
- I’ve made a test bend and checked it for ovality and ripples
- I’ve written the die’s OD, CLR and D of bend on it
- I’ve shown my tube, die and rule to my inspector
The bend radius rule sounds technical, but it’s really one division and a careful read of your rulebook. Do the check before you buy, leave yourself some margin, and keep notes. Your cage will be easier to bend, better shaped and ready for the inspector’s tape measure. 🏁
Is your die legal? Check it now
Enter your tube OD and die CLR to see D of bend instantly. Then see how the bend fits your layout in the visualizer.
Keep reading
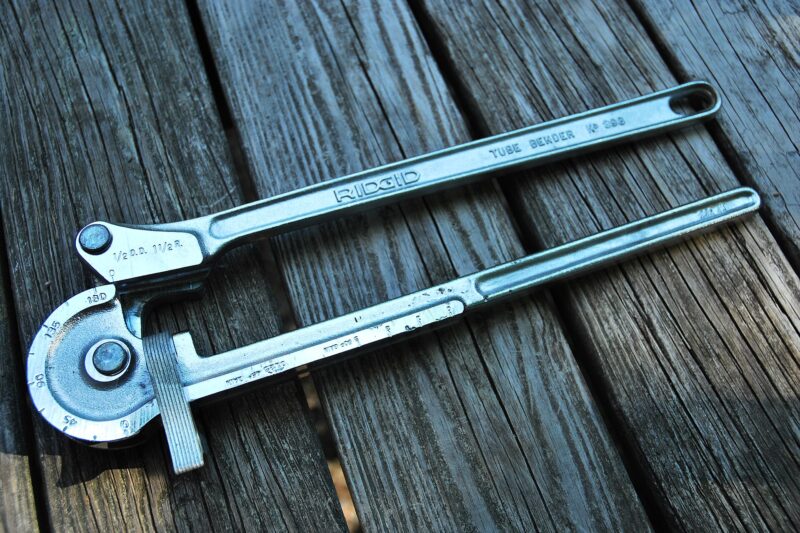
Pro-Tools 105HD vs JD2 Model 32: Manual Bender Specs Compared
Pro-Tools 105HD vs JD2 Model 32, compared from published specs: tube and pipe capacity, 4130 by hand, dies, CLR and hydraulic upgrades.
Buy Mandrel Bends vs Bend Your Own Exhaust: An Honest Guide
Buy mandrel bends vs bend your own exhaust? Compare effort, tools and results, then build a system from pre-bent U-bends step by…
Best Tube Bender for Roll Cage Builds (2026): Picks by Rule Needs
The best tube bender for roll cage work bends 180° hoops, takes dies that meet your rulebook's radius rule and is rated…