Buy Mandrel Bends vs Bend Your Own Exhaust: An Honest Guide
Buy mandrel bends vs bend your own exhaust? Compare effort, tools and results, then build a system from pre-bent U-bends step by step.

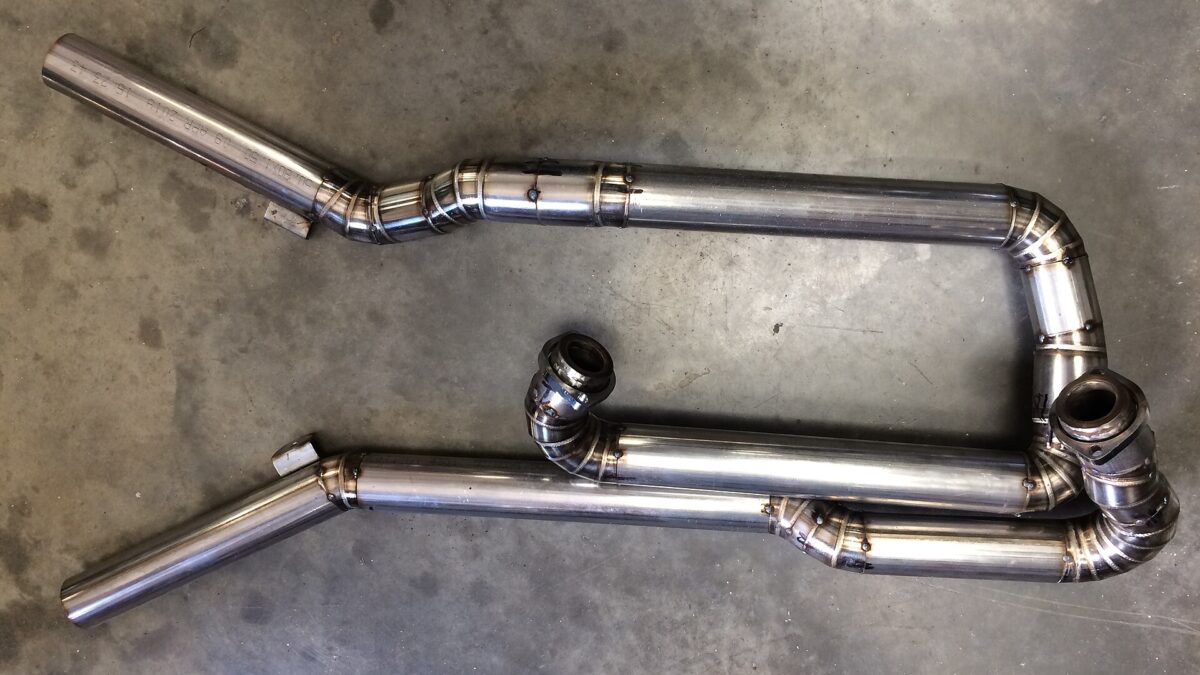
You want a custom exhaust. Maybe the old one rusted through. Maybe you swapped engines and nothing bolts up. Or maybe you just want a cleaner route under the car. Then you hit the question every garage builder asks sooner or later: should you buy mandrel bends vs bend your own exhaust from straight tube?
Here’s the honest answer up front. For most home garages, buying pre-bent mandrel sections and cutting them to fit is faster, cleaner and far less frustrating. Bending your own thin-wall exhaust tube is possible, but it takes tooling most garages don’t have. And the cheap shortcut, a bottle-jack “pipe bender”, tends to crush the tube.
This guide compares the two routes in plain terms: the effort, the tools and the results you can expect. We won’t talk prices, because they change every month. Then we’ll walk you through building a full system from pre-bent U-bends, J-bends and straights, step by step. Think of it as advice from a friend in the next bay who has already cut a bend in the wrong place.
For most people, buying pre-bent mandrel sections beats bending your own exhaust at home.
- Why: thin-wall exhaust tube flattens or wrinkles without a mandrel inside it. Home mandrel tooling is a big investment that only pays off if you build exhaust often.
- What to buy: a mixed kit like the DNA Motoring 16-piece stainless kit, or individual bends like the Vibrant 2609 U-J bend.
- When to bend your own: you’ll build systems regularly, or you’re using thicker-wall mild steel that bends cleanly on a standard rotary-draw bender.
📋 In this guide
- Two ways to build a custom exhaust
- Why exhaust tube is hard to bend at home
- Buy mandrel bends vs bend your own: the comparison
- Tools you need for each route
- What to buy: U-bends, J-bends and kits
- Plan the route before you cut
- Step by step: build with pre-bent sections
- Tacking and welding the joints
- Real-life lessons from garage builds
- Common mistakes and fixes
- Pro tips
- FAQ
- Your build checklist
Two ways to build a custom exhaust in a home garage
“Custom exhaust” sounds like one job. In a home garage, it’s really one of two very different jobs. Knowing which one you’re signing up for saves a lot of wasted tube.
Route 1: buy pre-bent mandrel sections
Here you buy tube that a factory has already bent on a mandrel machine. A mandrel is a support that sits inside the tube during the bend. It keeps the tube round instead of letting it collapse. You get U-bends (180°), J-bends (180° with one long leg), 90s, 45s and straight lengths. Then you cut pieces out of those bends and weld them together into your system. You never bend anything yourself. Your job becomes measure, cut, fit and weld.
Route 2: bend your own from straight tube
Here you buy straight exhaust tube and bend it yourself. That means owning or borrowing a bender that can handle thin-wall tube without kinking it. Each bend can be exactly the angle you need, in one continuous piece. That’s the appeal. The catch is the tooling, which we’ll get to in the next section.
The third option: pie cuts
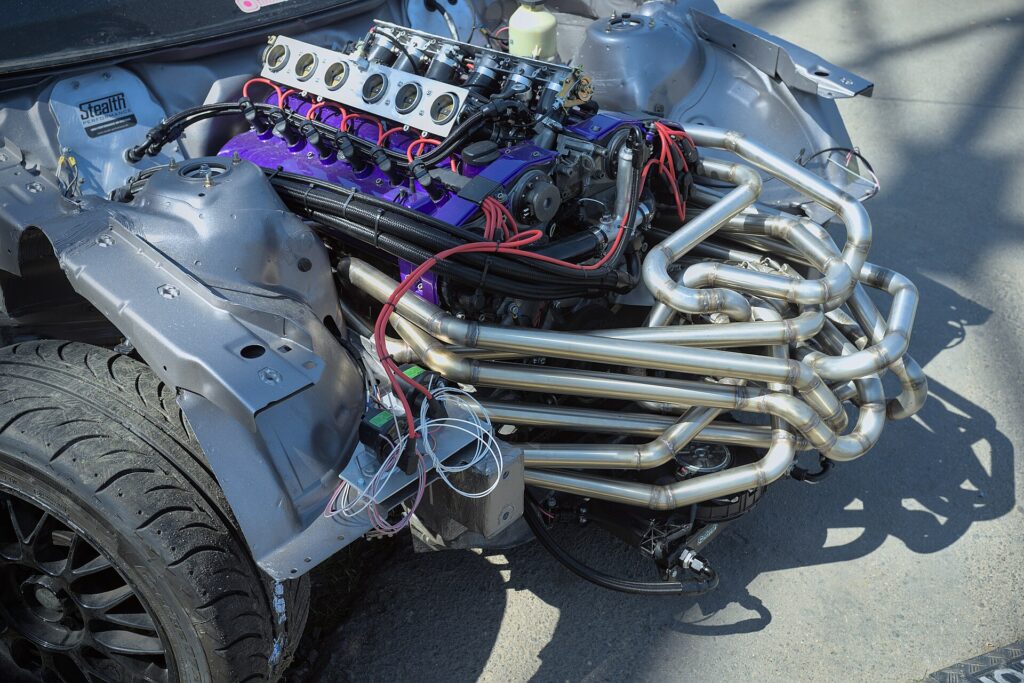
Some builders skip bending entirely. They cut short, wedge-shaped slices of tube and weld them together into a curve. These are called pie cuts. They look great on turbo piping and race cars. But they mean a lot of cutting and a lot of welds, so they’re mostly for people who enjoy the look and have strong welding skills.
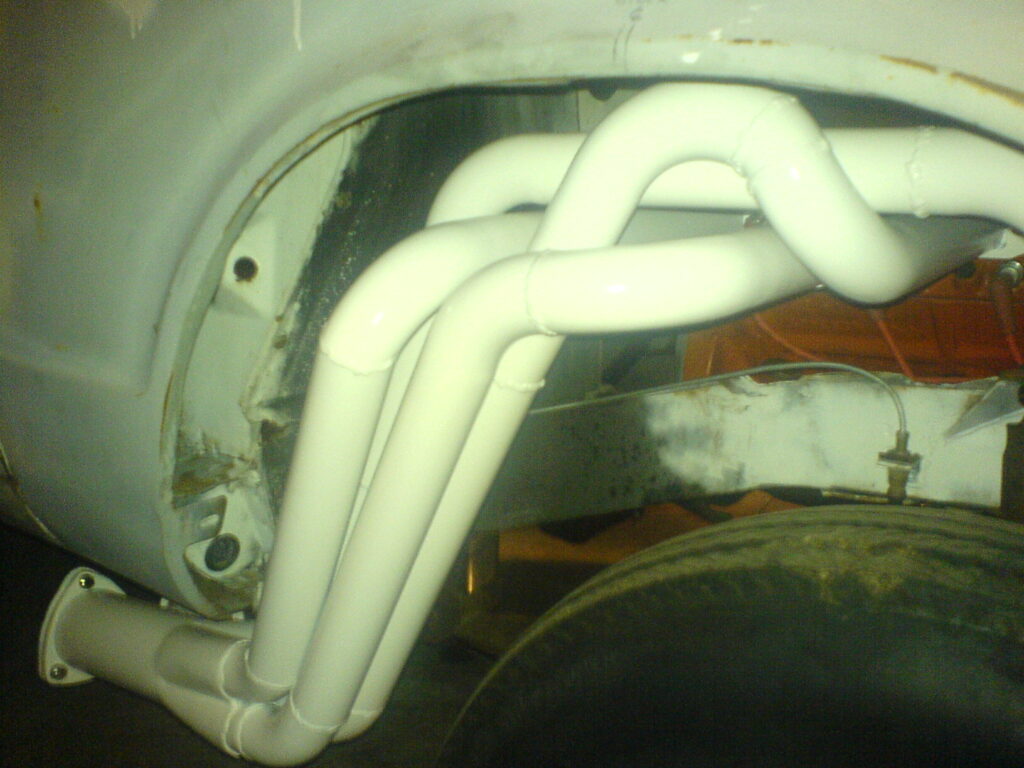
For a first system, Route 1 is where we’d start. The rest of this guide explains why, and how to do it well.
Why exhaust tube is so hard to bend at home
If you’ve bent bumper or roll-bar tube, exhaust tube looks easy. It’s lighter and thinner, after all. But thin is exactly the problem. Thin walls have little to hold their shape, so they flatten on the outside of the bend and wrinkle on the inside.
Two numbers explain it
Fabricators use two simple ratios. Wall factor is the tube’s outside diameter (OD) divided by its wall thickness. D of bend is the centerline radius (CLR) divided by the OD (Pro-Tools explains both). A high wall factor means thin tube. A low D means a tight bend. Thin tube plus a tight bend is the hardest combination there is. Our guide to wall factor and D of bend goes deeper.
Now look at a typical exhaust. Common 16-gauge tube has a .065″ wall. A 2.5″ OD tube at .065″ has a wall factor of about 38. A tight pre-bent section, like a 2.5″ bend on a 3.5″ CLR, works out to about 1.4D.
Compare that with what Rogue Fabrication says. Its mandrel bending guide says the industry treats about 3.0D as the point where a mandrel deserves serious thought. For 304 stainless exhaust, it says to use a mandrel above a wall ratio of 20 or below 3.0D. Even with its own mandrel attachment, Rogue Fab warns that wall ratios over 30 and bends tighter than 2.5D are not likely possible (mandrel attachment page). Typical exhaust sits well beyond both lines.
| Method | How it bends | Thin-wall exhaust result | Home garage fit |
|---|---|---|---|
| Ram / press (“crush”) bender | Pushes a die into the middle of the tube | Flattens and kinks. Rogue Fab calls it a repair-shop tool, not for performance exhaust | ⚠️ Not recommended |
| Rotary-draw, no mandrel | Draws tube around a round die | Fine for thicker mild steel at gentle radii; thin wall still flattens | ✅ Only for thicker wall |
| Rotary-draw with mandrel attachment | Same, with a support inside the tube | Much better, within the maker’s wall and D limits | ⚠️ Big investment per tube size |
| Pie cuts | Wedges welded into a curve | Full-size bore, many welds | ✅ If you weld well |
| Pre-bent mandrel sections | Factory mandrel bends, cut to fit | Round, smooth bends | ✅ Best for most builders |
What about the bottle-jack benders at the big-box store? Harbor Freight’s own manual for its 12-ton pipe bender says it isn’t intended for thin-wall pipe such as conduit or exhaust (manual). More on that in our Harbor Freight 12-ton bender guide. And for the full story on crush versus mandrel bends, read mandrel vs crush bending.
Buy mandrel bends vs bend your own exhaust: effort, tools and results
Let’s put the two routes side by side. We’re leaving cost out on purpose, because tube and tooling prices move all the time. Instead we’ll compare what you actually spend: effort, tools, skill and the quality of the finished system.
| Factor | Buy pre-bent mandrel sections | Bend your own from straight tube |
|---|---|---|
| Main skill | Measuring, cutting and fitting | Bending setup, springback, then cutting and fitting |
| Big tools | Saw, deburring tool, welder | Bender, mandrel tooling per tube size, plus everything on the left |
| Bend quality | Round, smooth factory mandrel bends | Depends on tooling; thin wall flattens without a mandrel |
| Number of welds | More joints, because you join sections | Fewer joints, one bend can run continuous |
| Flexibility | Any angle you can cut from a bend, but radius is fixed by what you buy | Any angle; radius set by your die |
| Waste | Offcuts from bends; plan to reuse them | Test pieces and clamp ends |
| Time to first system | Shorter: no bending setup or practice bends | Longer: tooling setup and practice first |
| Best for | One-off builds, first systems, tight engine bays | Shops and builders who make exhaust often |
Where buying bends wins
Buying bends wins on bend quality per hour of effort. A factory mandrel bend is round and smooth from the start. You don’t need a bender, dies, a mandrel or practice tube. Rogue Fab, which sells mandrel tooling, says plainly that a mandrel setup usually isn’t worth it for a single project on a budget (Rogue Fab). That’s an honest admission from a company that would happily sell you one.
Where bending your own wins
Bending your own wins on fewer joints and total control. One long pipe with three bends in it has no welds between them. If you build systems for friends or customers, the tooling starts to pay off in time saved. It can also make sense with thicker tube. Rogue Fab says mild steel at .083″ wall or heavier bends cleanly without a mandrel for most exhaust work.
Buying bends turns an exhaust from a bending job into a cutting job. For one car in one garage, that’s almost always the easier trade.
Tools you need for each route
Here’s what each route really asks of your shop. The pre-bent list is short. The bend-your-own list includes everything on the pre-bent list, plus the bending gear.
For the pre-bent route
- A way to cut tube square: a band saw, a chop saw or a cut-off wheel. A band saw usually makes the squarest cut.
- A deburring tool or file: burrs ruin fit-up and catch exhaust gas.
- Measuring tools: tape, marker, a flexible straight edge or tape wrap for marking cut lines, and a digital angle finder.
- Clamps or slip joints: to hold sections while you mock up.
- A welder: MIG works on mild and aluminized steel. TIG is the usual choice for stainless.
- Jack stands or a lift: you’ll be under the car a lot.
For the bend-your-own route
- Everything above, because you still cut, fit and weld.
- A rotary-draw bender sized for your tube.
- Dies for each tube size you plan to bend.
- Mandrel tooling for thin wall. Rogue Fab’s attachment, for example, bolts onto its M6xx benders, and every die used with it needs a roller pressure die (Rogue Fab).
- Practice tube to dial in springback and bend marks.
A rotary-draw bender for bumpers and cages is not an exhaust bender. Check your maker’s chart for thin wall and mandrel support before you try 16-gauge tube. Our exhaust pipe bender guide covers machines built for the job.
One more tool matters on both routes: your patience. Every joint needs a square cut and a tight fit. Rushing a cut costs you a bend section. Measuring twice costs you a minute.
What to buy: U-bends, J-bends, kits and straights
Pre-bent sections come in a few standard shapes. Once you know what each one is for, ordering gets easy.
- U-bends (180°): the most useful shape. You can cut almost any angle out of one, and often two usable pieces.
- J-bends: a 180° bend with one short and one long leg. Stainless Headers sells J-bends with a 6″ and a 12″ leg (Stainless Headers). It notes that for most header builds, the extra leg length means you won’t need straight tube (J-bend listing).
- U-J bends: a 180° and a 45° bend in one piece with a straight between. Vibrant sells these from 1.5″ to 4″ (Vibrant).
- 90s and 45s: handy when you know the exact angle.
- Straights: for the long runs under the floor.
Four specs to check on every listing
OD must match your system and your muffler inlets. Material is usually aluminized steel, mild steel or 304 stainless; see our aluminized vs stainless guide. Wall gauge matters because a higher gauge number means thinner wall. CLR sets how tight the bend is. Tight “1D” bends save space, and Vibrant sells 1D stainless 90s from 1.5″ to 4″ OD (Vibrant). Our 1D vs 1.5D vs 2D guide explains the trade-offs.
As an Amazon Associate I earn from qualifying purchases.
DNA Motoring ZTL-25SS: a full kit for a first system
DNA Motoring ZTL-25SS 16-Piece 2.5″ Stainless Exhaust Tubing Kit
Straights, 45s, 90s and U-bends in one box, with slip-fit expanded ends.
This kit gives you a mix of pre-bent pieces so you can mock up a whole system without placing five separate orders. The listing says each pipe is expanded on one end, so pieces slip together for mock-up and final fit.
Who it’s for: first-time builders doing a 2.5″ cat-back or full system who want enough pieces to make a few mistakes.
Why we picked it: the shape mix covers most routes, and the stainless material suits a system you want to last. Check the wall gauge against your plans. The listing gives 18-gauge, which is thinner than 16-gauge tube.
- OD
- 2.5″
- Material
- T-304 stainless (per listing)
- Wall
- 18-gauge (per listing)
- Pieces
- 4 straights (48″), 4 × 45°, 4 × 90°, 4 × 180° U-bends
- Ends
- Expanded on one end for slip fit
- CLR
- Check the listing
Why we like it
- Enough shapes to mock up a full system
- Slip-fit ends make test fitting easier
- Stainless resists rust better than mild steel
Know before you buy
- 18-gauge is thinner than many builders choose
- Stainless usually means TIG welding and back purging
- You may not use every piece
Smaller job? 8-piece version. Affiliate links. See our disclosure.
Vibrant 2609 U-J bend: individual sections from a known maker
Vibrant 2609 U-J Mandrel Bend, 2.5″ 304 Stainless
A 180° and a 45° bend in one piece, with published CLR and leg length.
If you’d rather buy exactly what your route needs, single bends are the way to go. This U-J bend gives you two useful bends from one part, and the listing spells out the numbers you need for layout.
Who it’s for: builders who’ve sketched their route and know how many bends they need. It’s also good for replacing one section of an existing system.
Why we picked it: the listing gives OD, gauge, CLR and leg length in the title. That’s exactly the data you need to plan cuts.
- Shape
- U-J: 45° and 180° in one piece
- OD
- 2.50″
- Material
- 304 stainless
- Wall
- 16 gauge
- CLR
- 3.50″
- Leg length
- 7.00″
Why we like it
- Published CLR and leg length make layout easy
- 16-gauge wall
- Two bends from one part
Know before you buy
- You’ll need several for a full system
- Tight radius leaves short pieces after cutting
- Stainless needs good welding technique
Confirm OD, gauge and CLR on the listing before ordering. Affiliate link. See our disclosure.
Plan the route before you cut anything
The best exhaust builds are mostly planned on paper. Ten minutes with a sketch saves you a bend section. Here’s how to plan a route you can actually build.
Measure the space
Get the car safely on jack stands or a lift. Then look at the whole path from the manifold or downpipe to the tailpipe. Note every obstacle: crossmembers, the driveshaft, suspension parts, the fuel tank, brake lines and fuel lines. Keep the pipe well away from anything that heat can damage. Your service manual or the part makers may list clearance advice, so check it.
Sketch the pipe as straights and bends
Draw the route as a chain of straight runs joined by bends. Write the rough angle next to each bend. Mark where the muffler, resonator and any flex section go. Mark where the hangers will mount, too. Exhaust needs support, and hanger spots often decide where joints should go.
Count your sections
Now turn the sketch into a shopping list. Each bend in your sketch comes out of a U-bend, a J-bend or a fixed-angle bend. Each long run needs a straight. Add at least one spare U-bend. You will cut one wrong at some point. Everybody does.
Check the fit with what you already own
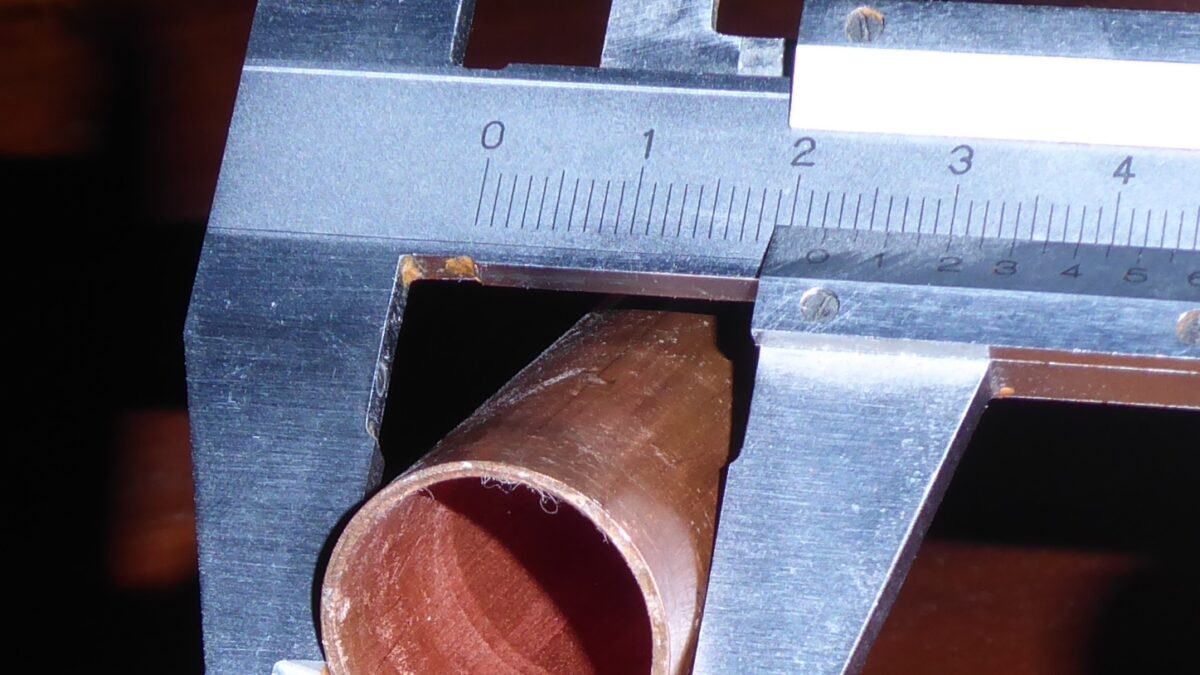
Measure the OD of your muffler, cat and flange inlets with calipers. A 2.5″ system needs 2.5″ parts all the way, or proper reducers. If you’re building headers or a turbo downpipe, the same planning applies. It just happens in a much tighter space.
Use our geometry visualizer to see how CLR changes a bend, and the bend calculator to work out arc and tangent lengths before you mark a cut.
Step by step: build an exhaust from pre-bent mandrel sections
This is the core of the job. The routine below works for a cat-back, a full system or a turbo downpipe. Take it one joint at a time.
- Hang the fixed points first. Bolt in the parts that can’t move, such as the downpipe flange, the muffler and the tailpipe tip. Hold them in place with wire or temporary hangers. Now you’re filling gaps between fixed points.
- Start at the front. Work from the engine back. Each new section then only has to meet one fixed end.
- Find the angle you need. Hold a U-bend in place and sight down the pipe. Use a digital angle finder to read the angle between the two runs.
- Draw a centerline on the bend. Run a line along the outside of the bend, and a second line 180° around on the inside. These keep your cuts square to the bend.
- Mark the cut. Measure along the centerline using arc length: CLR × angle in radians (JD2’s manual uses CLR × degrees × .0175). Wrap a strip of paper or tape around the tube to draw a square cut line.
- Cut and deburr. Cut slightly long, then dress the end square. Remove every burr inside and out.
- Test-fit and clock it. Slide or clamp the piece into place. Rotate it until it points where you want. This is called clocking. Mark across the joint with a witness line so you can put it back in the same spot.
- Tack it. Put two or three small tacks on the joint. Check alignment again before the next piece.
- Repeat to the back. Add sections one at a time, checking clearance at every step.
- Remove and finish-weld. Where you can, take the tacked system off the car and weld it on a bench. You’ll weld better when you can see and reach the whole joint.
- Hang it and check. Fit the hangers, then check clearance with the suspension loaded. Start the engine and listen and feel for leaks.
A worked cutting example
Say you need a 45° piece from the Vibrant 2609, which lists a 3.5″ CLR. 45° is 0.785 radians. So the arc along the centerline is 3.5 × 0.785, or about 2.75″. On the outside of a 2.5″ tube, the radius is 3.5 + 1.25 = 4.75″, so the outside arc is about 3.73″. On the inside, it’s 2.25″, for about 1.77″. Mark those three points and your cut will land at 45°.
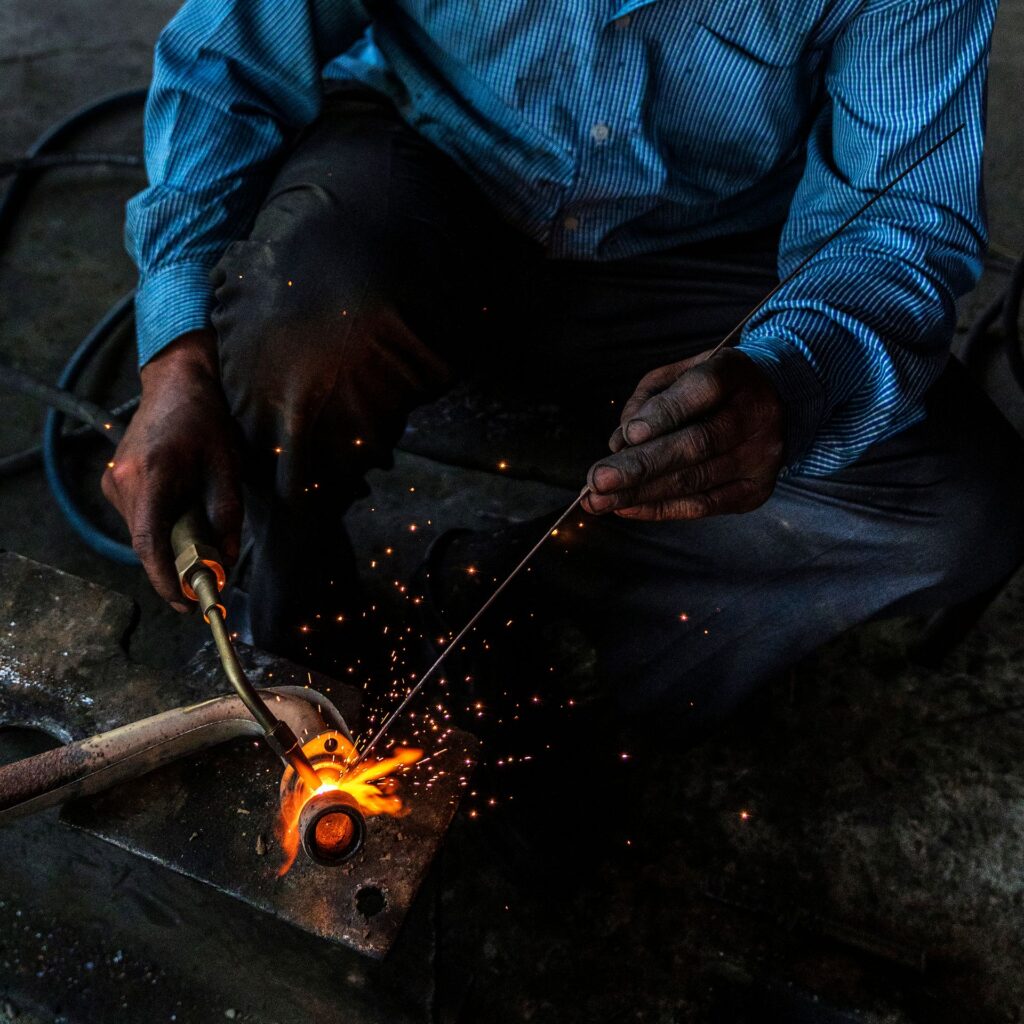
Stainless Headers’ J-bend cut tool suggests leaving about 1/4″ for fit-up trimming (Stainless Headers). Our exhaust tube cut length guide walks through more examples.
Tacking and welding the joints
Pre-bent sections move the hard part of the job from bending to welding. A system built from bends has a lot of joints, so good fit-up pays off over and over.
Fit-up comes first
Burns Stainless puts it simply: when you tack and weld stainless, there should be no air gap between the pieces. Hold the joint up to a light. If light pokes through, the gap is too big. You can also hold the two tubes and rock them to feel for movement (Burns Stainless). Tight joints are easier to weld on any material, not just stainless.
Tack gently
Burns recommends low amperage for tacks, fused only with no filler rod, and quick tacks so you don’t melt holes in the tube. Thin exhaust tube is easy to blow through, so small and quick is the goal.
Back purge stainless
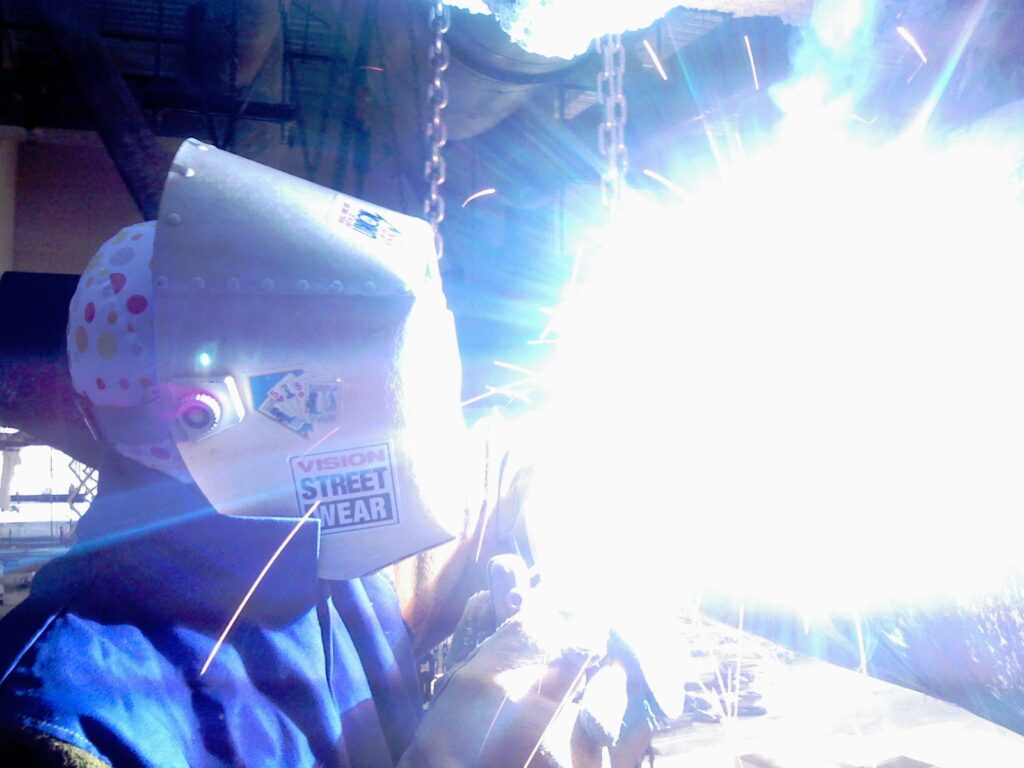
Without shielding gas inside the tube, oxides form on the inside of a stainless weld. Burns describes a black, crusty root with an uneven shape. Its standard fix is an argon back purge. Rubber stoppers with holes make simple gas dams at each end of a tacked section. One end takes the gas line and the other is vented. Burns uses about 5 SCFH for the torch and 10 SCFH for the purge (Burns Stainless). For more on stainless, see bending stainless exhaust tubing.
Slip-fit and clamps
If your sections have expanded ends, you can slip them together and use clamps instead of welding some joints. That makes later repairs easier. Weld or clamp, the joint still needs to be tight and leak-free.
Never work under a car held only by a jack. Use rated jack stands on solid ground. Keep a fire extinguisher close when you weld near fuel lines, the tank or undercoating. Wear eye protection and gloves, and read our workshop safety notes.
Real-life lessons from garage exhaust builds
These are composite stories. The same situations come up again and again in garage-fab forums and build threads. Each one has a lesson that’s cheaper to read than to learn.
A builder buys a hydraulic pipe bender to make a cat-back from straight 16-gauge tube. The first bend flattens into an oval. The second kinks on the inside. After a few sticks of tube, they order a box of mandrel U-bends and finish the job in a weekend.
Lesson: ram benders are for thick pipe. For thin exhaust tube, buy mandrel bends.
Someone needs a gentle 30° bend and cuts it from the middle of a U-bend. Then they realize they need a long 120° piece for the over-axle section, and the only U-bend left is now two short pieces. They wait a week for another order.
Lesson: plan every cut on paper first. Cut big angles before small ones, and keep a spare U-bend on the shelf.
A builder tacks every joint under the car, then tries to finish-weld it there too. The top of each joint is hard to reach, and a few welds leak. They cut the system out at two slip joints, weld it on the bench, and reinstall it.
Lesson: tack on the car, weld on the bench. Plan joints so the system can come out in sections.
A small shop builds one exhaust a month from pre-bent sections. As orders grow, they look at mandrel tooling. They decide it makes sense for their one most common size only, and keep buying bends for the rest.
Lesson: bending your own pays off with volume. Start with bought bends, and add tooling only for the size you use most.
Common mistakes (and how to fix them)
Most exhaust headaches come from the same handful of mistakes. Here they are, with the fix for each.
❌ Using a ram pipe bender on thin-wall exhaust tube. It crushes the tube at the bend.
✅ Fix: buy pre-bent mandrel sections, or use a bender with mandrel tooling rated for your wall and radius.
❌ Ordering bends before measuring. The OD doesn’t match the muffler, or the bends are too tight to fit.
✅ Fix: measure inlets with calipers and sketch the route before you order anything.
❌ Crooked cuts. A cut that isn’t square leaves a wedge-shaped gap that’s hard to weld.
✅ Fix: wrap tape or paper around the tube to mark the line, cut slightly long and dress it square.
❌ Forgetting to clock the pieces. The section is tacked, but it points a few degrees off.
✅ Fix: draw a witness line across each joint during the test fit, and line it up before you tack.
❌ Welding stainless with no back purge. The inside of the weld turns black and crusty.
✅ Fix: purge with argon using simple stoppers, as Burns Stainless describes.
❌ Running pipe too close to lines and wiring. Heat damages fuel lines, brake lines and plugs.
✅ Fix: plan clearance from the start, check it with the suspension loaded, and use heat shielding where space is tight.
❌ No spare sections. One bad cut stops the whole job.
✅ Fix: order at least one extra U-bend. Offcuts from bends are useful later, so keep them.
Pro tips for a clean exhaust build
These habits make the difference between “it works” and “that looks factory.” None of them need special tools.
- 💡 Cut big angles first. Take long pieces from a U-bend before you cut short ones, so the leftovers stay useful.
- 💡 Use the legs. J-bend legs often replace a separate straight. Fewer joints means fewer welds and fewer leaks.
- 💡 Mark the centerline on every bend. It keeps cuts square and makes clocking easy.
- 💡 Mock up with slip-fit or clamps. Get the whole system hanging before you weld anything permanent.
- 💡 Plan your joints. Put slip joints or flanges where the system needs to come apart for service, like near the transmission or axle.
- 💡 Weld on the bench. Tack under the car, then weld where you can see and reach every joint.
- 💡 Match the material. Stainless bends with stainless straights, aluminized with aluminized. It keeps welding simple.
- 💡 Keep a cut log. Note each angle and the arc length you marked. If you ever build a second system, you’ll be twice as fast.
Experienced builders hang every fixed part first, then fill the gaps. Every new section only has to meet one fixed end, so errors don’t stack up down the pipe.
If you later decide to bend your own, start by reading about mandrel benders for a home shop. Go in knowing the tooling is per tube size, and that it pays off with volume.
Frequently asked questions
Is it better to buy mandrel bends or bend your own exhaust?
For most home builders, buying mandrel bends is better. Thin-wall exhaust tube needs a mandrel to bend round, and that tooling is a big investment. Bending your own makes more sense if you build exhaust often or use thicker-wall mild steel.
Can I bend exhaust pipe with a hydraulic pipe bender?
Not well. Ram-style pipe benders push on the middle of the tube and tend to flatten or kink thin wall. Harbor Freight’s manual for its 12-ton bender says it isn’t meant for thin-wall pipe such as exhaust.
What’s the difference between a U-bend and a J-bend?
A U-bend is a 180° bend with short legs. A J-bend is a 180° bend with one short leg and one long leg. The long leg can replace a separate straight piece, which saves a joint.
How do I cut a specific angle from a U-bend?
Draw a centerline along the bend, then measure the arc length along it: CLR × angle in radians. Mark square around the tube and cut slightly long. Check the angle with an angle finder before you tack it.
Do I need a TIG welder for a custom exhaust?
Not always. MIG is common on mild and aluminized steel. Stainless is usually TIG welded, ideally with an argon back purge to protect the inside of the weld.
What gauge exhaust tubing should I use?
Many builders use 16-gauge, which is .065″ wall. Some kits are 18-gauge, which is thinner and easier to blow through when welding. Check the gauge on every listing before you order.
Your build checklist
Run through this list before you place an order and before you strike the first arc.
- I’ve decided to buy pre-bent sections, or I have mandrel tooling rated for my tube
- I’ve measured the OD of my muffler, cat and flange inlets
- I’ve sketched the route as straights and bends, with rough angles
- I’ve marked where hangers, slip joints and service breaks will go
- I’ve checked material and wall gauge on every listing
- I’ve ordered at least one spare U-bend
- I have a saw that cuts square, plus a deburring tool
- I know how to mark a cut using CLR × angle in radians
- I have argon purge gear if I’m welding stainless
- The car is on rated jack stands, with a fire extinguisher nearby
That’s the whole job. Buy good bends, plan on paper, cut square, tack on the car and weld on the bench. Do that, and your first custom exhaust will look like it came from a shop. ✅
Plan your bends before you cut
Work out arc length, tangent length and cut length in seconds. Or see how CLR changes the shape of a bend.
Keep reading
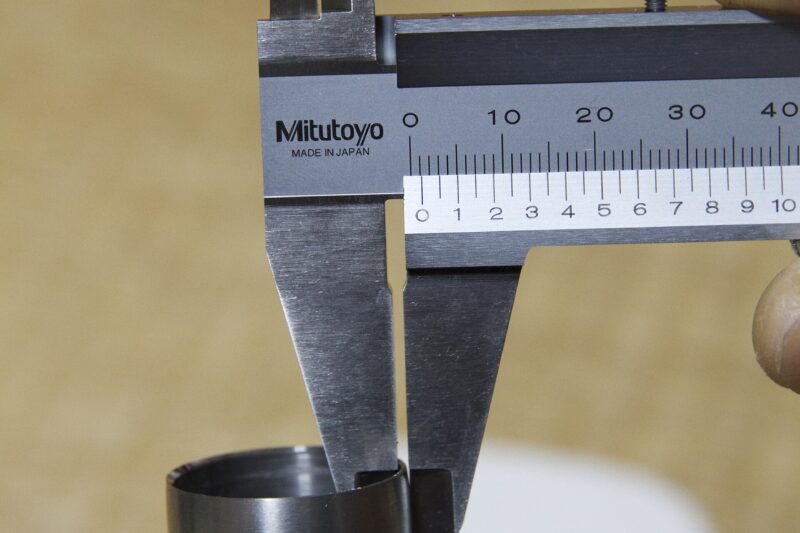
How to Measure and Lay Out Tube Bends (With Worked Examples)
How to measure and lay out tube bends: centerline sketches, tangent and arc math, cut length, bend marks and a test bend,…
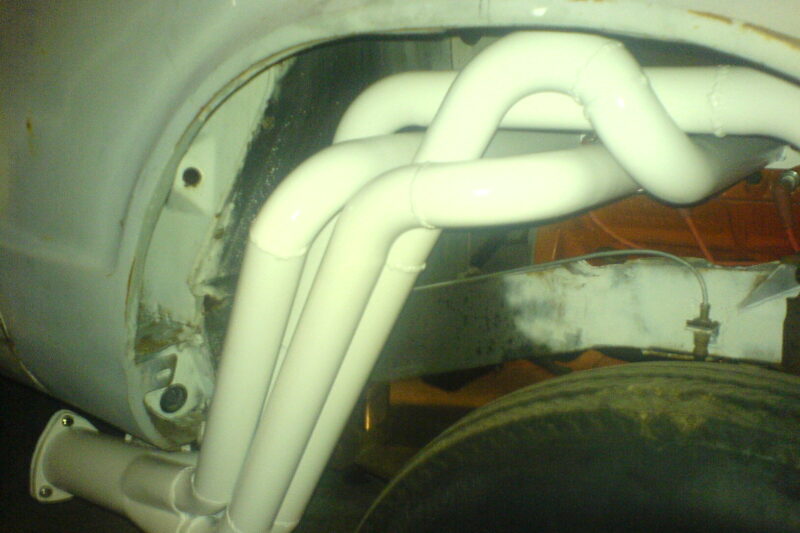
Tube Bending Wrinkles, Kinks and Flattening: Causes and Fixes
Fix tube bending wrinkles, kinks and flattening with symptom-to-cause-to-fix tables, clamp and pressure-die checks, and how to read die maker charts.
Best Tube Bender for Roll Cage Builds (2026): Picks by Rule Needs
The best tube bender for roll cage work bends 180° hoops, takes dies that meet your rulebook's radius rule and is rated…