Tube Bending Wrinkles, Kinks and Flattening: Causes and Fixes
Fix tube bending wrinkles, kinks and flattening with symptom-to-cause-to-fix tables, clamp and pressure-die checks, and how to read die maker charts.

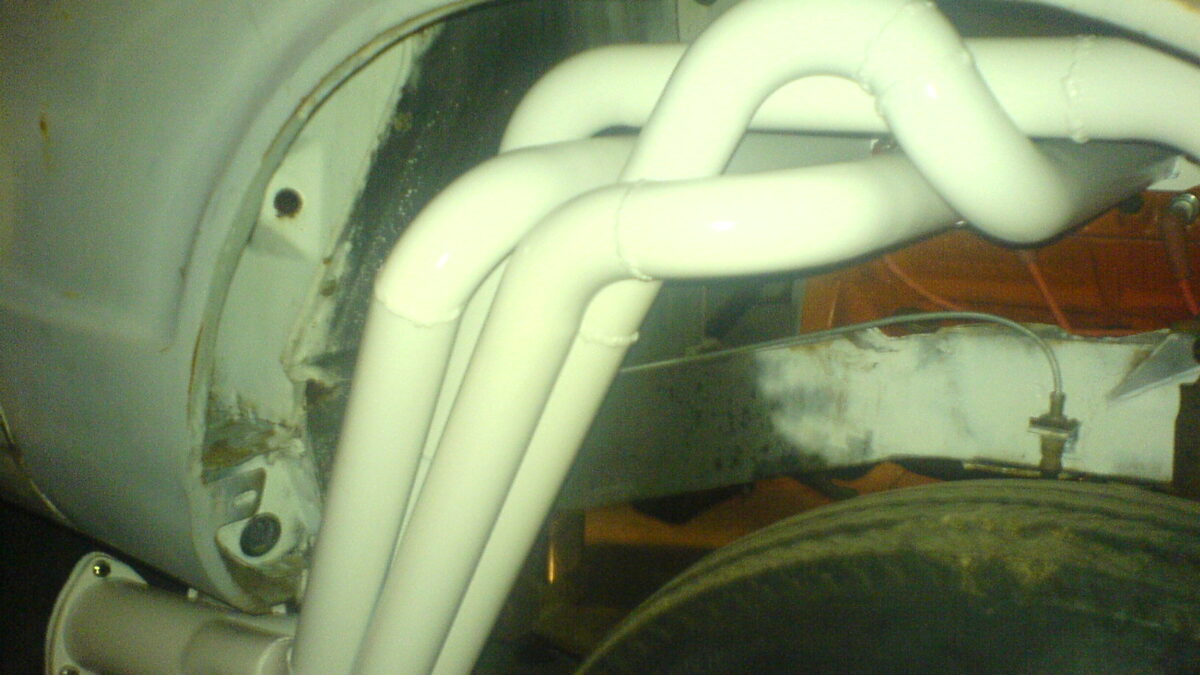
You pull the handle, slide the tube out of the die, and your stomach drops. There’s a row of ripples on the inside of the bend. Or a sharp crease. Or the tube looks like somebody stepped on it. Maybe you typed “tube bending wrinkles kinks and flattening” into a search bar with the ruined stick still on the floor. You’re in the right place.
Here’s the good news. These three defects aren’t random bad luck. Each one leaves clues. Where the wrinkles sit, where the kink formed and which side went flat all point to a short list of causes. Most of those causes are cheap to fix: a dirty clamp, a pressure die in the wrong spot, a die that doesn’t match the tube, or a radius that’s too tight for the wall.
This guide works like a repair manual for your bends. You’ll learn what each defect looks like, what causes it and how to fix it. You’ll get symptom → cause → fix tables you can print and hang by the bender. We’ll stick to what die makers and trade sources actually publish. Where the answer depends on your exact tube, we’ll show you how to read your die maker’s chart instead of trusting a forum rule of thumb.
Wrinkles, kinks and flattening nearly always trace back to four things: a radius too tight for the tube, a wall too thin for the radius, a clamp that slips, or a setup error. Rule out the free fixes first.
- Wrinkles (ripples on the inside): check for clamp slip, then the pressure-die setup, then the die maker’s chart. See how to fix wrinkles.
- Kinks (one sharp collapse): usually the wrong bender type, a radius that’s far too tight, or a loose die. See how to fix kinks.
- Flattening (an oval tube): often too much pressure-die force, thin wall or a tight radius. See how to fix flattening.
- Thin wall plus a tight radius? No adjustment beats physics. You need a bigger CLR, a thicker wall, a mandrel or pre-bent sections.
📋 In this guide
Wrinkles, kinks and flattening: how to tell them apart
Before you fix anything, name the problem correctly. The three defects look different, and they have different causes. Take the bad bend to good light and look at it from every side.
Wrinkles
Wrinkles are a row of small waves or ripples on the inside of the bend. That’s the side that sits against the die. Rogue Fabrication describes them as repeated waves or ripples on the inside of the bend. They can run the full length of the bend, or bunch up near one end. That detail matters a lot, and we’ll use it in the tables below.
Kinks
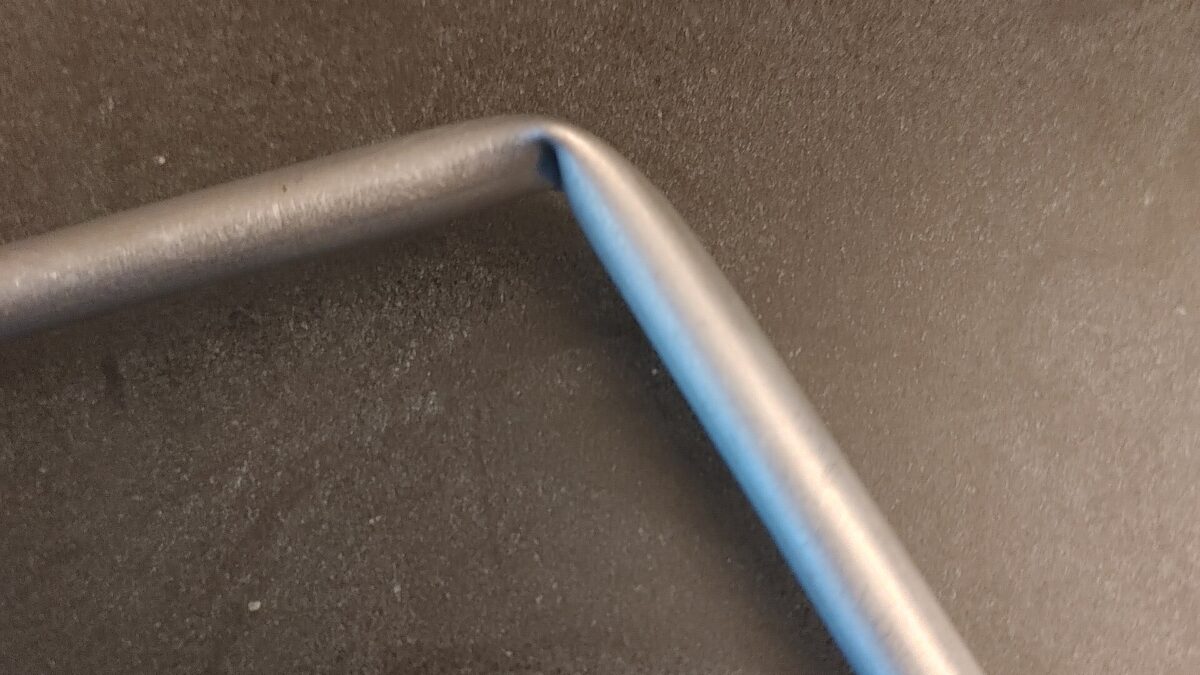
A kink is one sharp crease where the tube folded instead of curving. Think of a drinking straw bent too hard. A kink usually forms when nothing supports the tube at the point of bending, or when the tube is pushed in the middle rather than drawn around a die.
Flattening (ovality)
Flattening means the round tube turned oval through the bend. Most often the outside of the bend goes flat. A little of this is normal. Pro-Tools notes that a bent section always flattens slightly and calls that acceptable. The real question is how much. Engineers call it ovality, and you can measure it with calipers in about a minute.
Use this quick sort when you look at a bad part:
- ✅ Ripples or waves on the inside of the bend → wrinkles
- ✅ One sharp fold or crease → kink
- ✅ Smooth surface but an oval shape, often flat on the outside → flattening
Sometimes you get two at once. A tube can wrinkle on the inside and flatten on the outside in the same bend. When that happens, fix the wrinkles first. They usually point to the bigger setup problem.
Why tube wrinkles, kinks or flattens
Every bend fights itself. As the tube wraps around the die, the outside wall stretches and the inside wall gets squeezed. The squeezed metal has to go somewhere. With a thick wall and a gentle radius, it simply thickens a little. With a thin wall or a tight radius, the inside wall buckles into waves. Rogue Fabrication’s stainless guide puts it plainly: the inside wall runs out of compressive capacity and buckles inward.
Meanwhile, the stretched outside wall pulls toward the center of the bend. That’s what squashes the tube into an oval. And if nothing supports the wall right where it bends, the whole cross-section can fold over. That’s a kink.
The two numbers that predict trouble
Two simple ratios tell you how hard a bend will be. Both come straight from the Pro-Tools wall factor guide:
- D of bend = CLR ÷ OD. A 6″ CLR die on 1.75″ tube is about 3.4D. Lower numbers mean a tighter, harder bend.
- Wall factor = OD ÷ wall. 1.75″ × .120″ wall gives about 14.6. Higher numbers mean a thinner wall and more wrinkle risk.
Pro-Tools explains that a lower wall factor makes the bend easier. If the wall factor is too high, the bend may need special tooling, or it may not be possible at all. Our guide to wall factor and D of bend goes deeper.
Rogue Fab’s four causes
Rogue Fabrication’s bend quality page boils it down to four causes. It lists the same four for wrinkles and for excess deformation:
- D ratio too low (the radius is too tight for the OD)
- Wall ratio too high (the wall is too thin for the OD)
- Clamp block slipping
- Machine set up wrong
The first two are about geometry. You fix them with a different die, a different tube or extra tooling. The last two are about setup. You fix them with a rag, a wrench and the manual. Always rule out setup first. It costs nothing.
Tube bending wrinkles, kinks and flattening: the symptom table
This is the heart of the guide. Find the row that matches your bad bend. Then work through the fixes from left to right, cheapest first. The causes come from Rogue Fabrication, Tube Form Solutions and a series of troubleshooting articles in The Fabricator.
| What you see | Most likely cause | Try this first | If that fails |
|---|---|---|---|
| Wrinkles that change from bend to bend | Tube slipping in the clamp | Clean the clamp and the tube. Tighten the clamp evenly. | Check that the clamp cavity matches the tube OD |
| Wrinkles along the whole inside of the bend | Too little pressure-die support, or a radius too tight for the wall | Check the pressure-die setup against the manual | Bigger CLR, thicker wall or a mandrel |
| Wrinkles only near the end of the bend (mandrel setups) | Worn or badly adjusted wiper die | Re-seat and adjust the wiper per the maker | Replace or re-cut the wiper |
| Wrinkles even with a mandrel in place | Mandrel too far back, loose mandrel fit, or too much oil at the wiper | Set mandrel position per the manual; wipe off excess lube | Check mandrel size against the tube ID |
| One sharp kink | Ram-style bender on thin wall, or a radius far too tight | Switch to a rotary-draw bender and a proper die | Bigger CLR, thicker wall or a mandrel |
| Kink or buckle right after the clamp | Clamp slip moved the bend into an unsupported zone | Fix the slip (see above) | Longer clamp area or more straight tube to clamp |
| Flat outside of the bend | Too much pressure-die force, or the pressure die in a heavy-duty position on thin wall | Move the pressure die to the right position; back off force | Roller-type pressure die |
| Smooth but oval everywhere | Thin wall for the radius with no extra support | Bigger CLR or thicker wall | Thin-wall roller or a mandrel |
| Scratched or galled aluminum | Friction pressure die dragging on soft metal | Roller pressure die | Ask the die maker about non-marring options |
How to read the table: the “where” of a defect is a big clue. The Fabricator‘s troubleshooting series points out that clamp slip is the usual cause of inconsistent wrinkles. Wrinkling along the whole inside radius points to pressure-die force that’s too low. Wrinkles only at the end of the bend point to the wiper die. And flattening on the outside of the bend is commonly caused by too much pressure-die force (The Fabricator).
Make one change, bend one scrap piece, and look. If you change the clamp, the pressure die and the lube all at once, you’ll never know which one fixed it. Next time, you’ll be guessing again.
How to fix wrinkles, step by step
Wrinkles are the most common complaint, and the most fixable. Work through these steps in order. The early ones are free. The later ones cost money, so only go there once setup is ruled out.
- Check for clamp slip. Before the next bend, draw a pencil line across the clamp block and onto the tube. If the two halves of the line don’t meet after the bend, the tube slipped. Rogue Fab notes that slipping can cause wrinkles, and wrinkling can also cause slipping. So it’s both a cause and a symptom.
- Clean the clamp and the tube. Rogue Fab says clamp blocks usually slip on dirty or oily material. Its fix: smooth any slip grooves on the clamp block with 220-grit sandpaper or emery cloth, clean it with lacquer thinner or acetone, clean the tube where it’s clamped, and keep bolt torque even (Rogue Fab).
- Check the die fits the tube. A die for the wrong OD lets the tube move. The Fabricator notes that if the clamp cavity is too large, the tube slips. Pipe and tube sizes also don’t match: 1-1/2″ pipe is really 1.900″ OD.
- Check the pressure-die setup. Read the manual. On Rogue Fab benders, the most common setup mistake is using the rear pressure-die hole, which is marked “HD” and labeled never to be used on .120″ wall or thinner.
- Compare your tube to the die maker’s chart. If your OD, wall and CLR sit outside what the maker rates, setup can’t save it. Change the die, the tube or the tooling.
- On mandrel setups, check mandrel, wiper and lube. Tube Form Solutions lists a mandrel set too far back, a wiper not seated in the bend die, a worn wiper, a loose mandrel and the wrong amount of lube among its causes of wrinkling.
What a wiper die does, and what it can’t do
On mandrel benders, a wiper die sits against the inside of the bend, right behind the point where the tube starts to curve. It works with the mandrel to stop the inside wall from rippling. The Fabricator explains that you need a wiper once the mandrel alone can no longer control the inside radius (The Fabricator).
Two warnings from the trade sources. First, Tube Form Solutions says a wiper can only prevent wrinkles. It can’t flatten wrinkles once they’ve formed. Second, The Fabricator warns never to set the wiper tip at or past the tangent point, because that breaks the tip. Follow your tooling maker’s setup sheet.
More pressure-die force can stop wrinkles, but too much flattens the outside of the bend and adds drag that makes the tube slip. The Fabricator advises using the lowest pressure that stops buckling. Small steps, one scrap bend each.
How to fix kinks
A kink is the most dramatic failure, and usually the clearest. The tube didn’t get the support it needed at the bend, so it folded. Here are the usual reasons, from most to least common in garage shops.
1. The wrong kind of bender
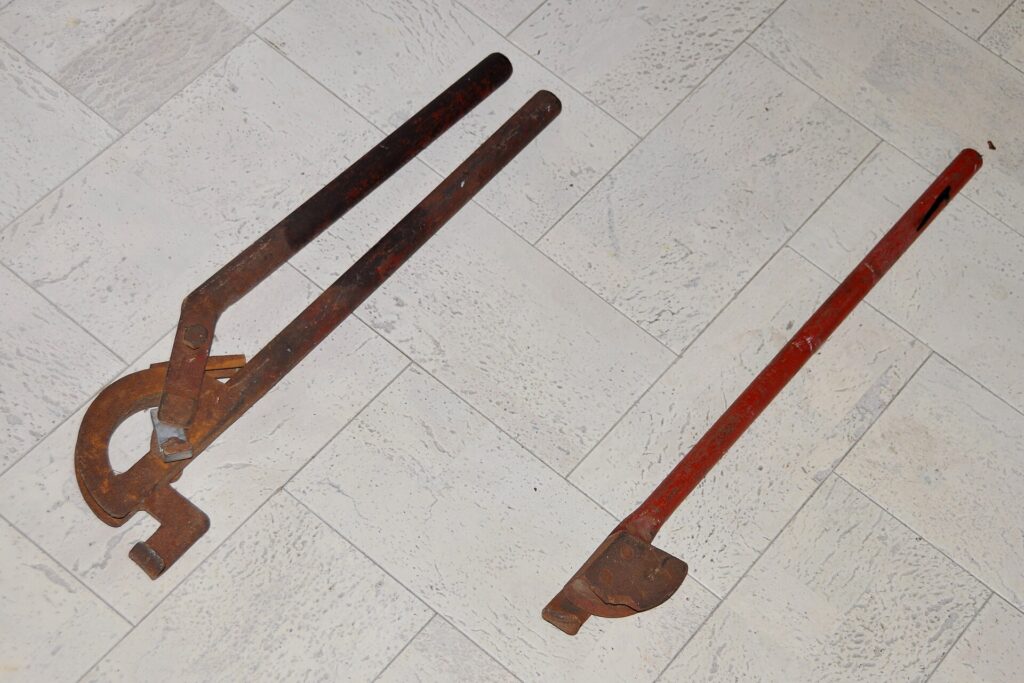
Bottle-jack “pipe benders” push the middle of the pipe while two shoes hold the ends. Nothing draws the tube around a die, so thin wall has no support. Harbor Freight’s own manual for its 12-ton pipe bender says it isn’t intended for thin-wall pipe such as conduit or exhaust (Harbor Freight manual). For structural tube, use a rotary-draw bender. Our guide to pipe benders vs tube benders explains the difference.
2. A radius far too tight
Without a mandrel, there’s a limit to how tight you can go. Pro-Tools gives about 3 × OD as the practical minimum CLR without a mandrel. Baileigh suggests 4 × OD as a starting estimate (Baileigh). Those are starting points, not guarantees. Thin wall needs more room.
3. A loose die or a slipping clamp
If the tube moves in the clamp mid-bend, The Fabricator explains that the forming zone shifts forward to a spot with no tool support. The result can be buckling on the inside of the bend. Fix the slip and the kink often goes away.
4. Thin-wall exhaust on a non-mandrel die
Exhaust tubing has a very high wall factor. On a regular rotary-draw die it tends to wrinkle or kink at any sporty radius. For most home builders, pre-bent mandrel U-bends and J-bends are the smarter path. Our article on mandrel benders for the home shop covers when owning one makes sense.
As an Amazon Associate I earn from qualifying purchases.
If you just need a few clean exhaust bends, a pre-bent section such as the Patriot Exhaust 2-1/2″ 304 stainless U-bend lets you cut the curve you need and weld it in. Check the radius and leg length on the listing before you order.
A kink is a collapsed, weakened section. Don’t hammer it out, heat it straight or hide it under a weld. Cut it out and start again, especially on bumpers, frames, roll bars and cages. Read our safety notes.
How to fix flattening (and measure it)
Flattening is sneaky. The bend looks smooth, so it’s easy to miss. But an oval tube doesn’t fit a round notch, and it can be weaker than you expect. Start by measuring it.
How to measure ovality
Ovality is the difference between the widest and narrowest diameter in the bend, as a percentage of the tube’s nominal OD:
Ovality % = (max OD − min OD) ÷ nominal OD × 100
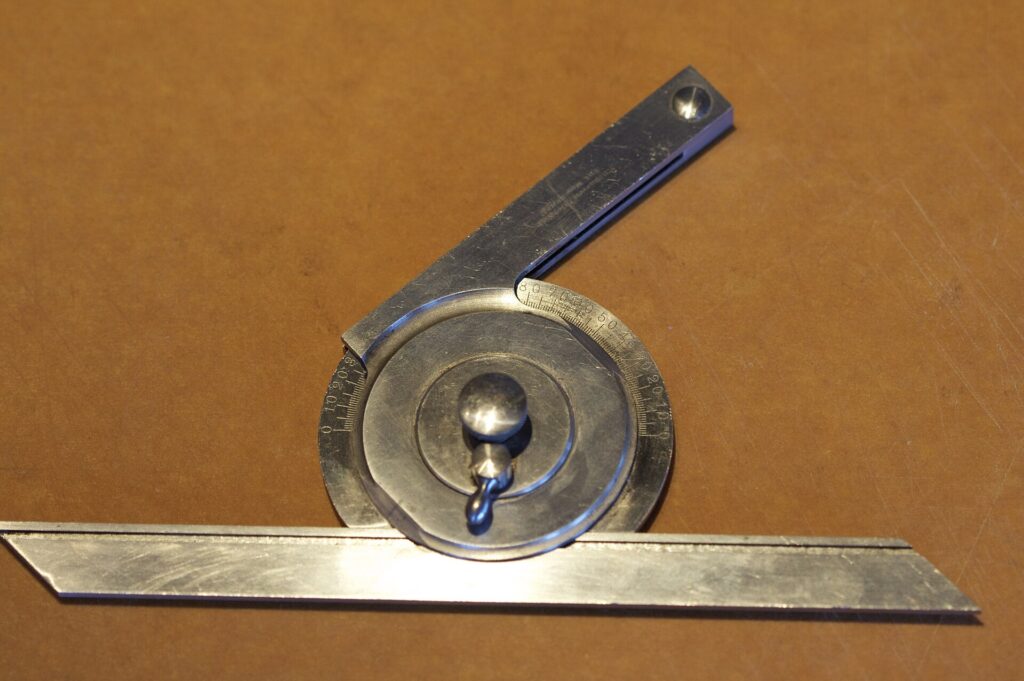
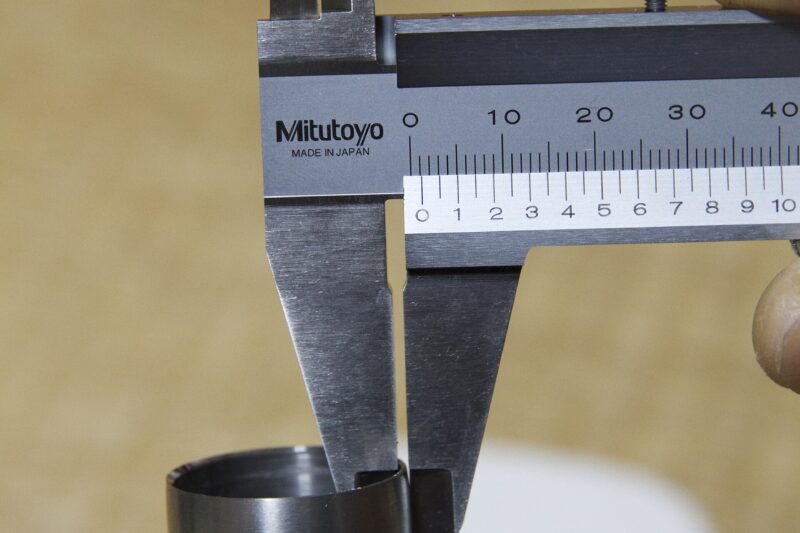
Measure in the middle of the bend. Take the widest reading, then turn the calipers 90° and take the narrowest. Say a 1.75″ tube reads 1.80″ one way and 1.68″ the other. That’s 0.12 ÷ 1.75 × 100, or about 6.9%. How much is too much? That depends on the job. Limits come from the drawing, the customer or the rulebook, not from one universal number. Our guide to ovality in tube bending has more examples.
What causes it and how to fix it
- Too much pressure-die force. The Fabricator names this as a common cause of a flat outside radius. Back off first.
- Pressure die in the wrong position. Check the manual. On Rogue Fab benders, the heavy-duty hole isn’t for .120″ wall or thinner.
- Thin wall for the radius. Go up a wall thickness or use a bigger CLR.
- No extra support. A roller-style pressure die can help. Rogue Fab reports 10.0% deformation with its regular dies and 6.4% with its Thin Wall Roller upgrade, in its own testing on M600-series benders (Rogue Fab). It also says the roller is for jobs the machine is already rated for. Thinner walls or tighter radii need its mandrel attachment.
A tool worth owning: a digital caliper
NEIKO 01407A Electronic Digital Caliper (0–6″)
A simple stainless digital caliper for checking OD, wall and ovality.
You can’t fix flattening you haven’t measured. A 0–6″ digital caliper covers common tube sizes and lets you check OD before you buy dies, wall thickness before you bend, and ovality after.
Who it’s for: anyone with a bender. It’s a budget tool, fine for the garage. If you need certified accuracy for paid work, step up to a calibrated brand.
How to use it here: measure the straight tube first, then the middle of the bend at two angles 90° apart.
- Range
- 0–6″
- Body
- Stainless steel
- Use
- OD, ID, depth and step
Affiliate link. See our disclosure.
Read the die maker’s chart, not a forum rule
You’ll see neat rules online: “below this wall factor it never wrinkles, above that you need a mandrel.” They’re tempting. But we couldn’t find a manufacturer or standard that backs those cutoffs as universal facts. Real limits depend on the material, the die design, the machine and the tooling. So the honest answer is: use your die maker’s chart.
Capacity and minimum-wall charts
Good die makers publish the minimum and maximum wall they rate for each OD and CLR, and often by material. Rogue Fab has a tube capacity chart. Pro-Tools lists minimum wall on its die pages. Pro-Tools also warns that welded ERW tube can have thin spots. For some of its dies it recommends going up one wall thickness with ERW. Its example: a 1″ OD × 3″ CLR die rated to .065″ minimum wall in DOM, with at least .083″ recommended for ERW (Pro-Tools).
Mandrel and wiper selection charts
Mandrel tooling makers use a chart with wall factor on one axis and D of bend on the other. Where your bend lands tells you what tooling you need. The Fabricator walks through one example: 2″ OD × .065″ wall on a 4″ CLR gives a wall factor of about 30.8 and a D of 2.0. The chart calls for a regular-pitch two-ball mandrel with a wiper (The Fabricator). These charts typically assume mild steel bent to 180°, so ask the maker about other materials.
| Example tube and die | D of bend (CLR ÷ OD) | Wall factor (OD ÷ wall) | What to do |
|---|---|---|---|
| 1.75″ × .120″ on 6″ CLR | 3.4 | 14.6 | Check the bender and die maker’s capacity chart |
| 1.75″ × .095″ on 6″ CLR | 3.4 | 18.4 | Same D, thinner wall: confirm the minimum wall for that die |
| 1.5″ × .065″ on 4.5″ CLR | 3.0 | 23.1 | Thin wall at a tighter D: check the minimum-wall chart first |
| 2″ × .065″ on 4″ CLR | 2.0 | 30.8 | The Fabricator‘s chart example: two-ball mandrel with wiper |
Our free bend calculator works out D of bend and wall factor from your OD, wall and CLR. Take those two numbers to your die maker’s chart, or call their tech line.
Real-life lessons from the garage
These are composite stories. The same situations come up again and again in garage-fab forums and build threads. Each one has a clear lesson, and each would have cost less if the builder had started at the top of the symptom table.
A builder gets wrinkles on some bends but not others. Sometimes they’re at the start, sometimes in the middle. They try a new die. No change. Finally they draw a pencil line across the clamp and the tube. After the next bend, the line is split by a quarter inch. The tube had a film of mill oil, and the clamp face was polished smooth. Cleaning both stops the wrinkles.
Lesson: wrinkles that change from bend to bend usually mean clamp slip. Check the clamp before you buy anything.
Someone wants a tight turn-down for a 2.5″ exhaust. Their rotary-draw bender handles bumper tube beautifully, so they try thin-wall exhaust tube in it. Every bend comes out rippled on the inside. More pressure just flattens the outside too.
Lesson: thin wall on a tight radius is a tooling problem, not a setup problem. Pre-bent mandrel sections are usually the answer.
A builder’s bumper bends look smooth, but the notches won’t sit tight. Calipers show the bends are clearly oval. Reading the manual, they find the pressure die is in the heavy-duty position meant for thick wall. Moving it to the standard position brings the bends back to round.
Lesson: measure your bends, and read the pressure-die section of your manual.
A bad bend is a message. Wrinkles that move point to the clamp. Wrinkles that run the whole bend point to support. Flattening points to too much force or too little wall.
Common mistakes (and how to fix them)
These mistakes turn a simple fix into a pile of scrap. Most of them come from rushing, or from treating every bad bend the same way.
❌ Cranking the pressure die to kill every wrinkle. Too much force flattens the outside of the bend and adds drag that makes the tube slip.
✅ Fix: use the lowest pressure that stops buckling. Adjust in small steps, with one scrap bend per step.
❌ Bending oily or dirty tube. Mill oil and grime let the clamp slip.
✅ Fix: wipe the clamp area of the tube and the clamp block with a solvent your bender maker approves, then tighten evenly.
❌ Using a die for the wrong size. “1-1/2 inch” pipe and 1-1/2″ tube aren’t the same OD.
✅ Fix: measure the real OD with calipers and match the die to it.
❌ Trying to rescue a wrinkled or kinked bend. Re-bending, heating or hammering doesn’t restore the wall.
✅ Fix: cut the bad section out. Fix the cause before you bend the next piece.
❌ Using a ram-style pipe bender on thin wall. It pushes instead of drawing, so thin wall kinks.
✅ Fix: keep ram benders for heavy pipe. Use a rotary-draw bender for tube.
❌ Trusting a forum wall-factor rule. Neat cutoffs online aren’t backed by the die makers.
✅ Fix: work out D of bend and wall factor, then check the die maker’s chart or call them.
❌ Changing three things at once. The problem goes away, but you don’t know why.
✅ Fix: one change per test bend. Write each result in your bend log.
Pro tips for clean, round bends
These habits come from the same trade sources and from patterns builders share online. None of them costs much. Together, they stop most defects before they start.
- Keep a bend log. Record tube OD, wall, material, supplier, die, pressure-die position and the result. Patterns jump out after a few projects.
- Mark the clamp line every time. A pencil line across clamp and tube costs nothing and catches slip instantly.
- Buy one extra stick. Test every new tube batch on scrap before you cut project pieces.
- Inspect the dies. Worn or damaged grooves can cause wrinkles and marks. Clean dies before each session.
- Use the right pressure die for the metal. Rogue Fab says its standard friction pressure die needs lube and can’t run aluminum because it galls. Its roller pressure die needs no lube and works on all materials (Rogue Fab FAQ).
- Lube where the maker says, and only there. On mandrel setups, Tube Form Solutions warns that too much oil, or oil that’s too heavy, in the wiper area causes wrinkles.
- Pick DOM over ERW for tight work. Pro-Tools notes ERW can have thin spots. If you must use ERW, consider a heavier wall.
- Know when to stop. If the tube is outside your die’s rating, no tweak will fix it. Change the plan.
Experienced fabricators rarely save a bad bend. They scrap it, find the cause, and make sure the next fifty bends are good. That mindset saves more tube than any trick.
Bending stainless? It has its own quirks. See our guide to bending stainless exhaust tubing. Not sure which bender type suits your work? Our bender type comparison lays them side by side.
Frequently asked questions
What causes wrinkles on the inside of a tube bend?
The inside wall gets squeezed and buckles. Rogue Fab lists four causes: a radius too tight for the OD, a wall too thin for the OD, a slipping clamp, or a setup error. Check clamp slip and setup first, because those fixes are free.
Can you fix a wrinkled or kinked bend?
Not reliably. Tube Form Solutions notes that even a wiper die can only prevent wrinkles, not flatten them once formed. For anything structural, cut the bad section out and fix the cause before the next bend.
Why does my tube flatten when I bend it?
Some flattening is normal. Too much comes from excess pressure-die force, a pressure die in the wrong position, thin wall or a tight radius. Measure ovality with calipers, then work through those causes in order.
Do I need a mandrel to stop wrinkles?
Only when the wall is too thin for the radius you want. Many bumper and cage bends work fine without one. Work out your D of bend and wall factor, then check the die maker’s chart. If you’re outside it, use a bigger CLR, a thicker wall, a mandrel or pre-bent sections.
Can I fill the tube with sand to stop kinks?
Packing tube with dry sand is an old workshop trick for hand bending, and builders report mixed results. It isn’t a substitute for the right die or a mandrel. Never heat a sealed, filled tube. Trapped moisture can turn to steam.
What wall thickness can I bend without wrinkles?
There’s no universal number. It depends on OD, CLR, material, die and machine. Your die maker’s minimum-wall chart is the answer. Pro-Tools, for example, lists minimum wall per die and suggests a heavier wall for ERW tube.
Your troubleshooting checklist
Print this and tape it next to your bender. Work down it in order the next time a bend goes wrong.
- I’ve named the defect: wrinkles, kink or flattening
- I’ve noted where it appears: whole bend, start, end or one spot
- I’ve drawn a line across the clamp and tube to check for slip
- The clamp block and the tube’s clamp area are clean and dry
- The die matches the tube’s real OD, measured with calipers
- The pressure die is in the position the manual specifies for my wall
- I’ve worked out D of bend and wall factor for this bend
- My tube, wall and CLR fall inside the die maker’s chart
- On mandrel setups, I’ve checked mandrel position, wiper seating and lube
- I’m changing only one thing per test bend, and logging the result
- I’ve measured ovality on the test bend before cutting project tube
Wrinkles, kinks and flattening feel like a mystery the first time. They aren’t. Read the clues, start with the free fixes, and lean on your die maker’s chart for the rest. Your next stick of tube will thank you. 🔧
Check your bend before you make it
Enter your OD, wall and CLR to get D of bend and wall factor in seconds. Or compare bender types to see which one fits thin-wall work.
Keep reading
Mandrel Bending vs Crush Bending Exhaust: What Really Changes
Mandrel bending vs crush bending exhaust, explained simply: what each does to the pipe, when crush bends are fine, and when mandrel…
Wall Factor and D of Bend: How to Read Any Mandrel Chart
Wall factor and D of bend explained: two simple ratios that predict wrinkles and flattening, how to read a mandrel chart, and…
Springback in Tube Bending: How to Measure and Correct It
Springback in tube bending, explained simply: why tube relaxes after a bend, how to find your number with a test bend, and…