How to Choose a Tube Bender: A 10-Step Buying Guide
How to choose a tube bender in 10 steps: match capacity, CLR, dies, drive and floor mounting to your projects, with worksheets and a checklist.

Most people start shopping for a tube bender by asking, “Which one is best?” It’s a natural question, but it’s the wrong first question. The right bender depends on your tube, your projects and your garage. This guide shows you how to choose a tube bender with a simple 10-step process, so you buy once and buy right.
We’ll work through it like a friend in the next bay would. First you write down what you want to build. Then you turn that list into hard numbers: tube size, wall, material, bend radius and bend angle. Only then do you look at machines. Along the way you’ll fill in short worksheets, the same kind of notes experienced fabricators keep in their heads.
This is a vendor-neutral buying guide. We mention real machines only to show how to read their published specs, not to push you toward one. When you’re ready for actual picks, our best tube bender for a home garage roundup and our best tube bender guide take your worksheet answers and turn them into a shortlist.
To choose a tube bender, decide what you’ll build before you look at machines. Then match the machine to those numbers.
- Start with your parts: list tube OD, wall, material and your tightest bend. Use the project worksheet.
- Pick the right type: for structural tube, that’s almost always a rotary-draw bender, not a bottle-jack pipe bender. See why.
- Check four numbers: capacity (OD × wall × material), CLR, max bend angle and die availability. How to read a capacity chart.
- Budget the whole system: dies, stand, notcher and floor anchoring, not just the frame. Grab the checklist.
📋 In this guide
- The 10-step process at a glance
- Step 1: Write down your projects
- Step 2: Pin down tube size, wall and material
- Step 3: Choose the bender type
- Step 4: Read the capacity chart
- Steps 5–6: CLR and bend angle
- Step 7: Price the dies and the system
- Step 8: Manual, hydraulic or upgrade-ready
- Steps 9–10: Space, mounting and your shortlist
- Common mistakes
- Pro tips
- FAQ
- Printable buying checklist
How to choose a tube bender: the 10-step process at a glance
Here’s the whole process on one screen. Each step builds on the one before it. By step 10, you’ll have a short list of machines that genuinely fit, and a set of questions to ask the maker before you pay.
- Write down your projects. What you’ll build in the next year or two.
- Pin down your tube. OD, wall thickness and material for each project.
- Choose the bender type. Lever, ram, rotary draw or mandrel.
- Read the capacity chart. Match OD × wall × material, with headroom.
- Choose your CLR. Check the look, the tube’s limits and any rulebook.
- Check the bend angle. Frame and die limits, plus springback.
- Price the system. Dies, stand, notcher and measuring tools.
- Pick the drive. Manual, hydraulic, or manual now with a hydraulic option.
- Plan your space. Floor anchoring and room for the tube to swing.
- Shortlist and verify. Score your options and confirm specs with the maker.
Why bother with a process? Because most bender regrets come from skipping one of these steps. Someone buys a machine that can’t reach 180°. Someone else buys the right frame but can’t get dies in their size. A third person bolts a bender into a corner and can’t swing a long tube. Each mistake is cheap to avoid on paper and expensive to fix later.
Keep a notebook or a phone note open as you read. Every step has a small worksheet. Fill it in as you go, and you’ll finish with a one-page brief for your new bender.
Short on time? Our free Find My Bender quiz asks nine quick questions and suggests a bender type with the reasons behind it. Then come back here to check the details.
Step 1: Write down your projects
Start with what you’ll actually build. Not what you might build someday, but what’s on your list for the next year or two. This is the most important step, because every later choice depends on it.
Most garage builders fall into a few groups. Off-road builders make bumpers, sliders, racks and tube doors. Motorsport builders make roll bars and cages that must pass tech inspection. Frame builders make go-karts, sand rails and trailers. Shop and home builders make handrails, gates and furniture. Each group points to a different tube size range and bend style.
Fill in a row for each project. If you don’t know a number yet, leave it blank for now. Step 2 helps you find it.
| Project | Tube OD | Wall | Material | Tightest bend | Bends per part |
|---|---|---|---|---|---|
| Example: front bumper | 1.75″ | .120″ | Mild steel DOM | 90° | 4 |
| Example: roll bar | Per rulebook | Per rulebook | Per rulebook | 180° hoop | 2–3 |
| Project 1: ________ | ____ | ____ | ____ | ____ | ____ |
| Project 2: ________ | ____ | ____ | ____ | ____ | ____ |
| Project 3: ________ | ____ | ____ | ____ | ____ | ____ |
Now look down the columns. Circle the most common OD. That’s your first die. Circle the thickest wall and the toughest material. Those set your capacity floor. Circle the tightest bend. That sets your angle needs. You’ve just written the spec for your bender.
The stories below are composites. The same situations come up again and again in garage-fab forums and build threads.
A builder buys a popular manual bender for bumper work. A year later, they decide to add a roll bar. The main hoop needs close to 180°, but their dies stop well short of that. The bumper bender can’t make the part.
Lesson: list every project you can see coming, and size for the toughest bend on the list.
Step 2: Pin down tube size, wall and material
Now turn your project list into exact tube specs. Three numbers matter: outside diameter (OD), wall thickness and material. Together they decide how hard the bend is and which machines can do it.
Tube vs pipe sizing
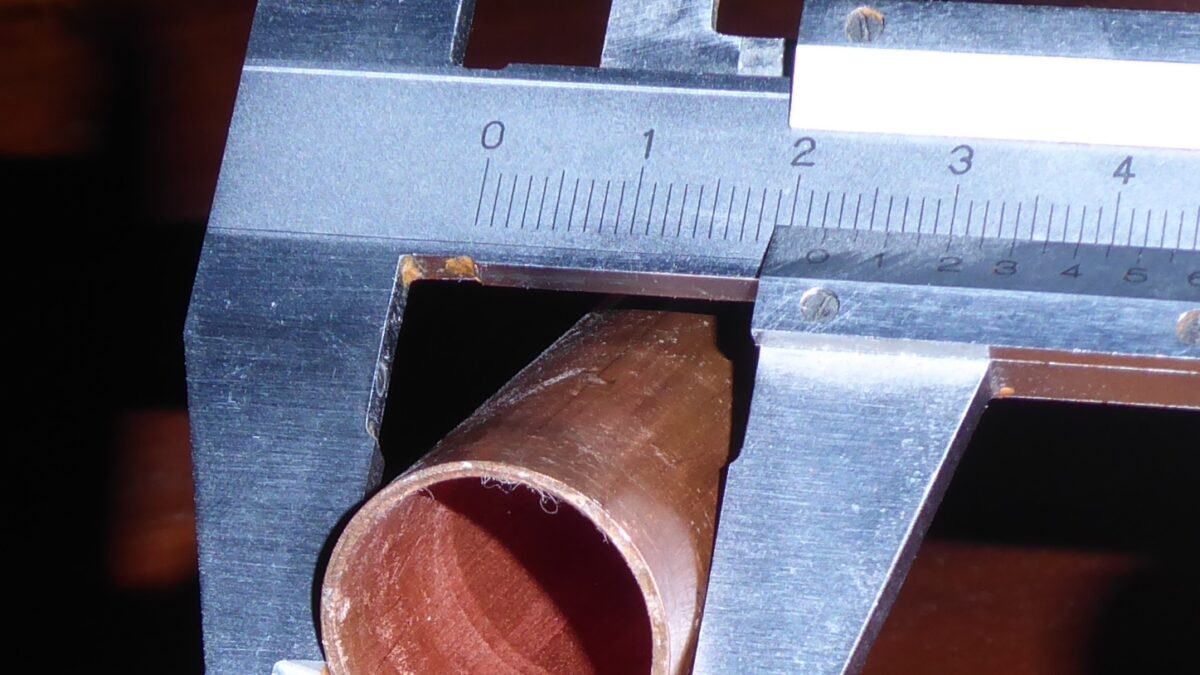
This trips up a lot of first-time buyers. Tube is sold by its real OD. Pipe is sold by a nominal size that doesn’t match its outside. For example, 1-1/2″ pipe measures 1.900″ OD, and 1-1/4″ pipe measures 1.660″. A die for 1.5″ tube won’t fit 1-1/2″ pipe. Measure with calipers.
Wall thickness and two handy ratios
Thicker wall needs more force. Thinner wall wrinkles more easily. Two simple ratios help you judge a bend (Pro-Tools):
| Ratio | Formula | Example | What it tells you |
|---|---|---|---|
| Wall factor | OD ÷ wall | 1.75 ÷ .120 = 14.6 | Higher means thinner wall and more wrinkle risk |
| D of bend | CLR ÷ OD | 6 ÷ 1.75 = 3.4D | Lower means a tighter, harder bend |
Material changes everything
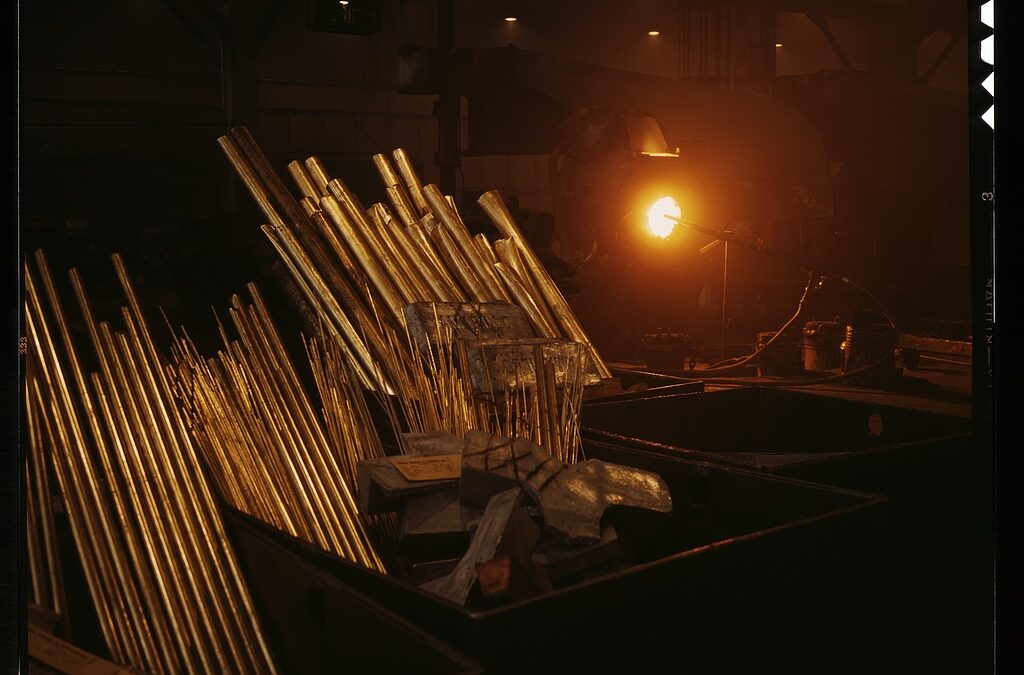
Mild steel (ERW or DOM) is the easiest common structural tube. 4130 chromoly is stronger, so benders rate it lower, and it springs back about twice as much as the same size mild steel (JD2 manual). 6061-T6 aluminium needs a gentler radius. Rogue Fab recommends about 3.5–4D and calls 3D marginal (Rogue Fab). Stainless springs back more than mild steel and work-hardens, so plan test bends.
Building a cage or roll bar? The rulebook sets tube size, wall and material, not you. Read the current edition from your sanctioning body before you fill in this row.
Step 3: Choose the right type of bender
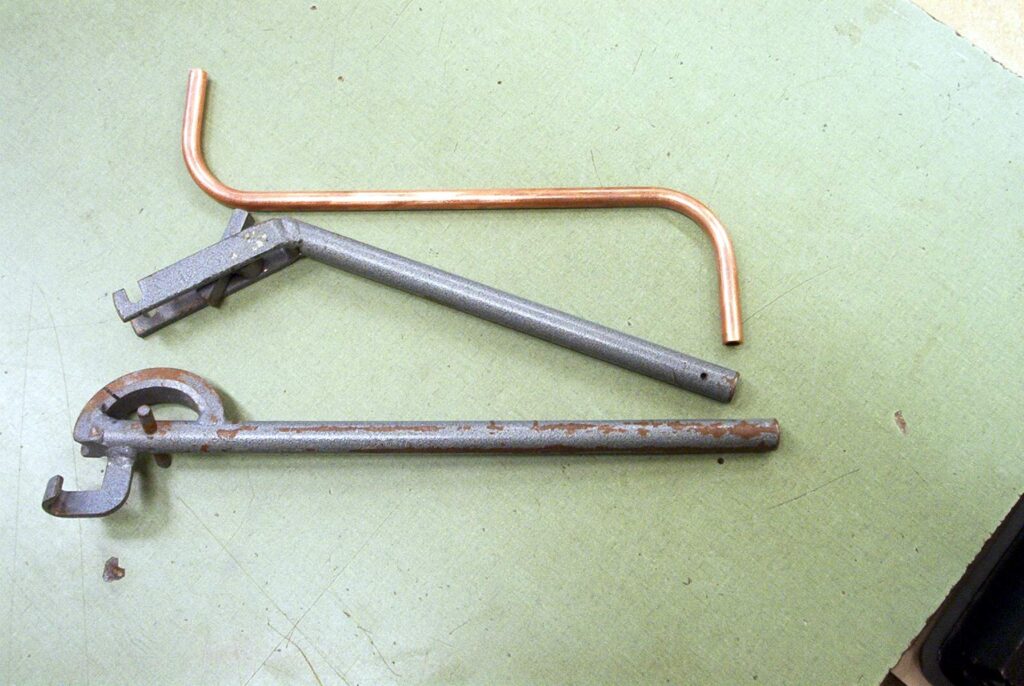
“Tube bender” covers four very different machines. They can look alike in photos, but they bend metal in different ways. Picking the wrong type is the costliest mistake on this list.
| Type | How it bends | Best for | Avoid for |
|---|---|---|---|
| Lever hand bender | Small die and two handles | Brake, fuel and small soft lines | Structural tube |
| Ram (press) pipe bender | A hydraulic ram pushes the middle of the pipe | Schedule 40/80 pipe for gates and farm work | Thin-wall tube, cages, bumpers |
| Rotary-draw bender | Tube is drawn around a rotating die | Bumpers, sliders, cages, chassis, frames | Very tight thin-wall bends |
| Mandrel bender | Rotary draw with a support inside the tube | Exhaust and tight thin-wall bends | Most home budgets and spaces |
For structural tube, the answer is almost always rotary draw. Ram benders are built for thick pipe. Harbor Freight’s own manual for its 12-ton pipe bender says it isn’t meant for thin-wall pipe such as conduit or exhaust (Harbor Freight manual). Never use a ram bender for cage tube. Our guide to pipe benders vs tube benders explains the difference, and the bender type comparison lays the types side by side.
Building exhaust? Most garage builders buy pre-bent mandrel U-bends and J-bends, then cut and weld them. A home mandrel bender is a big step up in cost and space.
Step 4: Read the capacity chart, with headroom
A good maker publishes a capacity chart: OD, maximum wall and material. “Bends 2-inch tube” means little on its own. Bending 2″ × .065″ is easy. Bending 2″ × .120″ takes far more force. And chromoly is usually rated lower than mild steel.
Here’s how real makers word their limits. These are examples of how to read a chart, not recommendations:
- JD2 Model 32: round tube over 2″ × .120″ needs the hydraulic add-on. With hydraulics, it’s rated to 2″ × .250″ DOM (JD2).
- Eastwood High Capacity: 2″ × .120″ mild steel, with 4130 limited to .090″ wall (Eastwood).
- Rogue Fab M605: 2.00″ OD. Rogue Fab’s catalogue says .188″ wall, but its FAQ says .250″ DOM. That’s a conflict worth asking about (Rogue Fab FAQ).
Notice two things. Ratings depend on material, and makers sometimes disagree with themselves. When you see a conflict, ask the maker in writing. Then fill in the check below for your toughest tube:
| Check | My tube | Chart says | Pass? |
|---|---|---|---|
| Largest OD | ____ | ____ | ☐ |
| Thickest wall at that OD | ____ | ____ | ☐ |
| Toughest material (e.g. 4130) | ____ | ____ | ☐ |
| Headroom left over (don’t run at the limit every day) | ____ | ____ | ☐ |
If a listing has no capacity chart at all, treat that as a warning sign. Our tube bender capacity chart guide goes deeper on reading them.
If your main tube sits exactly at a bender’s maximum, every bend is a full-effort bend. Leave some headroom, especially for chromoly and thick wall. It’s easier on you and on the machine.
Steps 5–6: Choose your CLR and check the bend angle
These two steps go together. The centerline radius (CLR) sets how the bend looks and how hard it is. The bend angle decides which parts you can make at all.
Step 5: Choose your CLR
CLR is the radius of the bend, measured to the center of the tube. It’s fixed by the die. A tighter CLR looks sportier and fits smaller spaces, but it’s harder on the tube. A common shop rule puts the practical minimum for non-mandrel bending around 3 × OD (Pro-Tools). Baileigh suggests starting at 4 × OD (Baileigh). Popular off-road dies are 1.5″ and 1.75″ at about 5.5″ and 6.5″ CLR, per Baileigh.
For cages, some rulebooks set a minimum. SCCA Time Trials, for example, calls for a centerline bend radius of at least three times the tube diameter (SCCA). Check the current rulebook for your class. Benders Hub isn’t a tech inspector or engineer, so confirm with your inspector too. Our roll cage bend radius guide has more.
| Your OD | 3 × OD (practical minimum) | 4 × OD (starting point) | Rulebook minimum | Die CLR I’ll buy |
|---|---|---|---|---|
| 1.5″ | 4.5″ | 6.0″ | ____ | ____ |
| 1.75″ | 5.25″ | 7.0″ | ____ | ____ |
| 2″ | 6.0″ | 8.0″ | ____ | ____ |
| Mine: ____ | ____ | ____ | ____ | ____ |
Step 6: Check the bend angle
Most bumper and cage bends are under 90°. But a main hoop or U-bar needs 180°. Check two limits: the frame and the die. Eastwood, for example, recommends 90° maximum with its 120° dies and 180° with its 240° dies. Baileigh lists both 190° and 200° for its RDB-050. Retail die listings for the Woodward Fab WFB2 show about 110°–120°.
Then add springback. Tube relaxes after release, so you over-bend. Rogue Fabrication shows a mild-steel bend that read 86.5° after release when 90° was the target (Rogue Fab). A full 180° part needs a little extra travel. Plug your numbers into the bend calculator to work out arc and cut lengths.
Step 7: Price the dies and the whole system
The bender frame is only half the tool. Every tube size and every CLR needs its own die set. And a working bending station needs more than a bender. Budget for the whole system from day one.
Work through this list. Mark what you need now and what can wait. We’ve left prices out on purpose, because they change often. Price each line on the day you buy.
| Item | Need it now? | Notes |
|---|---|---|
| Bender frame | ☐ Yes | Check what’s included: handle, stand, degree ring |
| First die set | ☐ Yes | Your most common OD and CLR |
| Extra die sets | ☐ Now ☐ Later | Dies add up fast. Buy as projects need them |
| Stand and floor anchors | ☐ Yes | Often sold separately |
| Notcher and hole saws | ☐ Now ☐ Later | Needed for any part with joints |
| Digital angle finder and calipers | ☐ Yes | For springback and checking tube |
| Hydraulic kit | ☐ Now ☐ Later ☐ Never | Only if your bender accepts one |
| Practice tube | ☐ Yes | Extra sticks for test bends |
Check die availability and compatibility
Before you buy a frame, find the maker’s die list. Does it cover your OD and CLR? Are dies in stock? Dies are usually brand-specific, and sometimes model-specific within a brand. Our die compatibility guide explains what to check.
Don’t forget the notcher
A bender gives you the shape. A notcher gives you the fit. Almost every bumper, cage or frame has joints that need a “fishmouth” cut. A hole-saw notcher on a drill or drill press is the usual garage choice.
As an Amazon Associate I earn from qualifying purchases.
A notcher for whatever bender you choose
Eastwood Tube & Pipe Notcher (0°–60°)
A hole-saw notcher for round tube up to 2″, adjustable from 0° to 60°.
This notcher clamps your tube and guides a standard hole saw through it at the angle you set. It runs from a hand drill or a drill press, so it fits any shop.
Who it’s for: anyone building parts with joints, whatever bender they own. Match the hole saw to the OD of the tube you’re joining to.
Why it’s here: it’s brand-neutral. It doesn’t care which bender made the tube.
- Round tube
- Up to 2″
- Angle range
- 0°–60°
- Drive
- Hand drill or drill press
- Hole saws
- Not included
Alternative: Woodward Fab 2″ hole-saw notcher. Affiliate links. See our disclosure.
Someone buys the lowest-cost frame they can find. Then they need three die sizes, a stand and a notcher. The total ends up close to a better bender with a bigger die range. And the frame still can’t reach 180°.
Lesson: compare the cost of the whole system, not the frame alone.
Step 8: Decide manual, hydraulic or upgrade-ready
Every rotary-draw bender needs force to pull tube around the die. That force comes from your arm or a hydraulic cylinder. Both work. The question is which suits your tube, your volume and your body.
| If you… | Lean toward | Why |
|---|---|---|
| Bend mild steel up to about 1.75″, a few projects a year | Manual | Lower cost, simple, teaches you how tube behaves |
| Bend 2″ tube, thick wall or chromoly often | Hydraulic | Less effort, smoother pulls, better consistency |
| Plan a full cage with dozens of bends | Hydraulic or upgrade-ready | Long sessions are tiring by hand |
| Aren’t sure yet | Manual with a hydraulic option | Spend less now, upgrade only if needed |
| Have a bad back or shoulders | Hydraulic | Saves your body on every bend |
Real thresholds help. JD2 says its Model 32 needs hydraulics for round tube over 2″ × .120″. That gives you a feel for where manual bending gets hard. The middle path suits most people: a manual bender that accepts a hydraulic kit later. Several makers offer this, including Eastwood, JD2 and Pro-Tools.
Air or electric?
Air-over-hydraulic kits need steady shop air. Eastwood’s air kit, for example, runs at about 90 psi working pressure. A small compressor may struggle. Electric-hydraulic kits plug into the wall instead. Eastwood’s is 0.75 HP on 110 V. Check your compressor and your circuits before you choose.
One more trap: the word “hydraulic” doesn’t change the bender type. A hydraulic ram bender still pushes like a press. Read our full guide to manual vs hydraulic tube benders for more.
A builder adds an air-over-hydraulic kit to their bender. Their small compressor runs flat out and the bends slow to a crawl. They end up switching to an electric pump.
Lesson: match the drive to the power you actually have in your garage.
Steps 9–10: Plan your space, then shortlist and verify
You’ve got your numbers. Now make sure the bender has a home, then narrow your options and confirm everything before you pay.
Step 9: Floor mounting and swing space
A rotary-draw bender twists hard against its base. Most need a stand bolted to a concrete floor. Follow the maker’s mounting instructions. Some builders set anchor sleeves in the floor so the bender can be removed when the car needs the space.
Then plan the swing. As the bend forms, the free end of the tube sweeps through an arc. A long stick can hit a wall, a car or a person. Lay out a 90° and a 180° bend with a tape measure before you drill any holes. Many builders mount near the garage door so long tube can poke outside.
- ✅ Sound concrete with no cracks where you’ll anchor
- ✅ Clear swing room on both sides of the die
- ✅ Room for the handle to move through its full stroke
- ✅ Good light to read the degree ring
Step 10: Shortlist and verify
Pick two or three benders that pass steps 1–9. Then score them. Weight each row by how much it matters to you, from 1 to 3.
| Criterion | Weight (1–3) | Bender A | Bender B | Bender C |
|---|---|---|---|---|
| Covers my toughest tube with headroom | 3 | ____ | ____ | ____ |
| Dies in my OD and CLR | 3 | ____ | ____ | ____ |
| Reaches my tightest bend | ____ | ____ | ____ | ____ |
| Drive or upgrade path fits | ____ | ____ | ____ | ____ |
| Fits my space and floor | ____ | ____ | ____ | ____ |
| Clear manual and published specs | ____ | ____ | ____ | ____ |
Finally, verify. Email the maker your toughest tube spec and ask them to confirm it in writing. Ask about the maximum angle for the frame and the die. Where listings disagree, ask which number is current. For ready-made shortlists, see the home garage roundup.
Common mistakes when choosing a tube bender
Most buying regrets come from the same handful of mistakes. Each one is easy to avoid if you catch it on paper first.
❌ Starting with the brand, not the project. You end up fitting your parts to the machine.
✅ Fix: fill in the project worksheet first. Let it choose the bender.
❌ Buying a ram “pipe bender” for structural tube. It tends to flatten and kink thin wall.
✅ Fix: choose rotary draw for bumpers, cages and frames. Keep ram benders for heavy pipe.
❌ Reading only the OD. “2-inch capacity” says nothing about wall or material.
✅ Fix: match OD × wall × material to the chart, with headroom.
❌ Budgeting for the frame only. Dies, stand and notcher add up fast.
✅ Fix: use the system worksheet in step 7 and price every line.
❌ Ignoring the max bend angle. Your 180° hoop can’t be made on a 120° die.
✅ Fix: check both the frame and the die limit against your tightest bend.
❌ Guessing the rules for safety parts. Cage tube and CLR are set by the rulebook.
✅ Fix: read the current rulebook and talk to your tech inspector before buying tube or dies.
❌ No plan for the swing. The bender fits, but a long tube can’t turn.
✅ Fix: lay out a 180° bend on the floor before you anchor anything.
Pro tips for buying a tube bender
These habits come from builders who’ve bought more than one bender. They’ll save you money and frustration.
- 💡 Buy for 80% of your work. Size the bender for the projects you do most, with headroom. Rent, borrow or outsource the rare giant job.
- Pick one “house” tube size. Designing most parts around one OD means one die, one springback number and parts that match.
- Get specs in writing. When a listing and a maker’s page disagree, email the maker and keep the reply.
- Download the manual first. A clear manual with a capacity chart is a good sign. No manual is a red flag.
- Check die lead times. A great bender with dies on long backorder won’t help your project this month.
- Inspect used benders carefully. Look for cracks, bent frames, worn pins and dies that don’t match the frame.
- Budget practice tube. Your first bends teach you more than any video, so plan scrap into your budget.
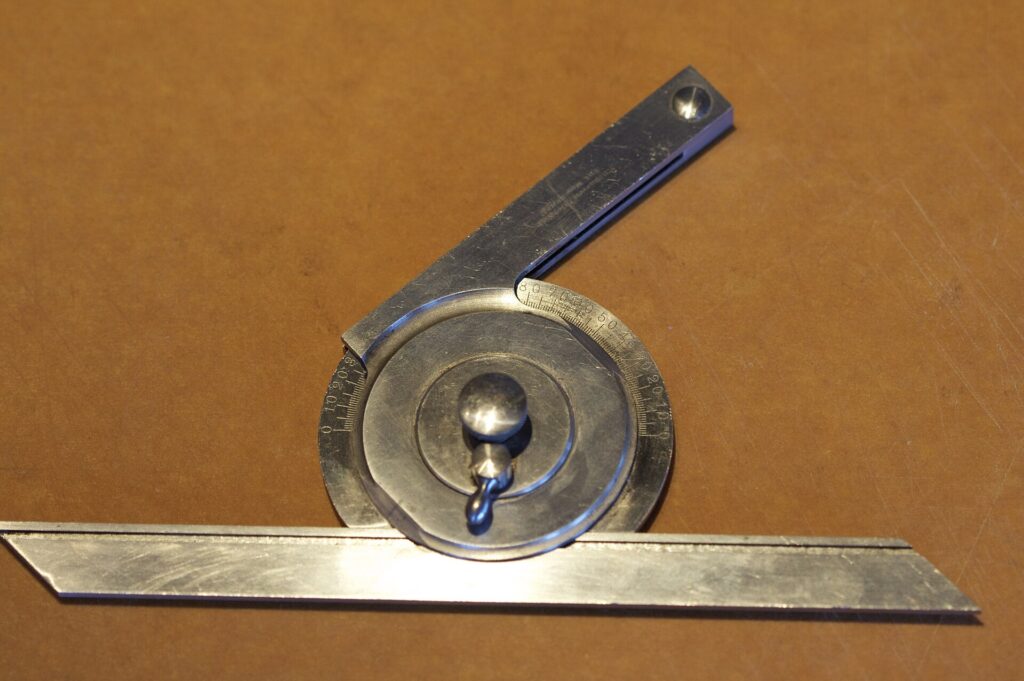
Whatever you buy, bend a scrap piece first. Measure the springback with an angle finder and log it. Your log becomes the most accurate capacity chart you’ll ever own.
The best tube bender isn’t the biggest or the most popular. It’s the one that matches your tube, your dies and your garage.
Frequently asked questions
What is the most important spec when choosing a tube bender?
The capacity chart: OD, wall and material together. If the bender can’t handle your toughest tube with some headroom, nothing else matters.
What size tube bender do I need?
One that covers your largest, thickest tube with headroom. Many off-road and cage projects use 1.5″ or 1.75″ OD, but your plans or rulebook decide.
Should I buy a manual or hydraulic tube bender?
Manual suits mild steel up to about 1.75″ a few times a year. Hydraulic suits 2″ tube, thick wall, chromoly and big cage builds. A manual bender that accepts a hydraulic kit keeps both options open.
Can a hydraulic pipe bender bend tube?
Not well. Ram-style pipe benders are made for thick-wall pipe and tend to flatten or kink thin-wall tube. Use a rotary-draw bender for structural tube.
What CLR should I choose?
Start around 3–4 × OD for non-mandrel bends, then check any rulebook minimum. SCCA Time Trials, for example, requires at least 3 × the tube diameter for cage bends.
How much space does a tube bender need?
More than the footprint. You need a solid concrete spot for anchoring, room for the handle, and clear space for the tube to swing through a full bend.
Printable tube bender buying checklist
Print this or copy it into your notes. Tick every box before you click “buy.”
- Step 1: I’ve listed every project I can see coming in the next year or two
- Step 2: I know the OD, wall and material for each project
- Step 3: I’ve confirmed I need a rotary-draw bender, not a ram pipe bender
- Step 4: The capacity chart covers my toughest tube, with headroom
- Step 5: My die CLR suits the tube and meets any rulebook minimum
- Step 6: The frame and die both reach my tightest bend, plus springback
- Step 7: I’ve priced dies, stand, notcher and measuring tools, not just the frame
- Step 8: I’ve chosen manual, hydraulic or upgrade-ready, and checked my air or power
- Step 9: I have a concrete spot with swing room for long tube
- Step 10: I’ve scored my shortlist and confirmed key specs with the maker in writing
- Bonus: I’ve bought extra tube for test bends
That’s the whole process. Write down your projects, turn them into numbers, and let those numbers pick the machine. Do that, and the bender you bring home will fit your work for years.
Ready to put your worksheet to work?
Answer nine quick questions for a bender-type recommendation, or plan your first part with the bend calculator.
Keep reading
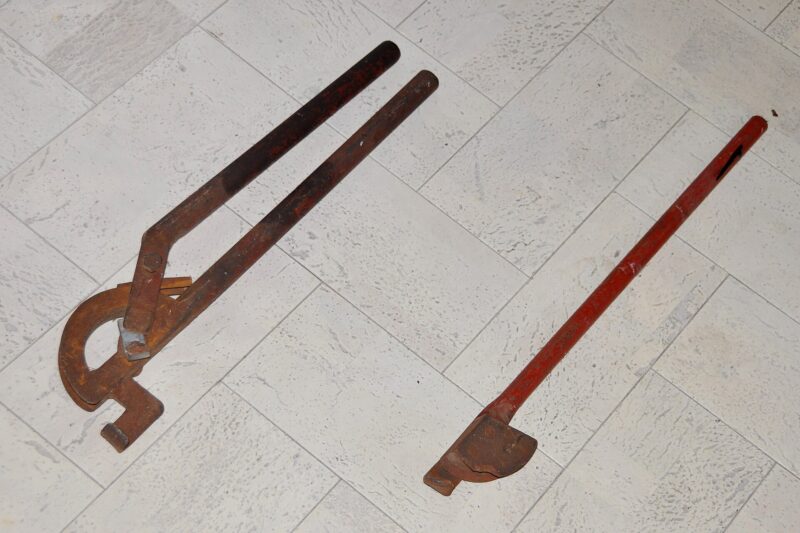
Woodward Fab WFB2 Review: Specs, Dies and Upgrade Path
Woodward Fab WFB2 review from published specs: capacity, dies, listing conflicts on handle and weight, who it suits and the upgrade path.
Tube Bender Capacity Chart: Published Limits for 9 Benders
A tube bender capacity chart built only from maker-published specs: OD, wall and 4130 limits for 9 benders, one source per row,…
Best Hydraulic Tube Bender (2026): Rotary Draw vs Bottle-Jack
The best hydraulic tube bender is a rotary-draw machine, not a bottle-jack ram. Research-based picks, power needs and upgrade kits, with sources.