Best Tube Bender for a Home Garage (2026 Guide): What to Buy, What to Skip
Looking for the best tube bender for a home garage? Compare rotary-draw benders by capacity, dies and upgrade path, and avoid the mistakes that waste tube.

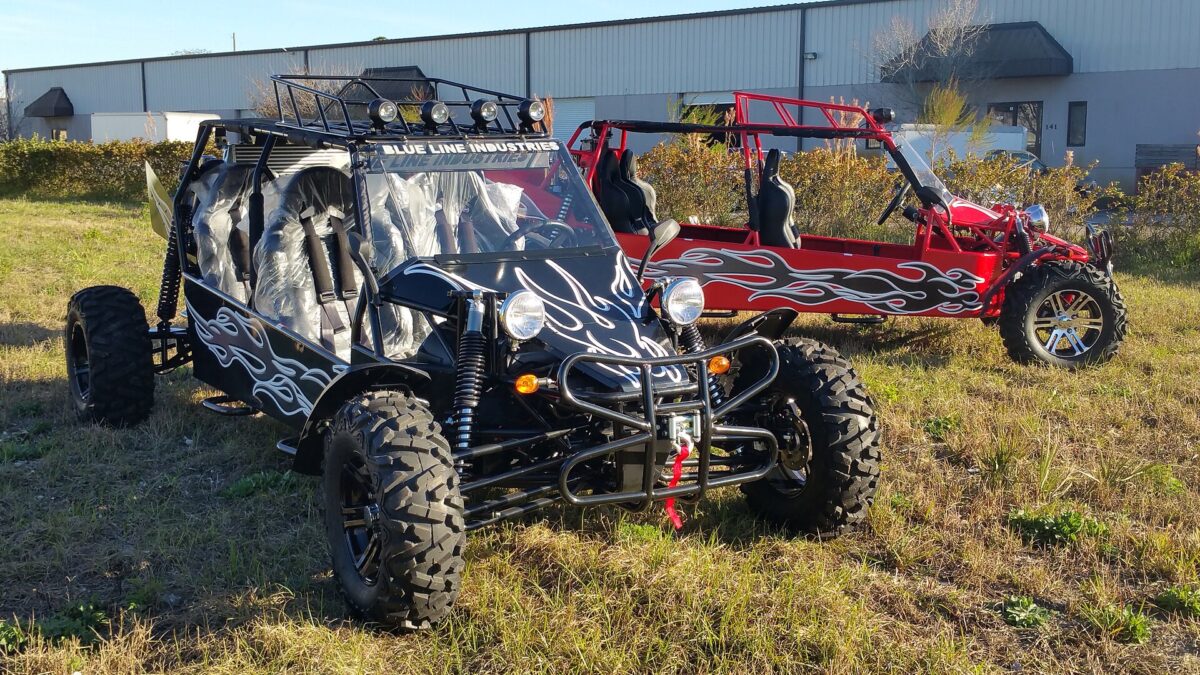
You’ve got a project in your head. Maybe it’s a front bumper, rock sliders, a go-kart frame or a roll bar. You’ve watched the build videos. Now you’re staring at tube benders online, and every listing says “heavy duty.” So which one is the best tube bender for a home garage? And how do you avoid spending good money on a tool that kinks your first stick of tube?
Here’s the honest answer: the best bender is the one that can bend your tube size, wall and material, with dies you can actually buy, in the space you actually have. That sounds simple. But it’s where most first-time buyers trip up. This guide walks you through it like a friend who’s already made the mistakes. No jargon walls. No fake “tested by experts” badges. Just what matters, why it matters, and what we’d buy.
For most home garages, a manual rotary-draw bender is the right tool. Skip the bottle-jack “pipe benders” for structural tube.
- Best value: Woodward Fab WFB2. Simple, up to 2″ round tube with the right die.
- Best upgrade path: Eastwood High Capacity bender. Bend by hand now, add an air- or electric-hydraulic kit later.
- Best for big tube and chromoly: Baileigh RDB-050. Rated to 2.5″ OD mild steel and 2″ × .120″ 4130.
📋 In this guide
- Why the right bender matters
- The 4 types of tube bender
- 7 specs that decide your pick
- Best tube benders for a home garage
- Side-by-side comparison
- Manual or hydraulic?
- Setting up your garage
- Your first bend, step by step
- Real-life lessons from garage builders
- Common mistakes and fixes
- Pro tips
- FAQ
- Your buying checklist
Why the right bender matters (before you spend a dime)
A tube bender looks like a simple tool. A frame, a die and a long handle. But the bender you choose decides three things: what you can build, how good it looks, and how much tube you’ll throw in the scrap pile.
Pick the wrong type and your bends come out flat, kinked or wrinkled. Pick a bender that’s too small and it simply won’t pull your tube around the die. Pick one with a thin die selection and you’ll be stuck the day your project needs a different size. Each of those problems costs real money. Steel tube isn’t cheap, and neither are dies.
Think about what you actually want to build in the next year or two. Write it down. Most garage builders land in a few common groups:
- Off-road parts: bumpers, sliders, tube doors, bed bars and roof racks.
- Motorsport: roll bars and roll cages that have to pass a tech inspection.
- Fun frames: go-karts, mini bikes, sand rails and trailer frames.
- Shop and home: handrails, gates, furniture and brackets.
Each group points to a tube size range. Off-road and cage work often lands around 1.5″ to 1.75″ outside diameter (OD), though your rulebook or design has the final word. Smaller frames may use 1″ or 1.25″ tube. Once you know your sizes, the rest of this guide gets easy. You’ll know which capacity you need, which die to buy first, and whether a manual bender is enough.
Buy the bender and one die for the size you’ll use most. Add dies later as projects need them. It’s the cheapest way in, and you won’t own dies you never use.
The best tube bender for a home garage isn’t the biggest one. It’s the one that bends your tube, takes dies you can buy, and fits the space you have.
The 4 types of tube bender, explained simply
“Tube bender” covers four very different machines. They look similar in photos, but they bend metal in completely different ways. This is the single most important thing to understand before you buy.
1. Lever-type hand benders
These are the small, two-handled tools plumbers and mechanics use. They’re great for brake lines, fuel lines and soft copper. They’re cheap, they fit in a drawer, and they make clean bends in small tube. But they top out at small sizes. They’re not meant for structural steel tube.
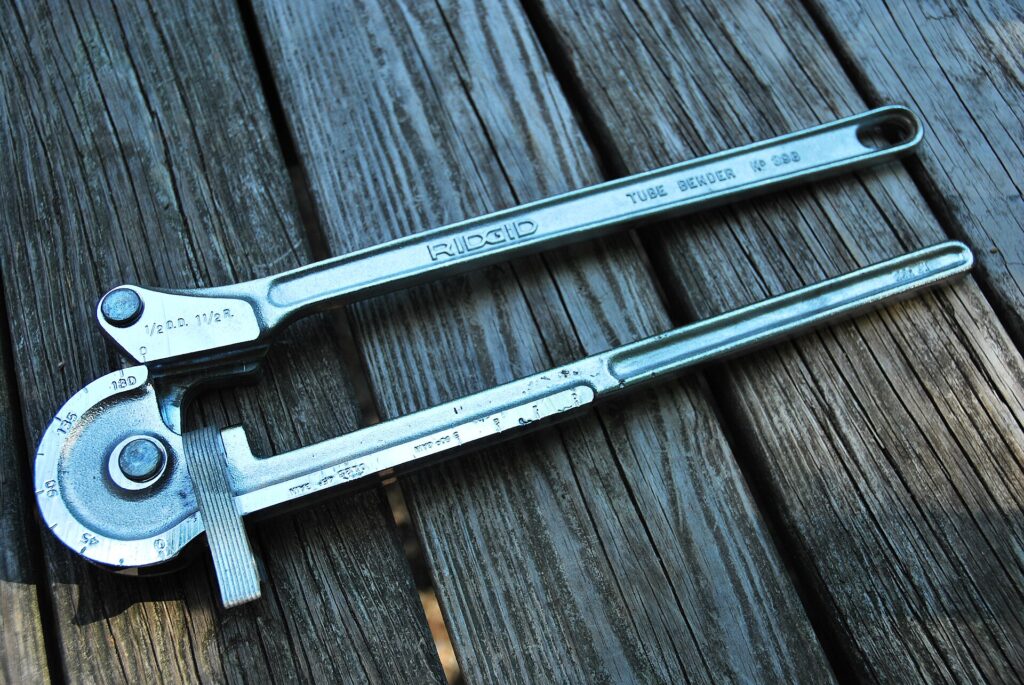
2. Ram-style (press) “pipe benders”
These are the bottle-jack benders you see in big-box tool stores. A hydraulic ram pushes the middle of the pipe while two shoes hold the ends. They’re built for Schedule 40 or 80 pipe, which has thick walls. Push thin-wall tube with one and it tends to flatten or kink. Harbor Freight’s own manual for its 12-ton bender says it isn’t meant for thin-wall pipe like conduit or exhaust. They’re fine for gates and railings in heavy pipe. They’re the wrong tool for bumpers and cages.
3. Rotary-draw benders
This is the home-garage workhorse. The tube is clamped to a round die. As you pull the handle (or a hydraulic cylinder pushes), the die rotates and draws the tube around it. A follower block supports the outside of the bend. The result is a smooth, round, repeatable bend at a fixed radius. Almost every bumper, slider and cage you’ve admired was bent this way.
4. Mandrel benders
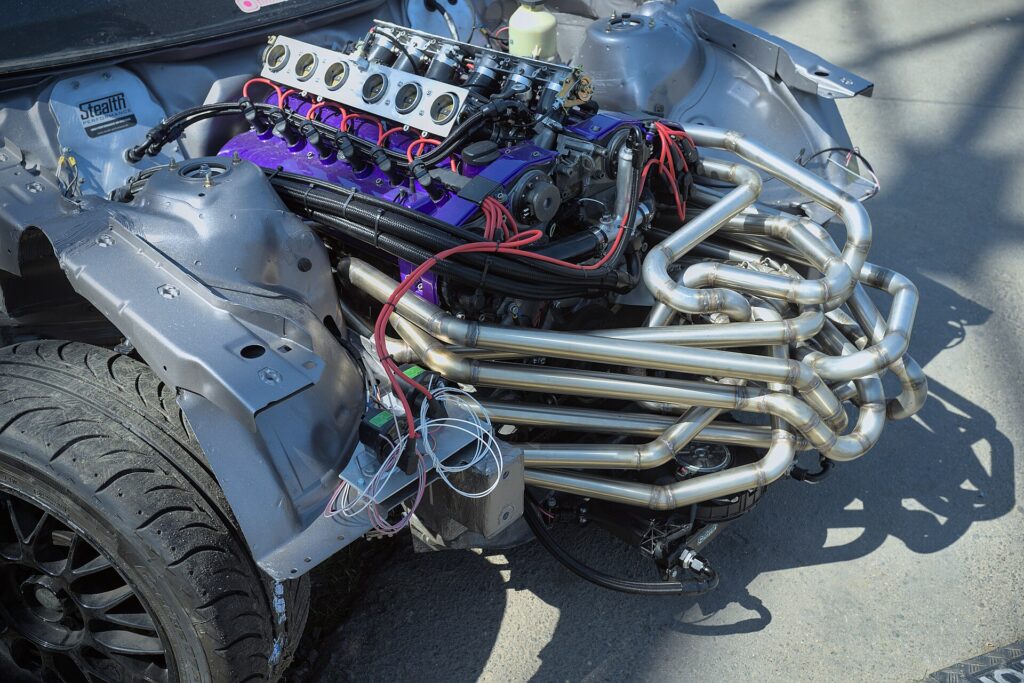
A mandrel bender puts a support rod inside the tube during the bend. That lets it bend thin-wall tube, like exhaust tubing, around tight corners without wrinkling. These are shop machines and cost far more. For a garage exhaust build, most people buy pre-bent mandrel U-bends and J-bends, then cut and weld them.
| Bender type | Best for | Tube it suits | Bend quality | Home garage fit |
|---|---|---|---|---|
| Lever hand bender | Brake, fuel and small lines | Small, soft tubing | Clean, small radius | ✅ Yes, for small lines only |
| Ram / press bender | Gates, railings, farm work | Schedule 40/80 pipe | Can flatten or kink thin wall | ⚠️ Only for heavy pipe |
| Rotary-draw bender | Bumpers, sliders, cages, frames | Structural round tube, some square | Smooth, round, repeatable | ✅ The best all-round choice |
| Mandrel bender | Exhaust, intake, tight thin-wall bends | Thin-wall tube | Excellent, no wrinkles | ❌ Shop machine. Buy pre-bent sections |
Bottom line: if your project uses structural steel tube, you want a rotary-draw bender. The rest of this guide focuses on those. Not sure which type fits your work? Our bender type comparison and our guide to mandrel vs crush bending lays the four types side by side.
7 specs that decide the best tube bender for your home garage
Bender listings throw a lot of numbers at you. Only a few really matter. Here are the seven we’d check, in order, and why each one counts.
1. The capacity chart (OD × wall × material)
This is the big one. A good maker publishes what the bender can do in a chart: tube outside diameter, maximum wall thickness, and material. “Bends 2-inch tube” means little on its own. Bending 2″ × .065″ wall is easy. Bending 2″ × .120″ wall takes far more force. And 4130 chromoly is harder to bend than mild steel, so its limits are usually lower. If a listing has no capacity chart, treat that as a warning sign.
2. Die availability and price
The bender frame is only half the tool. Every tube size and every bend radius needs its own die set. On all three benders we pick below, dies are sold separately. Before you buy, check that the maker sells dies in your sizes, and price the ones you’ll need. Budget for them from day one.
3. Centerline radius (CLR)
CLR is the radius of the bend, measured to the center of the tube. It’s fixed by the die. A tighter CLR looks sportier and fits in smaller spaces, but it’s harder on the tube. A common shop rule of thumb puts the practical minimum for non-mandrel bending around 3 × OD. Baileigh’s own guidance suggests starting at 4 × OD. For a 1.75″ tube, that’s roughly a 5.25″ to 7″ CLR. Popular off-road dies sit in that range. Building a cage? Some rulebooks set a minimum. SCCA Time Trials, for example, calls for a centerline radius of at least three times the tube diameter. Always check the current rulebook for your class.
4. Tube vs pipe sizing
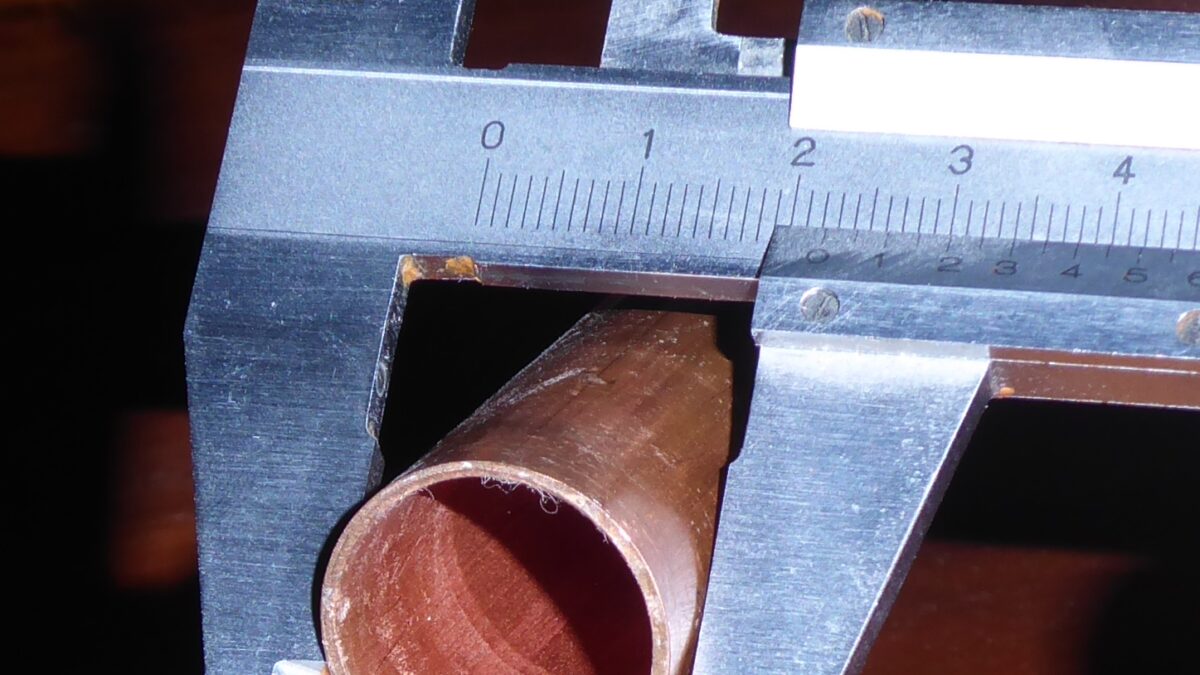
This one catches a lot of people. Tube is sold by its real outside diameter. Pipe is sold by a “nominal” size that doesn’t match the outside. For example, 1-1/2″ pipe actually measures 1.900″ across the outside, and 1-1/4″ pipe measures 1.660″. So a 1-1/2″ tube die won’t fit 1-1/2″ pipe. Measure with calipers and buy dies for what you’ll really bend.
5. Maximum bend angle
Most bumper and cage bends are under 90°. But a main hoop or a U-shaped bar may need more. Some benders and dies stop around 90° to 120°. Others reach 180° or more. Check both the bender’s limit and the die’s limit.
6. Drive: manual, air-hydraulic or electric-hydraulic
Manual benders use your arm and a long handle, often with a ratchet. Hydraulic kits add a cylinder and a pump. Hydraulics make thick wall and chromoly far easier, and they’re kinder to your back. The smart move is a bender that can start manual and accept a hydraulic upgrade later.
7. Mounting and footprint
A rotary-draw bender twists hard against its base. It needs a solid stand, usually bolted to a concrete floor. You also need room for the tube to swing as it bends. We’ll cover garage setup in its own section below.
| Number | What it means | Example | Why you care |
|---|---|---|---|
| CLR | Bend radius to the tube’s center | 6″ CLR die | Sets the look and how hard the bend is |
| D of bend | CLR ÷ OD | 6 ÷ 1.75 = 3.4D | Lower numbers are tighter and harder |
| Wall factor | OD ÷ wall | 1.75 ÷ .120 = 14.6 | Higher numbers mean thinner wall and more wrinkle risk |
| Arc length | CLR × angle in radians | 90° on 6″ CLR = 9.42″ | Tube used up inside the bend |
| Springback | How much the tube relaxes after release | Measured with a test bend | Decides how far you over-bend |
Plug your OD, wall and die CLR into our free bend calculator. It works out D of bend, wall factor, arc length, tangent length and cut length in seconds.
The best tube benders for a home garage in 2026
Here’s how we picked. We looked for rotary-draw benders that a home builder can buy on Amazon, with published capacities, dies sold in common sizes, and a real upgrade path. We have not run these benders through a hands-on test yet. Our picks are based on manufacturer and retailer specs, checked in October 2026, plus what owners commonly report in public forums. You can read how we evaluate equipment. Listings change, so confirm specs on the product page before you order.
As an Amazon Associate I earn from qualifying purchases.
Woodward Fab WFB2
The simple, affordable way into real rotary-draw bending.
Buy from AmazonEastwood High Capacity
Start manual, add air- or electric-hydraulic power later.
Buy from AmazonWoodward Fab WFB2: best value for most home garages
Woodward Fab WFB2 Manual Tube & Pipe Bender
A no-frills rotary-draw frame for round and square tube up to 2″ with the right die.
The WFB2 is the bender a lot of garage builders start with. It’s a manual, lever-operated rotary-draw frame with a degree ring, so you can repeat bends. It keeps things simple: bolt it down, fit a die, pull the handle.
Who it’s for: weekend builders making bumpers, sliders, racks, kart frames and shop projects in mild steel. If you bend a few projects a year and want to learn without a big outlay, this is where we’d start.
Why we picked it: it’s widely available, it takes both round and square dies, and Woodward Fab sells dies and a matching stand on Amazon.
- Type
- Manual rotary draw
- Tube size
- Round and square, up to 2″ with the matching die
- Max wall
- Retail listing for the 2″ die: .134″ mild steel
- Bend angle
- Die listings show about 110°–120°
- Angle readout
- Degree ring
- Sold separately
- Dies and stand
Why we like it
- Lowest-cost way into true rotary-draw bending
- Round and square dies available
- Simple design that’s easy to learn on
- Matching stand sold on Amazon
Know before you buy
- Manual only: thick wall takes real muscle
- Bend angle is limited compared with 180° benders
- Not our pick for regular chromoly work
Add-ons: WFB2 stand · 2″ OD × 6″ CLR die. Affiliate links. See our disclosure.
Eastwood High Capacity Tube Bender: best upgrade path
Eastwood High Capacity Tube Bender (#21115)
Bend by hand today. Bolt on air- or electric-hydraulic power when your projects grow.
Eastwood’s High Capacity bender is a manual rotary-draw machine built to grow with you. You can run it by hand, then add Eastwood’s air-over-hydraulic or electric-hydraulic conversion kit later. That’s a big deal if you think you’ll get serious.
Who it’s for: builders who expect to do roll bars, cages or lots of bumpers, and want 180° bends for hoops. It’s also a good fit if a bad back makes long handle pulls a chore.
Why we picked it: Eastwood publishes clear limits, offers 240° dies for full 180° bends, and sells both hydraulic kits on Amazon. Note that Eastwood lists 4130 at a thinner .090″ wall than mild steel.
- Type
- Manual rotary draw, hydraulic-ready
- Tube size
- 3/4″ to 2″ OD
- Mild steel
- Up to 2″ × .120″ wall
- 4130 chromoly
- Limited to .090″ wall
- Bend angle
- Up to 180° with 240° dies
- Sold separately
- Dies, handle and stand (check the listing)
Why we like it
- Clear published capacities
- Air- and electric-hydraulic upgrade kits
- 180° bends with 240° dies, great for hoops
- Eastwood support and documentation
Know before you buy
- Several parts are sold separately, so total cost climbs
- Air kit needs about 90 psi of shop air
- Lower chromoly wall limit than heavier benders
Add-ons: air-hydraulic kit · electric-hydraulic kit · 1.75″ × 6″ CLR 240° die. Affiliate links. See our disclosure.
Baileigh RDB-050: best for bigger tube and chromoly
Baileigh RDB-050 Manual Rotary Draw Bender
A stout manual bender rated for 2.5″ mild steel and 2″ chromoly, with a 3-speed ratchet.
The RDB-050 is the one to look at if you want more capacity without going hydraulic. A three-speed ratchet lets you choose 4°, 8° or 12° per pull, so big tube stays manageable. An anti-springback mechanism holds the bend while you reset the handle.
Who it’s for: serious hobbyists and small shops that bend 2″ tube or 4130 chromoly, or that want one manual bender to cover nearly everything.
Why we picked it: it has the highest published chromoly rating of our three picks, and Baileigh offers a wide die range. Expect a bigger investment up front.
- Type
- Manual rotary draw, 3-speed ratchet
- Mild steel
- Up to 2.5″ OD × .120″ wall
- 4130 chromoly
- 2″ OD × .120″ wall
- Bend angle
- Baileigh lists both 190° and 200°
- Speeds
- 4°, 8° or 12° per pull
- Sold separately
- Dies
Why we like it
- Highest capacity of our picks
- Ratchet speeds make big tube easier by hand
- Anti-springback holds the bend between pulls
- Bends past 180°
Know before you buy
- Costs well beyond entry-level benders
- Heavy, so plan your floor anchoring
- Dies add a lot to the total
Check die availability for your tube size on the listing before ordering. Affiliate link. See our disclosure.
Don’t forget a tube notcher
A bender gives you the shape. A notcher gives you the fit (see our tube notcher guide). Every joint in a bumper or cage needs a “fishmouth” cut so one tube saddles tightly onto another. Tight joints weld better and look professional. A hole-saw notcher that runs on a drill or drill press is the usual garage choice.
Eastwood Tube & Pipe Notcher (0°–60°)
Hole-saw notcher for round tube up to 2″, adjustable from 0° to 60°.
This notcher clamps your tube and guides a standard hole saw through it at the angle you set. It runs from a hand drill or a drill press. It’s a simple way to get repeatable fishmouth cuts.
Who it’s for: anyone building with a rotary-draw bender. Match the hole saw to the OD of the tube you’re joining to.
- Round tube
- Up to 2″
- Rectangular tube
- Up to 2″ × 2-1/2″
- Angle range
- 0°–60°
- Drive
- Hand drill or drill press
- Hole saws
- Not included (up to 2-1/2″)
Alternative: Woodward Fab 2″ hole-saw notcher. Affiliate links. See our disclosure.
Also worth a look (sold direct, not on Amazon)
Two benders come up again and again in garage-fab forums but aren’t sold on Amazon. The JD2 Model 32 takes 1/2″ to 2-1/2″ round tube. JD2 says anything over 2″ × .120″ needs its hydraulic add-on, and with hydraulics it’s rated to 2″ × .250″ DOM (JD2). The Pro-Tools 105HD handles 1/2″ to 2″ round tube up to .134″ wall, including 2″ × .134″ 4130 with its extension handle, and bends to 180° (Pro-Tools). Both have big die catalogs. They’re worth pricing against our picks.
Side-by-side comparison
Here’s how the benders compare on the numbers that matter most. Specs come from the maker or the retail listing. Where sources disagree, we say so.
| Bender | Drive | Mild steel capacity | 4130 capacity | Max bend | Upgrade path | Where to buy |
|---|---|---|---|---|---|---|
| Woodward Fab WFB2 | Manual lever | Up to 2″; 2″ die listed to .134″ wall | Not stated | About 110°–120° (die listings) | None listed | Amazon |
| Eastwood High Capacity | Manual, hydraulic-ready | 2″ × .120″ | .090″ wall | 180° (240° dies) | Air or electric hydraulic kit | Amazon |
| Baileigh RDB-050 | Manual, 3-speed ratchet | 2.5″ × .120″ | 2″ × .120″ | 190°/200° (both listed) | Manual only | Amazon |
| JD2 Model 32 | Manual ratchet, hydraulic option | Over 2″ × .120″ needs hydraulics | See JD2 charts | 180° die sets sold | Hydraulic cylinder kit | Direct from JD2 |
| Pro-Tools 105HD | Manual ratchet, hydraulic package | To .134″ wall | 2″ × .134″ (extension handle) | 180° | Hydraulic package | Direct from Pro-Tools |
How to read this table: start with the “mild steel capacity” column and find the benders that cover your tube with room to spare. If you plan to bend 4130, check that column next. It narrows the list fast. Then look at max bend. If you need 180° hoops, the WFB2 drops out. Finally, think about the upgrade path. A bender that can go hydraulic later protects your investment if your projects grow.
Want a personal recommendation? Our free Find My Bender quiz asks nine quick questions about your tube, projects and space, then explains which type of bender fits and why.
Manual or hydraulic? How to decide
Every rotary-draw bender needs force to pull the tube around the die. The question is where that force comes from: your arm, or a hydraulic cylinder. Both work. Here’s how to choose.
Go manual if you mostly bend mild steel up to about 1.75″ with common wall thicknesses, you build a few projects a year, and you want to keep costs down. A long handle and a ratchet give you a lot of leverage. Manual also teaches you how the tube behaves, which makes you a better fabricator.
Go hydraulic (or plan for it) if you bend 2″ tube, thick wall or chromoly often, you’re building a full cage with dozens of bends, or your shoulders and back would rather not. JD2 is a good example of where the line sits: it says its Model 32 needs hydraulics for anything over 2″ × .120″ round tube. Hydraulics also make long bending sessions far less tiring, and they’re smoother, which helps consistency.
Want the full breakdown? Read manual vs hydraulic tube benders.
The middle path is the one we like best for most people: buy a manual bender that accepts a hydraulic kit later. The Eastwood High Capacity, JD2 Model 32 and Pro-Tools 105HD all offer this. You spend less now and upgrade only if your projects demand it.
Air-over-hydraulic kits need steady shop air. Eastwood’s air kit, for example, runs at about 90 psi. A small pancake compressor may struggle. If your compressor is small, an electric-hydraulic kit may be the better upgrade.
One more thing: hydraulics don’t change the type of bend. A hydraulic rotary-draw bender still makes rotary-draw bends. A hydraulic ram bender still pushes like a press. Don’t let the word “hydraulic” in a listing fool you into buying a ram bender for tube.
Setting up your garage for bending
The best tube bender for a home garage still needs a good home. A little planning here saves frustration, and it keeps everyone safe.
Anchor it properly. A rotary-draw bender twists against its stand with a lot of force. Follow the maker’s instructions, which usually means bolting the stand to a concrete floor with proper anchors. Some builders make a removable mount: anchor sleeves set in the floor, so the bender can come out when the car needs to go back in. Never bend on a stand that rocks or walks.
Plan the swing. As the bend forms, the free end of the tube sweeps through an arc. A long stick can reach a wall, a car or a person. Before you anchor anything, lay a tube in the bender and walk it through a 90° and a 180° bend in your head. Leave clear space on both sides. Many builders mount the bender near the garage door so long tube can poke outside.
Set up a cutting and notching station. You’ll cut tube to length before bending, and notch it after. A metal-cutting saw, a notcher and a bench vise close to the bender make the workflow smooth.
Keep measuring tools handy. A tape, a soapstone or paint marker, a digital angle finder and calipers. You’ll use all of them on every part.
- ✅ Concrete floor in good condition, with no cracks where you’ll anchor
- ✅ Clear swing space on both sides of the die
- ✅ Good lighting so you can read the degree ring
- ✅ Safety glasses, gloves and closed shoes. Handles can slip
Keep your body out of the handle’s path in case the tube slips or the handle pops off. Keep kids and helpers clear of the swing zone. Read our workshop safety notes before your first bend.
Your first bend, step by step
Your first bend should be on a practice piece, not your project. Here’s a simple routine that works on any rotary-draw bender.
- Measure your tube. Check the real OD and wall with calipers. Confirm the die matches.
- Draw a reference line. Run a straight line along the length of the tube with a marker. It shows you if the tube rotates in the die. It’s also how you’ll set the angle between bends later.
- Mark the bend start. Measure from the end of the tube and mark where the bend should begin. Our bend calculator works out tangent and arc lengths so your marks land in the right place.
- Load and clamp. Line the mark up with the die’s start point as your bender’s manual describes. Tighten the clamp block firmly.
- Bend slowly. Pull smoothly and watch the degree ring. Stop a few degrees short of your target.
- Release and measure. Let the tube relax, then check the angle with a digital angle finder. The difference from what the ring said is your springback.
- Write it down. Record tube, wall, material, die and springback. Next time you’ll know exactly how far to over-bend.
For example, Rogue Fabrication shows a mild-steel bend that read 86.5° after release when 90° was the target. That’s 3.5° of springback. Your number will be different. It depends on the tube, the batch and the die. That’s why the test piece matters.
Springback isn’t a flaw. It’s information. Measure it once on a scrap piece, write it down, and every bend after that gets easier.
Real-life lessons from garage builders
The stories below are composites. The same few situations come up again and again in garage-fab forums, build threads and comment sections. Learn from them and you’ll skip months of trial and error.
A builder wants a tube bumper for a pickup. A 12-ton hydraulic “pipe bender” is cheap and close by, so they buy it and a few sticks of 1.75″ tube. The first bend comes out flat on the inside, with a kink. The second is worse. After a weekend and three sticks of tube, they return the tool and order a rotary-draw bender.
Lesson: ram benders are for thick pipe. For structural tube, go rotary draw from the start.
Someone orders a 1-1/2″ die and picks up “1-1/2 inch” material from a local yard. It won’t go in the die. The yard sold them 1-1/2″ pipe, which measures 1.900″ across the outside.
Lesson: buy tube by OD, and measure before you buy dies.
A cage builder dials in springback on mild steel, then switches to 4130 for the main hoop. Every bend comes out short. JD2 says 4130 springs back about twice as much as the same size mild steel, and that’s roughly what they see. More in our springback guide.
Lesson: test-bend every new material, and even every new batch.

A builder sets the bender on its stand without anchors to “try it first.” On the first thick-wall bend, the whole stand tips toward them. Nobody’s hurt, but it’s a scare.
Lesson: anchor before the first real bend. Every time.
Common mistakes (and how to fix them)
Most bender regrets come from a short list of mistakes. Here they are, with the fix for each.
❌ Buying a ram “pipe bender” for structural tube. It flattens and kinks thin-wall tube.
✅ Fix: choose a rotary-draw bender for bumpers, sliders, cages and frames. Keep ram benders for heavy pipe.
❌ Ignoring the capacity chart. “Bends 2-inch tube” doesn’t tell you the wall or material.
✅ Fix: match your exact OD, wall and material to the maker’s chart. Leave some headroom.
❌ Forgetting the cost of dies. The frame is only the start.
✅ Fix: price your first die before you buy. Start with your most common size and add more later.
❌ Mixing up pipe and tube sizes. Nominal pipe sizes don’t match the outside diameter.
✅ Fix: measure with calipers and buy dies for the real OD.
❌ Skipping test bends. Every material and batch springs back differently.
✅ Fix: bend a scrap piece first, measure the springback and log it.
❌ Twisted, “dog-leg” parts. The tube rotates in the die between bends, so the bends don’t line up.
✅ Fix: draw a straight reference line along the tube. Use a rotation index or angle finder to set the angle between bends.
❌ Cutting tube to length by guesswork. Bends use up tube, and the last bend runs out of straight.
✅ Fix: plan cut length, bend order and clamp room first. Our calculator handles the math.
Pro tips that save tube, time and money
These small habits separate tidy, professional-looking parts from “good enough.” None of them cost much. All of them pay off.
- 💡 Buy an extra stick for practice. Your first few bends teach you more than any video. Cheap mild steel is fine for practice.
- 💡 Keep a bend log. A notebook or phone note with tube size, wall, material, die, springback and any quirks. It becomes your most valuable tool.
- 💡 Leave clamp room. Rotary-draw benders need a straight section to clamp. Plan bends so there’s always enough straight tube for the clamp block, or leave extra and trim it later.
- 💡 Bend in the right order. Sketch the part and number the bends. Sometimes the bender’s frame blocks a bend if you do them out of order.
- 💡 Mock up with cheap material. Some builders mock up tricky parts with PVC pipe or wire before cutting expensive tube.
- 💡 Notch for tight fit-up. Gaps make welding harder and weaker. A good notcher and a sharp hole saw make tight joints easy.
- 💡 Respect the rules for safety parts. For cages and roll bars, the rulebook decides tube size, wall, material and bend radius. Read the current edition, and talk to your tech inspector before you buy tube.
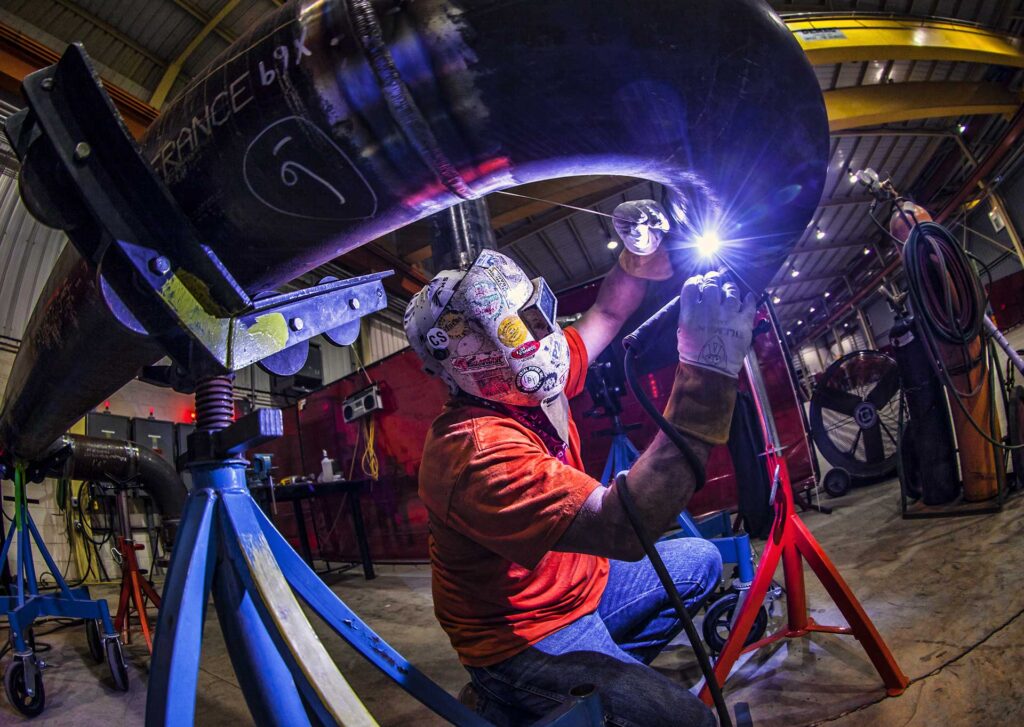
Experienced builders often pick one “house” size, such as 1.75″, and design most projects around it. One die set, one springback number to learn, and parts that look like they belong together.
Frequently asked questions
What is the best tube bender for a home garage?
For most people, a manual rotary-draw bender with dies for your main tube size. The Woodward Fab WFB2 is the value pick. The Eastwood High Capacity is the best upgrade path. The Baileigh RDB-050 suits bigger tube and chromoly.
Can a hydraulic pipe bender bend roll cage tube?
Not well. Ram-style pipe benders are made for thick-wall pipe and tend to flatten or kink thin-wall tube. For cage tube, use a rotary-draw bender with a die that meets your rulebook’s minimum radius.
Do I need a hydraulic tube bender?
Not to start. A manual bender handles common mild-steel sizes. Hydraulics help with 2″ tube, thick wall, chromoly and long cage builds. Choosing a bender that accepts a hydraulic kit keeps that option open.
What size die should I buy first?
The one that matches the tube you’ll use most. Many off-road and cage projects use 1.5″ or 1.75″ OD, but check your plans or rulebook. Choose a CLR that suits the look and meets any rules.
Can I bend square tube with a rotary-draw bender?
Yes, if the maker sells square dies for it. The Woodward Fab WFB2 lists square tube support. Square tube is less forgiving than round, so expect more practice pieces.
How much springback should I expect?
It varies by material, batch and die. One mild-steel example from Rogue Fabrication sprang back 3.5° on a 90° bend. JD2 says 4130 springs back about twice as much as mild steel. Always measure with a test bend.
Your buying checklist
Before you click “buy,” run through this list. If you can tick every box, you’re ready.
- I’ve listed my projects and the tube OD, wall and material for each
- I’ve confirmed I need a rotary-draw bender, not a ram pipe bender
- The bender’s capacity chart covers my tube, with headroom
- Dies are available in my size and CLR, and I’ve priced the first set
- My CLR meets any rulebook minimum (cages and roll bars)
- The max bend angle covers my tightest part
- I’ve decided manual now, with a hydraulic upgrade possible later
- I have a concrete floor spot with room for the tube to swing
- I’ve budgeted for a notcher, hole saws and an angle finder
- I’ve bought an extra stick of tube for test bends
That’s it. Pick the bender that matches your tube, buy one good die, anchor it well and practice on scrap. Do that, and your first real project will look like you’ve been bending for years. 🔥
Still not sure which bender fits?
Answer nine quick questions and get a recommendation with the reasons behind it. Or plan your first part with the bend calculator.
Keep reading
Pipe Bender vs Tube Bender: Which One Do You Actually Need?
Pipe bender vs tube bender: how NPS pipe and OD tube differ, why a ram pipe bender kinks tubing, and which bender…