Benders are the unsung heroes of metalworking, found in nearly every industry that involves shaping and joining metal components. From the aerospace engineer crafting lightweight aircraft ribs to the automotive technician fabricating exhaust tubing, the right bender is often the difference between a successful project and a frustrating failure.
But not all benders are created equal. The same machine that effortlessly whips out aluminum trim for house siding may crumple like tin foil when faced with a steel I-beam. Understanding the vast range of bender types, sizes, and features is crucial for making a smart investment.
For instance, aerospace components often require benders with high-precision CNC control systems to maintain tight tolerances on exotic alloys. Automotive manufacturing, on the other hand, relies on powerful, robust machines to crank out high volumes of parts in demanding production environments.
This guide will walk you through the key factors to consider when choosing a bender, from the fundamentals of bending mechanics to the nitty-gritty of dies, power systems, and more. Whether you’re a seasoned fabricator or just starting to explore the world of metal manipulation, you’ll come away with the knowledge to bend your budget and needs into the perfect machine.
Identify Your Bending Needs
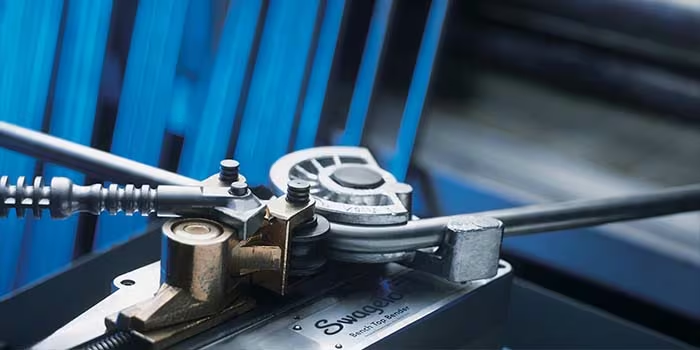
Teodute Pipe Tube Bender
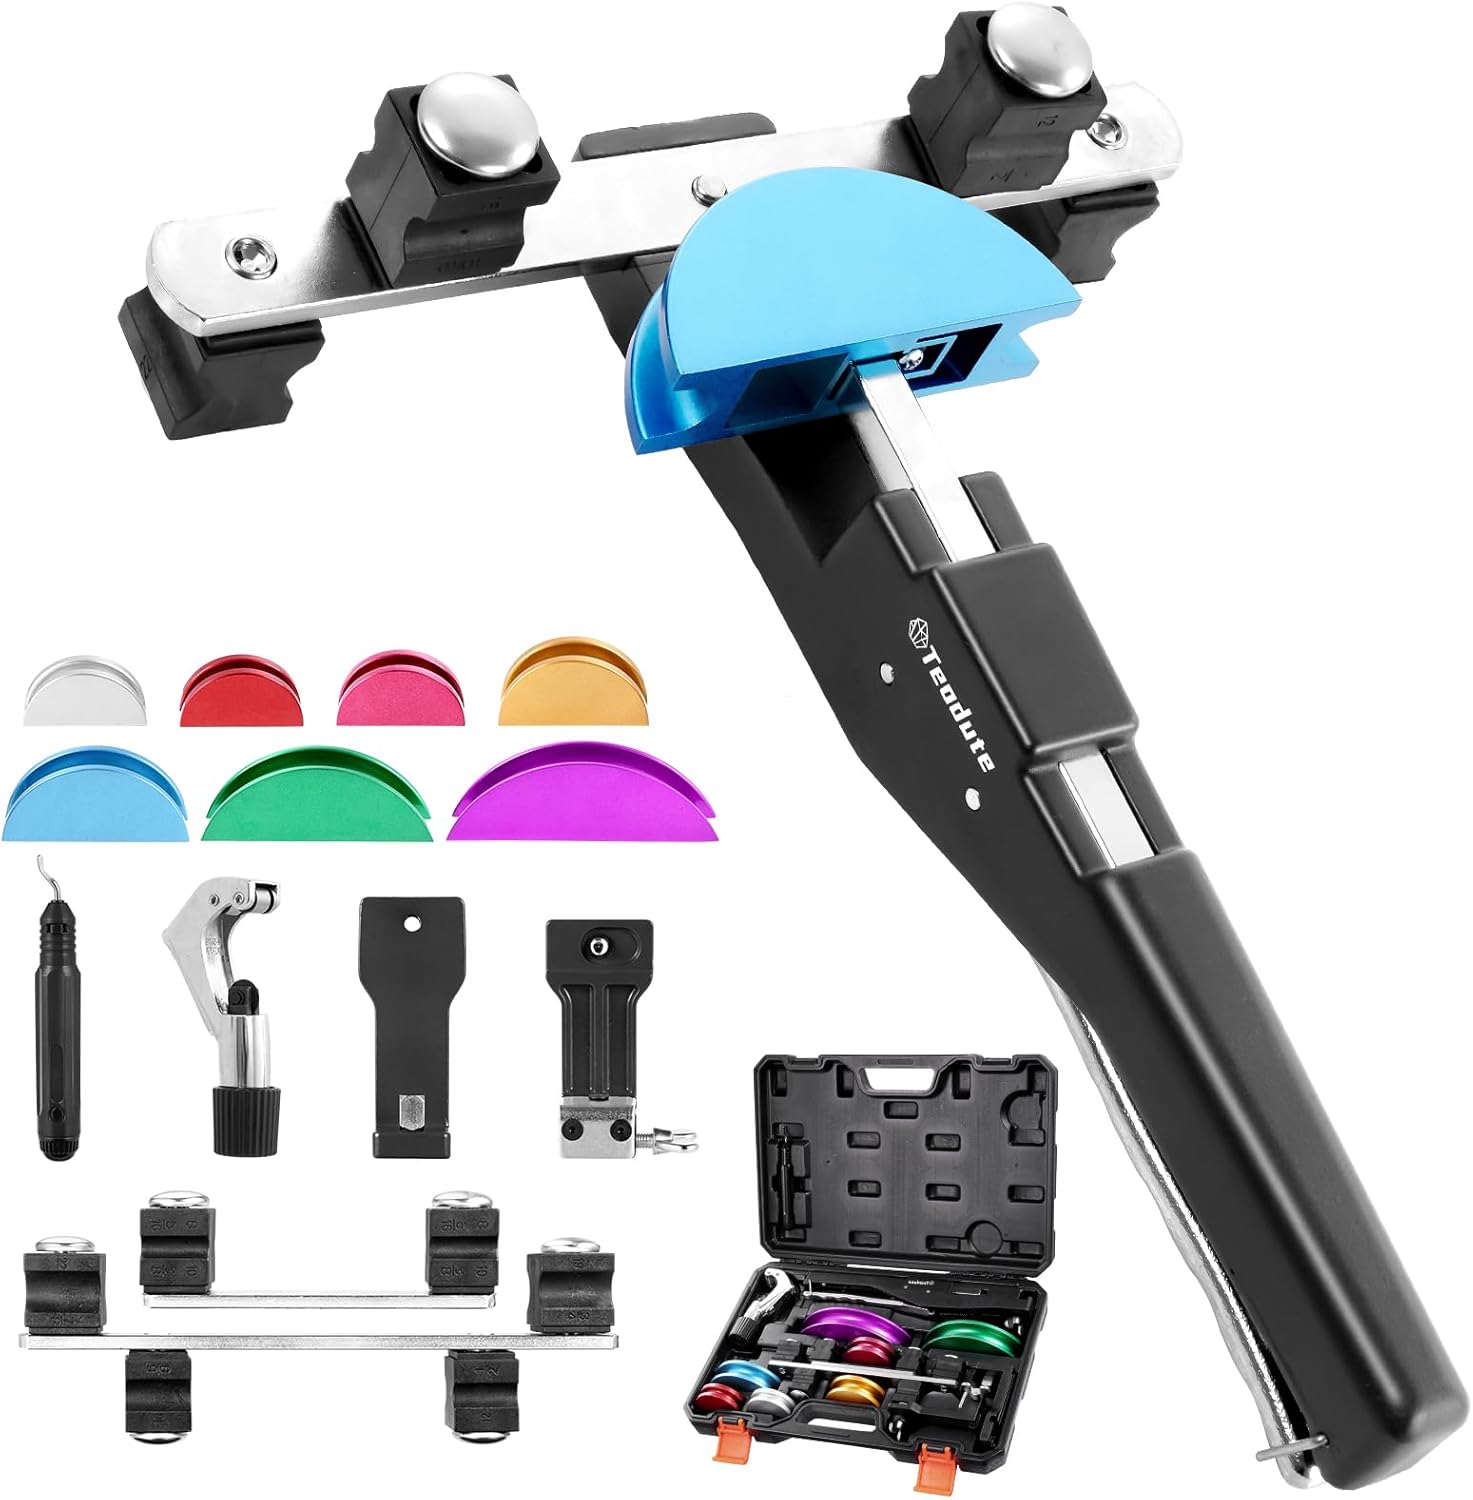
The compact pipes bender kit is perfect for bending soft copper and aluminum pipes up to 90 degrees, and comes with a reverse bending tool that helps bend pipes in “forward” and “reverse” configurations, making it suitable for a wall or hard-to-reach areas. Mechanical ratchet for fast and precise bending.1/4″ to 7/8″. Our versatile ratcheting tube bender is widely used in plumbing, floor heating, refrigeration, air conditioning, and hydraulic systems and automobile maintenance. This is also a professional tool for industrial-grade or occasional use to simplify pipe connections.
Materials Masterclass
The first and most important question to ask when bender shopping is “What will I be bending?” The material type, thickness, and hardness will dictate nearly every aspect of the ideal machine.
Let’s look at some common bender materials and their key properties:
- Steel: The go-to for heavy-duty applications, steel has tensile strengths ranging from 45,000 psi for mild steel up to 250,000 psi for high-strength alloys. Bending steel often requires high-tonnage machines and specific die materials to prevent cracking and deformation.
- Aluminum: This lightweight wonder metal has tensile strengths from 10,000 psi for pure aluminum up to 90,000 psi for hard alloys. It’s easier to bend than steel but can be prone to cracking with incorrect die design. Look for benders with adjustable pressure and radius dies.
- Copper: Commonly used in electrical and plumbing applications, copper has a relatively low tensile strength around 30,000 psi, making it easier to bend with manual or lower-tonnage machines. Avoid sharp-radius dies that can cause kinking.
- Titanium: Known for its high strength-to-weight ratio, titanium is a popular choice for aerospace and medical components. With tensile strengths up to 200,000 psi, it requires specialized high-pressure benders and coated dies to prevent galling and surface damage.
Beyond raw strength, consider the thickness or gauge of your materials. Benders are typically rated for a maximum thickness capacity in mild steel – for example, 10-gauge (0.135″). Thicker or stronger materials will decrease this capacity, while thinner or softer materials will increase it.
The key is to choose a bender that can comfortably handle your thickest and strongest anticipated material, with some wiggle room for future needs. Overbending your machine is a recipe for damaged dies, inaccurate parts, and potential safety hazards.
Context Clues
With your materials in mind, consider the context in which you’ll be using your bender. Will this be a production workhorse churning out parts 24/7, or an occasional-use tool for one-off projects?
Bender duty cycles are typically expressed as a percentage of time the machine can operate continuously without overheating or wearing out prematurely. A 60% duty cycle means the bender can run for 6 minutes out of every 10, while a 100% duty cycle means it can run continuously with no rest.
For high-volume production environments, look for benders with duty cycles of 80-100% to avoid bottlenecks and breakdowns. Lighter-use applications can often get by with 50-60% duty cycles.
Also consider the physical environment and portability needs of your bender. Will it live in a climate-controlled fab shop, or does it need to brave the elements on remote job sites? Machines destined for harsher conditions will require features like sealed electronics, corrosion-resistant coatings, and heavy-duty casters for mobility.
User Considerations
Ease of use and operator skill level are often overlooked but critical factors in bender selection. A machine that’s confounding for novices can lead to set-up errors and inaccurate parts, while a bare-bones model may limit the creativity of experienced users.
Consider who will be operating your bender and what level of control they require:
- Novice: Users new to bending should prioritize machines with simple, intuitive controls and digital readouts for bend angle and pressure. Pre-programmed settings for common materials and automatic sequencing can help avoid costly errors. Bonus points for included training resources.
- Experienced: Intermediate users will benefit from more adjustability to fine-tune bend parameters. Look for machines with independent clamping/bending pressure control, adjustable speed, and quick-change die capability. Some machine programming knowledge may be required.
- Expert: Advanced users often require full CNC programmability to create complex bend sequences and custom formed parts. Machines with graphic simulation, automatic tool selection, and in-process sensing maximize throughput and flexibility. Plan for extensive training to fully harness these capabilities.
In addition to control preferences, don’t forget about operator ergonomics. Benders with adjustable-height worktables, comfortable grip positions, and thoughtfully placed foot pedals can significantly reduce fatigue during long bending sessions. Your operators (and their backs) will thank you.
Anatomy of a Bender
With your needs assessment complete, it’s time to dive into the guts of what makes a great bender tick. We’ll start with the core components that determine a machine’s brawn and capability, then explore the bells and whistles that separate the bending game-changers from the posers.
Bending Capacity
The most fundamental measure of a bender’s capability is its rated bending capacity – the maximum force in tons (2,000 lbs) that the machine can exert on the material being formed. This is determined by several factors:
- Tonnage: Calculated as (material thickness x width x tensile strength) / 6, this represents the actual force required to make a 90-degree bend in a given material. Note that different bend angles and radii will change this formula. Most benders are rated for a maximum tonnage in mild steel – for instance, a 35-ton machine.
- Ram Travel: This is the maximum stroke distance of the bender head, which determines the maximum possible bend angle and leg length before the bend. Look for benders with enough ram travel to accommodate your needs – typically 2″+ for most box/pan bends and 6″+ for deeper shapes.
- Bending Length: Also called “beam length”, this is simply the maximum width of material that can fit in the bender. Longer bending lengths let you form wider pieces in one hit, but also require more tonnage to maintain accuracy across the full length. Common sizes range from 12″ for small-shop units up to 14’+ for industrial benders.
- Throat Depth: The distance from the front of the bending beam to the back of the machine. Deeper throats allow for forming taller parts, but also require more floor space. Common depths range from 12-24″.
- Open/Closed Height: The distance from the top of the lower die to the bottom of the upper die, in open and closed positions. This determines the maximum thickness of material that can fit in the dies. Look for benders with enough open height to handle your stock, plus some breathing room.
So how much bending capacity do you actually need? As a general rule of thumb, it’s better to have too much than not enough. Excess tonnage is rarely a problem (though it may hurt your wallet), but insufficient force is a one-way ticket to frustration town.
At minimum, select a machine with 20-30% more tonnage than your estimate for your heaviest anticipated material. So if you calculate needing 30 tons to bend some ½” steel plate, look for at least a 40-ton machine. This ensures you have enough oomph to handle any surprises down the road.
Power Systems
Now that we know how hard our bender can hit, let’s talk about what’s driving that force. Benders rely on one of three main power systems to generate tonnage:
- Hydraulic: The most common type for medium to heavy-duty applications. A hydraulic pump pushes fluid through hoses to a cylinder, which converts that pressure into linear force. Advantages include high power density (lots of force in a small package), smooth and quiet operation, and relatively low maintenance. Disadvantages include slower speed, heat generation, and potential leaks.
- Electric: Uses an electric motor to drive a mechanical actuator, usually a ball screw or acme screw. Offers high precision and repeatability, with faster speeds than hydraulics. Easier to control and integrate with CNC systems. However, not as efficient at generating high tonnages, and can be noisier than hydraulics.
- Pneumatic: Similar to hydraulic but uses compressed air instead of fluid. Provides very fast actuation but lower total force. Best for lightweight, repetitive bending jobs like wire forming or small diameter tubing. Not practical for most heavy-duty applications.
The choice of power system depends largely on your application needs. For most general-purpose bending, hydraulic is a solid default choice. If speed and precision are paramount (and your materials are on the lighter side), electric may be worth the price premium. Pneumatic is a niche choice for specialized high-speed, low-force bending.
Regardless of power type, look for systems with robust components like hardened chrome cylinders, oversized fluid reservoirs, and high-efficiency pumps/motors. Skimping on the power system is a false economy – your bender is only as strong as its weakest leak.
Dies & Tooling
If the power system is the heart of your bender, the dies and tooling are the hands that do the real work of forming metal. Proper die selection is critical for both part quality and bender longevity.
Let’s start with some die terminology:
- Punch: The upper die that presses down into the material, also called the “male” die. Punches come in various angles (30°, 45°, 90°) and nose radii to suit different materials and bend radii.
- Die: The lower component that the material rests on, aka the “female” die. Dies have a V-shaped opening to allow the punch to press the material in and form a bend. The width of this V-opening is called the die opening or die gap.
- Die Set: A combination punch and die designed to work together for a specific bending application. For instance, a 30° punch paired with a 12-14 die opening is a common set for bending thin aluminum sheet.
- Nose Radius: The radius of the punch tip, which forms the inside radius of the bend. Larger nose radii reduce stress on the material but require more force to achieve the same bend angle. Common sizes are 1/16″, 1/8″, 1/4″ and 1/2″.
- Minimum Flange: The shortest leg length that can be bent in a given die set before the bend radius interferes with the opposite die. This is a function of both the nose radius and die opening.
- V-Opening: The angle of the die opening, typically 30°, 45°, 60°, or 90°. Acute angles provide more support for the material but may mark softer metals. Obtuse angles require less tonnage but can allow material to slip or deform.
When selecting dies for your bender, consider:
- Material Compatibility: Softer materials like aluminum and copper require dies with larger nose radii and grain-oriented finishes to avoid cracking and deformation. Harder alloys and thicker stock can handle more acute angles and coarser finishes.
- Bend Radius: A good rule of thumb is to use a nose radius that’s at least 2-3 times the material thickness to avoid excessive stretching and weakening. So for 1/8″ steel, a 3/8″ or 1/2″ radius would be appropriate.
- Angle Consistency: For multi-bend parts, it’s often desirable to use the same V-opening for all bends to maintain consistent angles. This may require compromise on nose radius or tonnage.
- Load Spreading: Larger nose radii and V-openings spread the bending force over a larger area, reducing wear and tear on both the dies and the machine itself. When in doubt, go with a larger radius/opening and compensate with more tonnage.
- Gooseneck vs. Straight: Gooseneck punches have a deeper-than-normal tip relief to clear over tall flanges, allowing for bending further into the throat. Straight punches are simpler and less expensive but may require secondary operations to finish tall parts.
Beyond die geometry, consider the construction and coating of your tooling. Most dies are made from high-grade tool steel for maximum durability, but may have different hardness ratings (measured on the Rockwell C scale) and surface treatments:
Hardness:
A typical well-made die will have a hardness of 60-64 HRC, offering excellent wear and dent resistance. However, some specialty dies may use even harder materials like D2 tool steel (60-62 HRC) or carbide (70+ HRC) for extreme abrasion resistance.
- Surface Coatings: To further extend die life and improve part quality, many dies are coated with wear-resistant finishes like chrome plating, titanium nitride (TiN), or tungsten carbide. These coatings can also help reduce friction and sticking, particularly on soft metals like aluminum.
- Surface Finishes: The texture of the die surface that contacts the material can have a big impact on bend quality. Smooth, polished finishes are best for delicate or cosmetic bends to avoid marring. Rougher, matte finishes can help grip the material and prevent slipping, but may leave visual marks.
Investing in high-quality, application-appropriate die sets is one of the best ways to maximize the performance and longevity of your bender. Don’t be afraid to consult with tooling experts or test different options to find the perfect fit for your needs.
Frame & Construction
The backbone of any bender is its frame and construction. This is what determines the rigidity, accuracy, and durability of the machine, so it’s not a place to skimp on quality.
Bender frames are typically made from heavy-gauge steel plates and structural members, welded or bolted together to form a rigid box-like structure. The key things to look for are:
- Material Thickness: Heavier is generally better for minimizing deflection and maintaining accuracy under load. Look for main frame components at least 1″ thick, with 1.5-2″+ being ideal for large machines.
- Welding Quality: The frame should have full-penetration welds at all joints, with no visible gaps, porosity, or inconsistencies. Welds should be ground smooth to eliminate stress risers.
- Stiffening Features: To further increase rigidity, look for frames with internal gussets, ribs, or diagonal bracing. Box-style frames with fully enclosed sides will be much stiffer than C-frames or open-back designs.
- Mounting Provisions: The frame should have ample mounting points for securing the machine to the floor, particularly for larger units. Look for heavy-duty tabs with pre-drilled holes for anchors or bolts.
- Material: Most frames are made from mild steel for a good balance of strength and cost. However, some high-end machines may use more advanced alloys like 4140 chromoly or A514 quenched and tempered steel for even greater strength-to-weight ratios.
- Finish: To protect against corrosion and wear, the frame should have a durable paint or powder-coat finish. Look for multi-stage finishes with a zinc-rich primer and a high-gloss topcoat for maximum protection.
Beyond the frame itself, pay attention to the quality of the other structural components like the bed, ram, and gibs. These should all be made from heavy-gauge steel and precisely machined for smooth, consistent operation.
The ram, in particular, should have a robust guidance system to prevent twisting or cocking under load. Look for machines with twin hydraulic cylinders or multiple linear bearings to keep the ram tracking straight.
The bolster plate and bed should be machined flat and parallel to within a few thousandths of an inch to ensure accurate bending. They should also be hardened to at least 50 HRC to resist denting and scoring over time.
Finally, take a look at the overall fit and finish of the machine. Are the seams tight and even? Do the moving parts glide smoothly without binding or chattering? Is the paint glossy and free of runs or bubbles? These cosmetic details can be telling indicators of the overall build quality and attention to detail.
Controls & Adjustments
The control system is the brains of the bender, allowing you to adjust and fine-tune the machine to suit your specific needs. The complexity and features of the control system can vary widely depending on the machine type and price point.
At the most basic level, manual benders will have simple hand-cranks or levers to adjust the ram position and clamping pressure. These controls are intuitive and reliable but require a good bit of operator skill and experience to achieve consistent results.
Hydraulic benders add a layer of powered control, with valves and switches to control the flow of fluid to the cylinders. These may be simple on/off controls or more advanced proportional valves that allow for variable speed and pressure.
More advanced machines may have electronic controls with digital readouts and programmable functions. These can range from simple LED displays of ram position and pressure to full-color touchscreens with graphical interfaces and memory for storing job settings.
Some key control features to look for include:
- Pressure Control: The ability to adjust the bending force to suit different materials and thicknesses. This may be a simple pressure regulator or a more advanced closed-loop system with load sensing.
- Position Control: Precise control over the ram position, typically measured in inches or degrees of bend angle. This may be controlled by limit switches, encoders, or linear transducers.
- Speed Control: The ability to adjust the speed of the ram to suit different materials and bend radii. This is typically controlled by flow control valves or variable-frequency drives.
- Programmability: The ability to store and recall specific job settings for repeatable results. This can be as simple as a few preset buttons or as advanced as a full CNC control with hundreds of programs.
- Networking: Some high-end machines may have the ability to connect to a network for remote monitoring, programming, and diagnostics. This can be a big time-saver for large production operations.
- Safety Interlocks: All but the most basic machines should have some form of safety interlocking to prevent accidental operation. This may include two-hand controls, light curtains, or presence-sensing mats.
Beyond the control system itself, look for machines with convenient and intuitive adjustments for things like die height, clamping pressure, and backstop position. These should be easily accessible and clearly marked, with hard stops or detents to prevent over-adjustment.
On hydraulic machines, pay attention to the location and accessibility of the fluid reservoir and filter. These should be easy to check and service without having to disassemble the machine.
Finally, consider the ergonomics of the control layout and position. Are the buttons and switches within easy reach of the operator? Is the display clearly visible from a normal working position? These small details can make a big difference in the day-to-day usability of the machine.
Putting it All Together
We’ve covered a lot of ground in this guide, from the basics of bending theory to the nitty-gritty details of machine construction and control. By now, you should have a solid foundation for evaluating benders based on your specific needs and budget.
To tie it all together, let’s walk through a hypothetical bender selection process:
- Define Your Needs: Let’s say you’re a small fabrication shop that primarily works with mild steel sheet and plate up to 1/4″ thick. You need a versatile machine that can handle a range of bend radii and angles, with the ability to form parts up to 24″ wide.
- Consider Your Budget: You have a moderate budget of around $15,000 to $20,000 for the machine and tooling.
- Evaluate Your Options: Based on your needs and budget, you narrow your search down to three potential machines:
| Model | Type | Tonnage | Bend Length | Throat Depth | Power | Control | Price | Link |
|---|---|---|---|---|---|---|---|---|
| SuperBender 3000 | Hydraulic | 35 Ton | 48″ | 10″ | 5 HP | 2-Axis CNC | $18,500 | Buy Now On Amazon |
| MaxForm Pro | Electric | 25 Ton | 60″ | 12″ | 3 HP | PLC w/ LCD | $16,000 | Buy Now On Amazon |
| HydraMight II | Hydraulic | 40 Ton | 36″ | 8″ | 7.5 HP | Manual | $14,500 | Buy Now On Amazon |
- Compare Specs: The SuperBender and HydraMight have the highest tonnage, which would give you the most flexibility for thicker materials. The MaxForm has the longest bend length, but the lowest tonnage. The SuperBender and MaxForm have the most advanced control systems, while the HydraMight is a more basic manual machine.
- Consider Tooling: The SuperBender and HydraMight use industry-standard American-style dies, while the MaxForm uses a proprietary European-style system. This may affect your tooling costs and availability.
- Factor in Support: The SuperBender and MaxForm both come with 2-year warranties and 24/7 phone support, while the HydraMight has a 1-year warranty and more limited support hours.
- Make Your Decision: Based on your needs and priorities, the SuperBender 3000 is likely your best bet. It has the highest tonnage and most advanced control system, giving you the most flexibility and room for growth. While it’s at the top end of your budget, the included warranty and support sweeten the deal.
Of course, this is just one example – your specific needs and priorities may lead you to a different choice. The key is to systematically evaluate your options based on the factors that matter most for your business.
Bending Forward
Congratulations – you’re now a certified bender bending expert! Whether you’re ready to pull the trigger on your dream machine or just starting to explore your options, you’re well-equipped to navigate the world of sheet metal fabrication.
But the learning doesn’t stop here. Bending, like any skilled trade, requires continuous education and improvement to stay at the top of your game. Here are a few ways to keep sharpening your skills and knowledge:
- Attend Trade Shows: Events like FABTECH and METALFORM bring together the biggest names in metalworking to showcase the latest technologies and techniques. This is a great way to see new machines in action, attend educational seminars, and network with other fabricators.
- Read Industry Publications: Magazines like The Fabricator, MetalForming, and Modern Metals offer in-depth articles on bending theory, troubleshooting, and best practices. Many also have companion websites with additional resources like webinars and white papers.
- Join Online Forums: Online communities like Practical Machinist and the Fabricators & Manufacturers Association (FMA) forums are great places to ask questions, share tips, and learn from more experienced benders. Just be sure to contribute as much as you consume – nobody likes a freeloader!
- Take Classes: Many community colleges and technical schools offer courses on metalworking and fabrication. These can be a great way to learn new skills or brush up on the basics. Some machine manufacturers also offer training classes specific to their equipment.
- Experiment and Practice: There’s no substitute for hands-on experience. Don’t be afraid to try new techniques or materials, and always take the time to analyze your results and learn from your mistakes. The more you bend, the better you’ll get!
With the right knowledge, tools, and mindset, there’s no limit to what you can achieve in the world of metal bending. So get out there and start putting your new skills to the test – your future self (and your customers) will thank you.
Happy bending!
Bender Comparison Table
As a final reference, here’s a quick comparison chart of the three main bender types to help you zero in on the best fit for your needs:
Type Pros Cons Best For Hydraulic – High tonnage
– Smooth operation
– Low maintenance– Slower speed
– Higher initial cost
– Potential for leaks– Heavy plate & structural
– Large radii
– High-volume productionElectric – High precision
– Fast speed
– Low noise– Lower tonnage
– Higher maintenance
– Higher cost– Thin sheet & wire
– Tight radii
– Automated cellsPneumatic – Very fast
– Low cost
– Simple controls– Limited tonnage
– Noisy operation
– High air consumption– Small parts
– Repeat bends
– Manual operationSo there you have it – the complete guide to choosing the perfect bender for your needs. Armed with this knowledge, you’re ready to take your fabrication game to the next level.
Now if you’ll excuse me, I have some metal to mangle. Happy bending!
Read More From Us
- The IDEAL 74-057 Guardian Conduit Bender: Your Precision Ally for Electrical Work
- The 12 Ton Hydraulic Pipe Bender: A Comprehensive Guide to Features, Usage, and Benefits
- Revolutionizing Fence Installation with an Innovative Tool
- Klein Tools 86532 Review: Precision Meets Durability in this Must-Have Metal Folding Tool
- Mastering Pipe Bends with the Teodute Pipe Tube Bender: An In-Depth Review